How to Make Realistic underwater in Photoshop
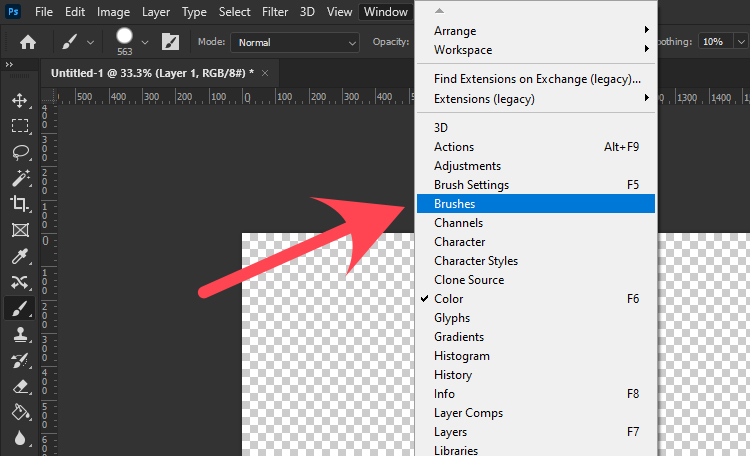
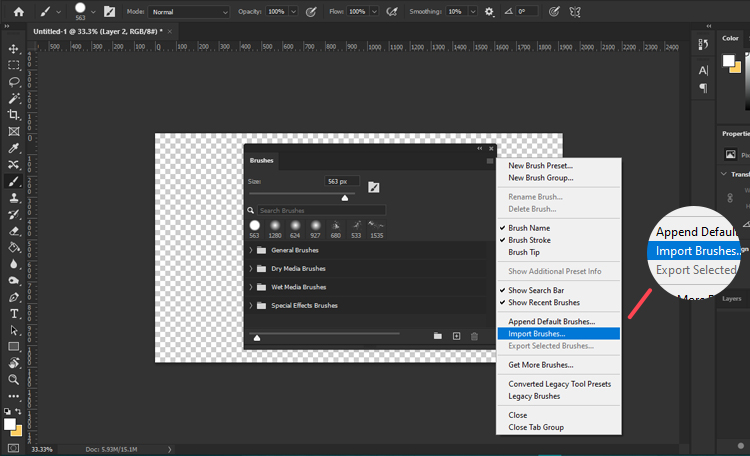
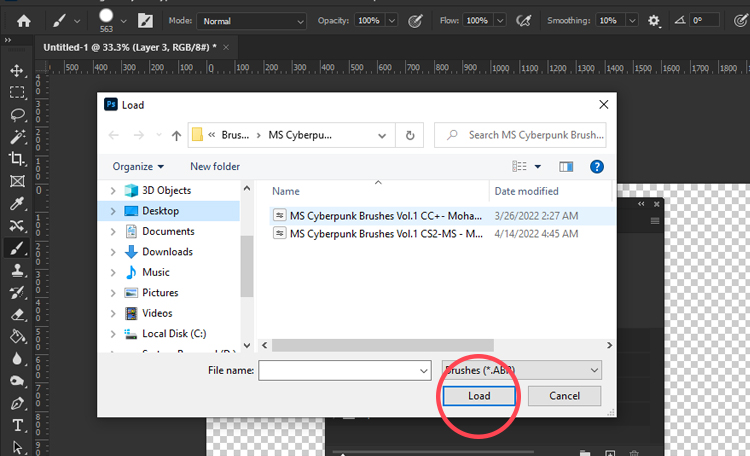
Create an Underwater Scene in Photoshop in this tutorial, you will learn how to create an underwater effect using Photoshop and my custom brushes. You will discover how to make realistic water effects, such as bubbles, reflections, and splashes. You will also learn how to add depth and atmosphere to your paintings by using color and lighting techniques. By the end of this tutorial, you will be able to create stunning underwater artworks with Photoshop and my brushes. You can apply this effect to any text or image you want to give it an amazing look. Let’s begin!
Tutorial Resources
Step 1
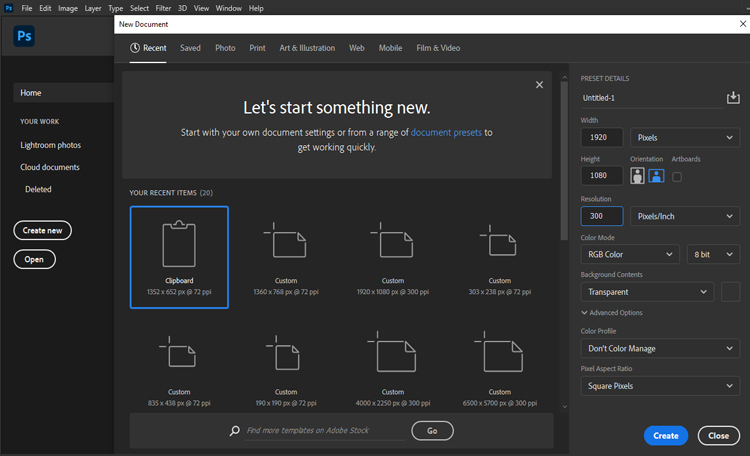
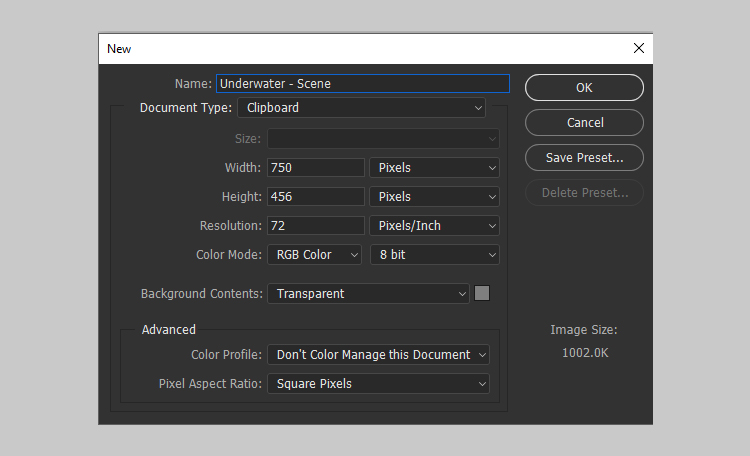
Create a new document in Photoshop with any size and orientation. You can use the same techniques for any canvas size.
For this example, I will use a 750 x 456 PX document with the settings below:
Step 2
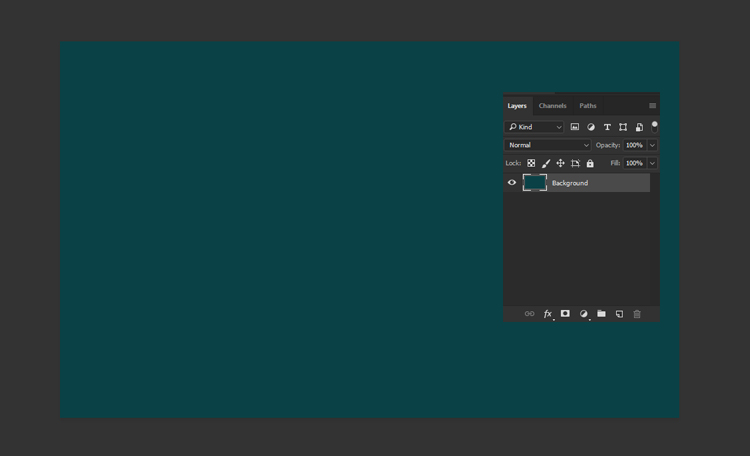
Create a new layer for the background and fill it with a green color #0a4146 using the Paint Bucket Tool (G). This will be the base color of the water.
Step 3
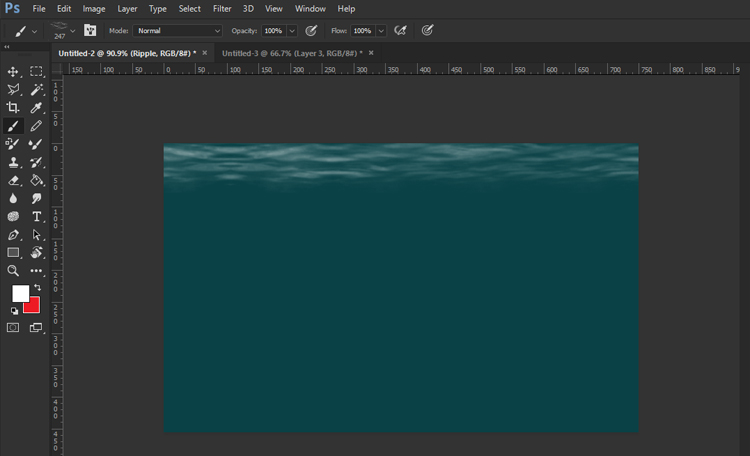
Next, you will create the top of the water using this Ocean Brush (you can find this brush and others in the underwater brushes pack). Create a new layer and name it Ripple. Paint the top of the water with a white color #ffffff using the Ocean Brush. Follow the direction of the waves as you paint.
Step 4
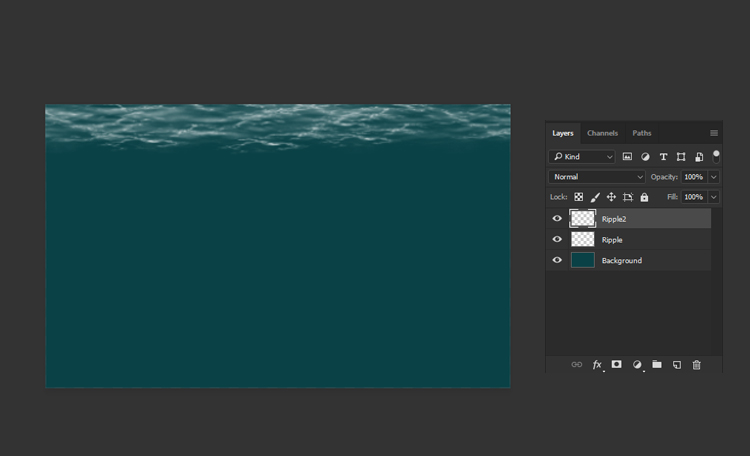
Create another layer and name it Ripple2. Place it above all the other layers. Use this brush to add some ripples to the water surface with a white color #ffffff. This will create a glowing effect for more realism.
Step 5
Now, you will create some splash water effects in Photoshop. Create a new layer and name it Splash. Use this Splash Brush to paint some falling water splashes with a white color #ffffff. You can vary the size and opacity of the brush to create different effects.
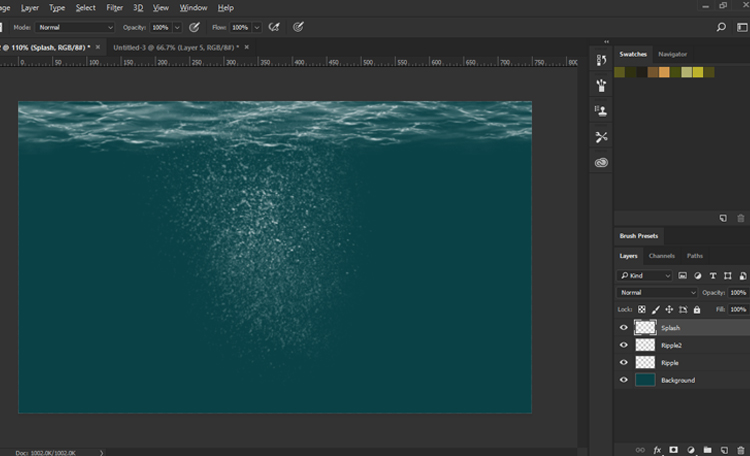
Step 6
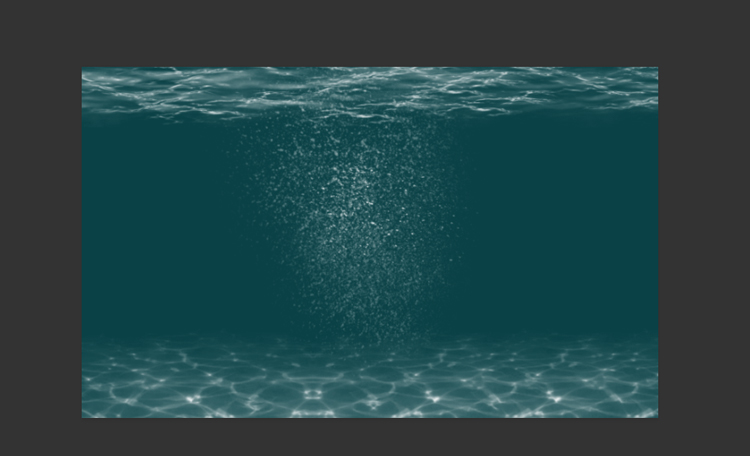
Next, you will create the bottom of the water surface using this brush. Create a new layer and paint it with a white color #ffffff
This will create some highlights and reflections on the water.
Step 7
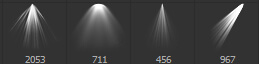
Finally, you will add some light rays to the underwater scene using this Light Brush. You will get 5 different brushes in the pack. You can use any of them. Create a new layer and paint some light rays with a white color #ffffff. You can adjust the size, opacity, and angle of the brush to create different effects.
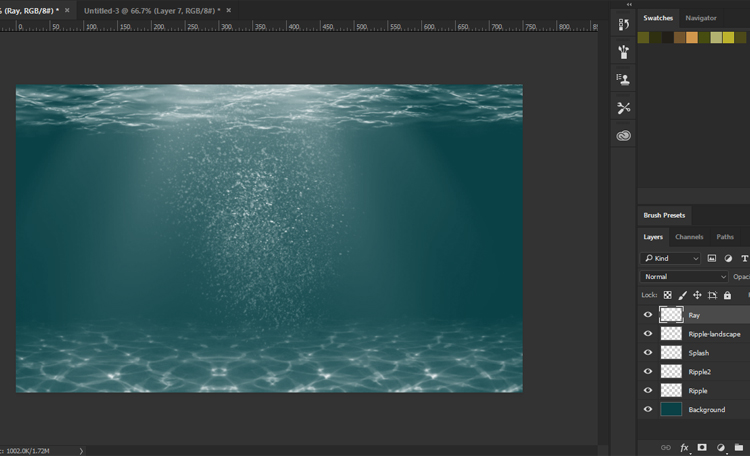
Congratulations, You’re Done!
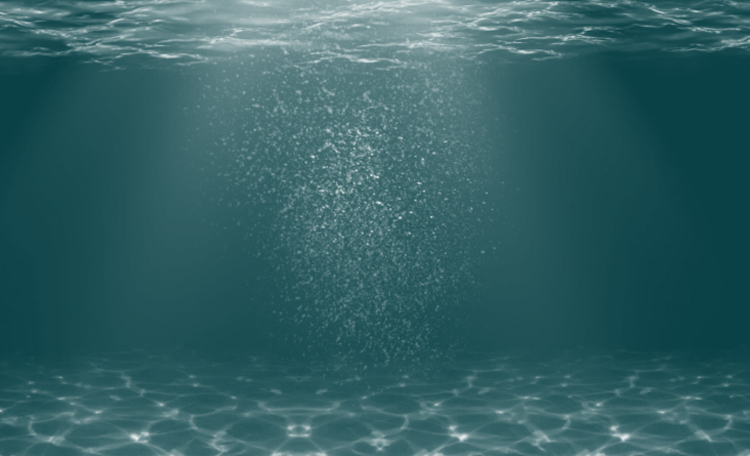
I hope you’ve enjoyed this tutorial and learned some new techniques. Enjoy!