How to Import Swatches in Photoshop
Introduction
Swatches are an essential tool for any designer, providing a convenient way to maintain color consistency throughout your projects. Importing swatches in Photoshop allows you to quickly access your favorite color palettes. In this tutorial, we’ll walk you through the steps to import swatches in Photoshop.
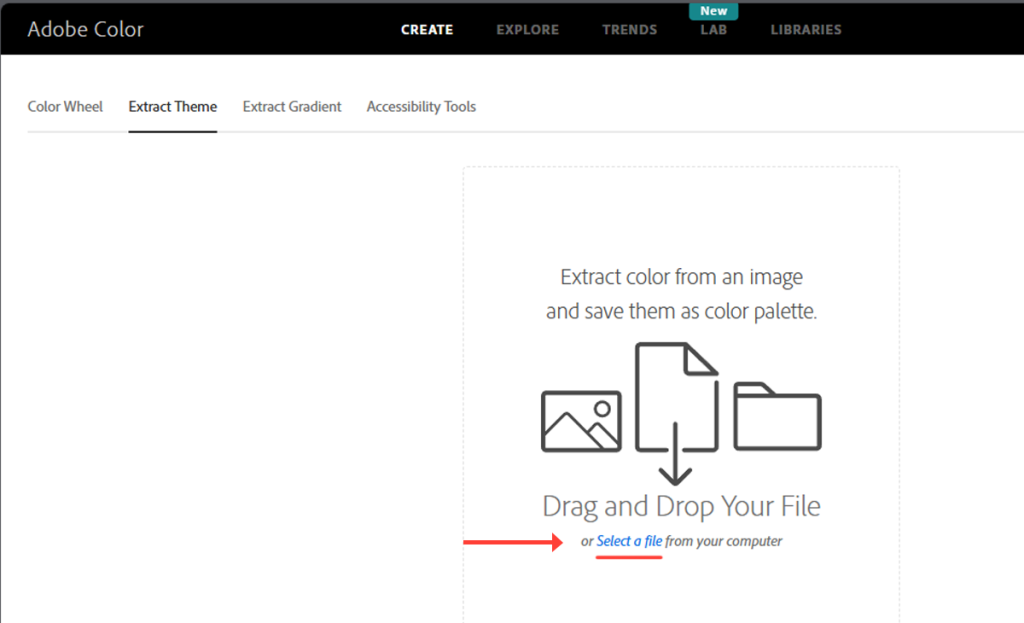
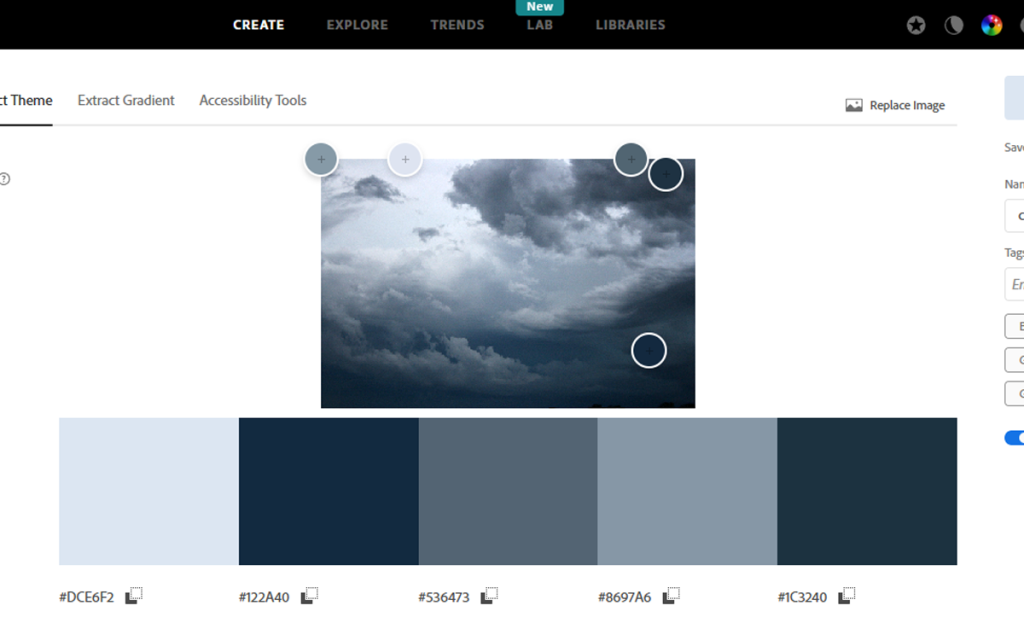
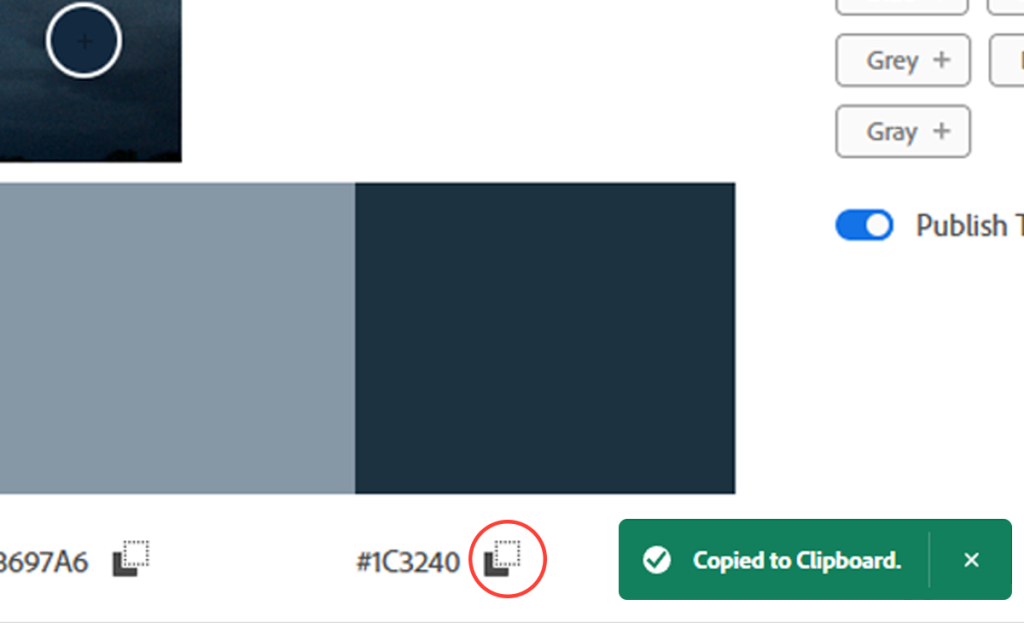
Step 1: Prepare Your Swatch File
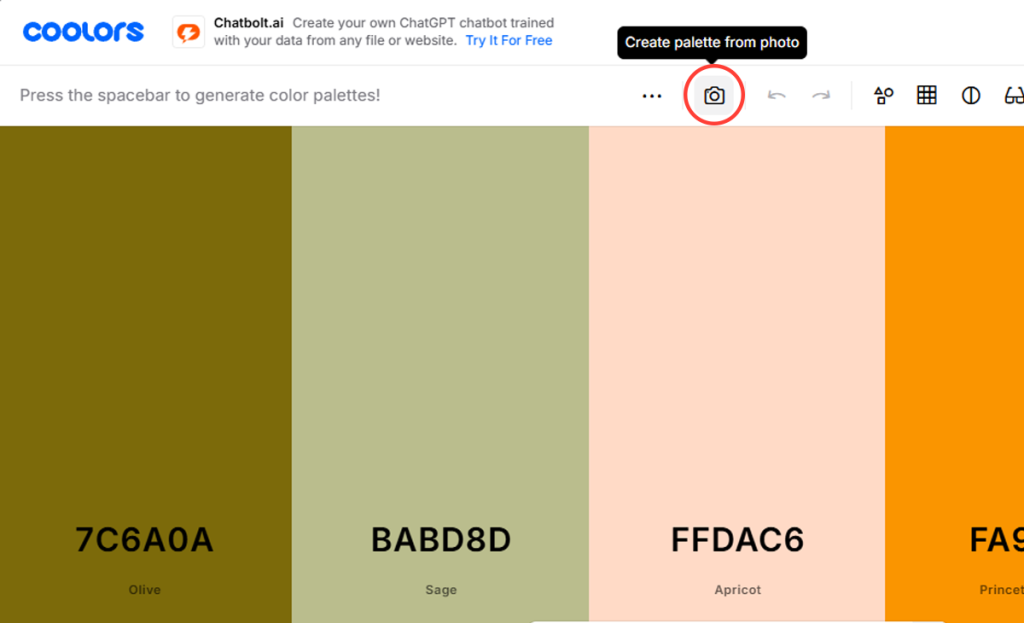
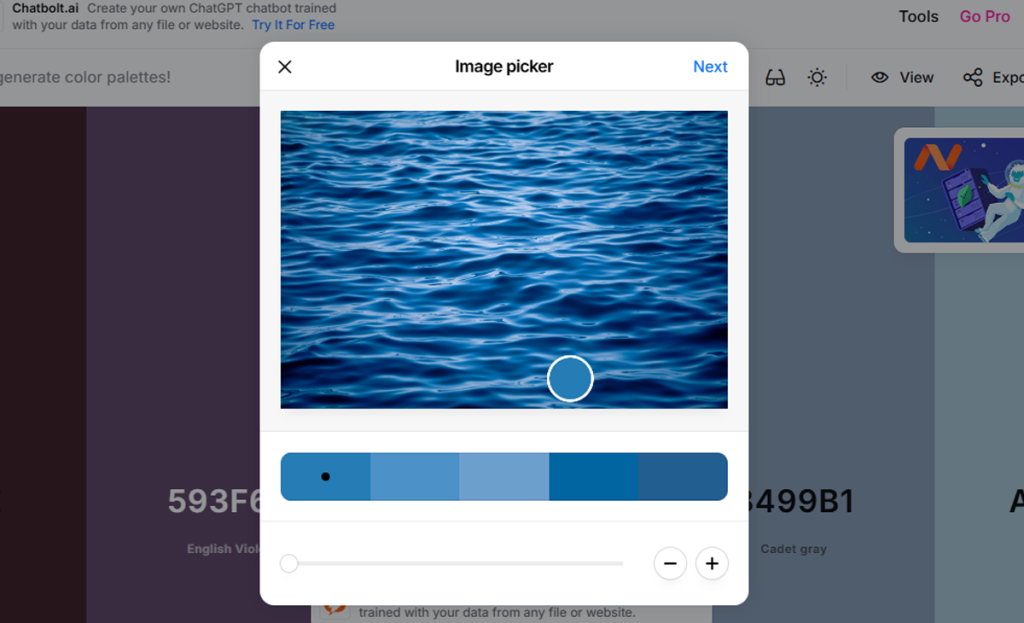
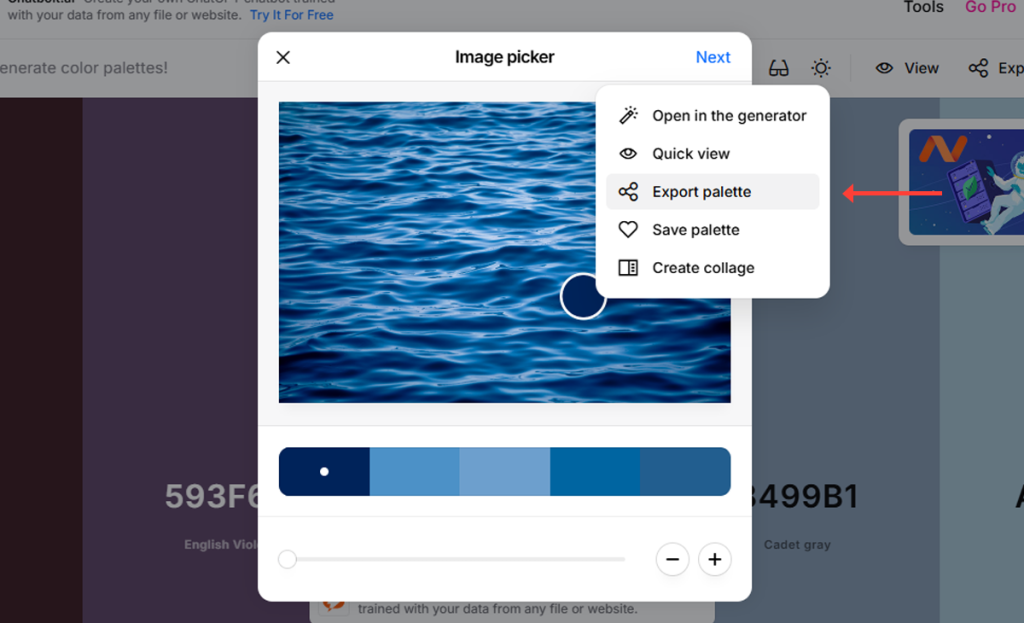
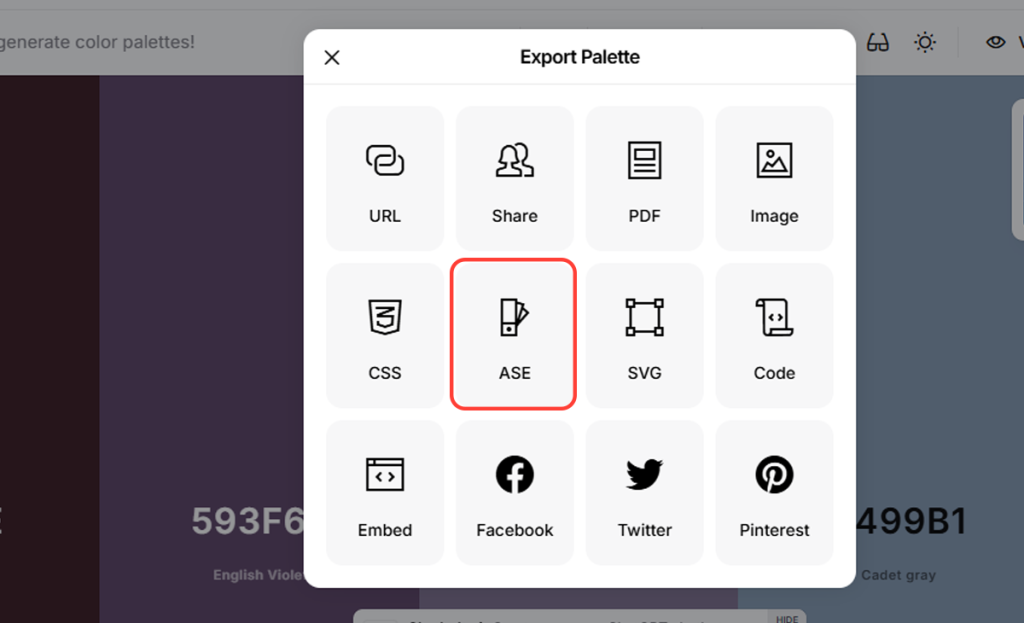
Before importing, ensure you have your swatch file ready.
Swatches are usually saved in. ASE (Adobe Swatch Exchange) or. ACO (Adobe Color) formats.
Step 2: Open Photoshop
Launch Photoshop and open any document or create a new one.
This will ensure the workspace is active and ready for importing swatches.
Step 3: Access the Swatches Panel
Open the Swatches Panel: Go to “Windows” in the top menu.
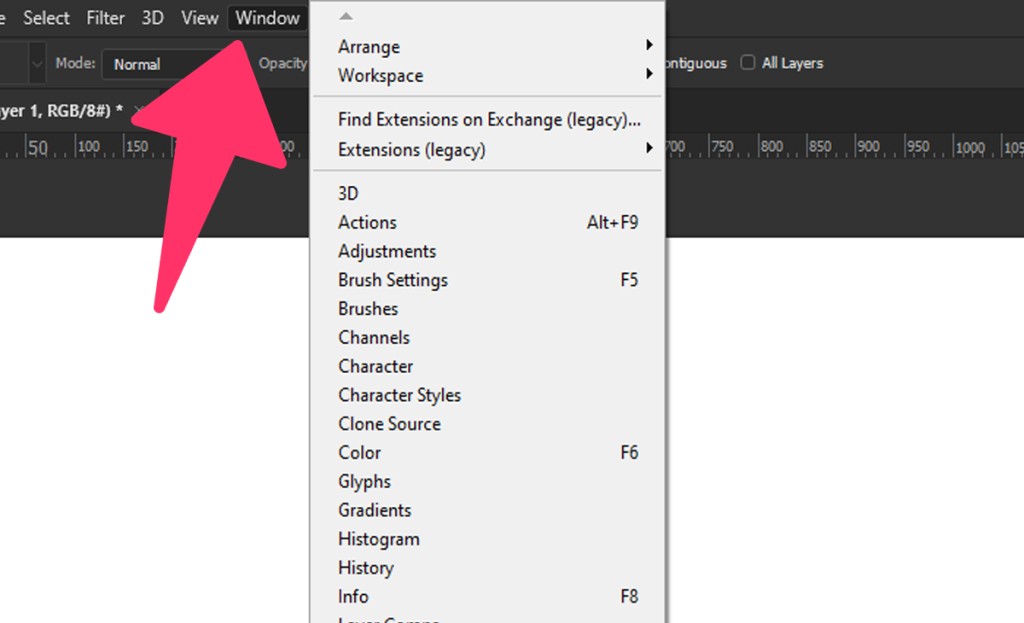
Select “Swatches” from the Windows menu.
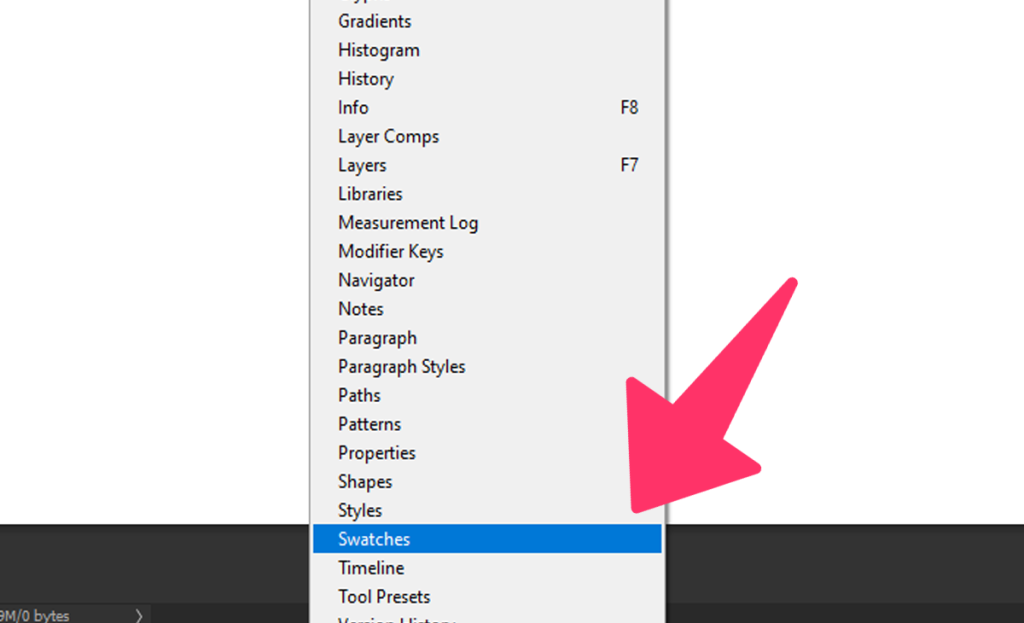
Step 4: Import Swatches
Open Swatch Panel Menu: Click on the menu icon (three horizontal lines) in the top-right corner of the Swatches panel.
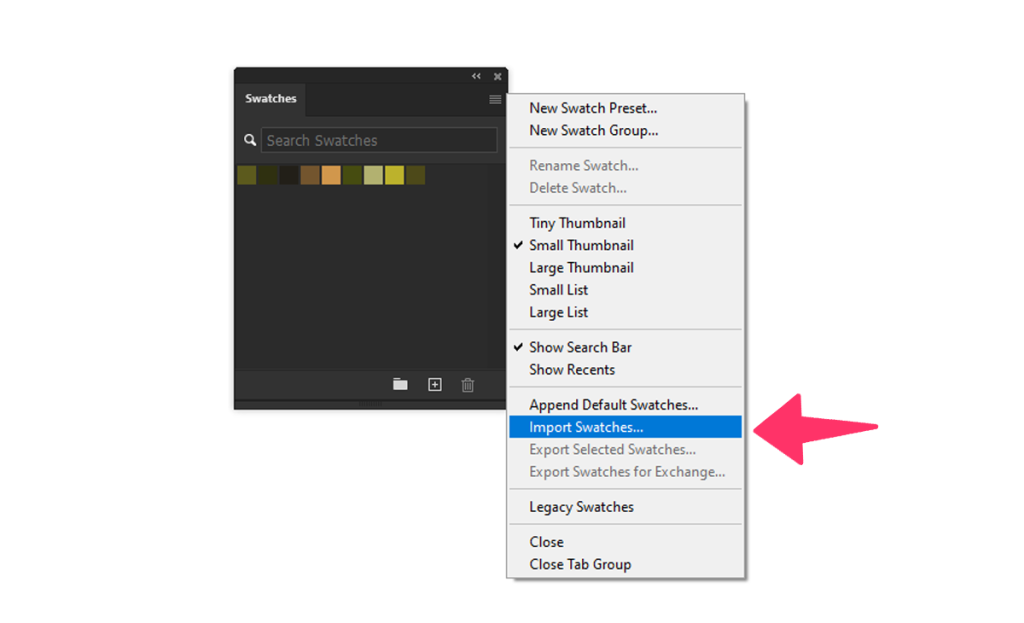
From the drop-down menu, select “Import Swatches.”
Locate Your Swatch File: Navigate to the folder where your swatch file is saved, select it, and click “Open.”
Step 5: Organize Your Swatches
Create a Group of Colors: Select multiple swatches by holding down the Shift key and clicking on the colors you want to group.
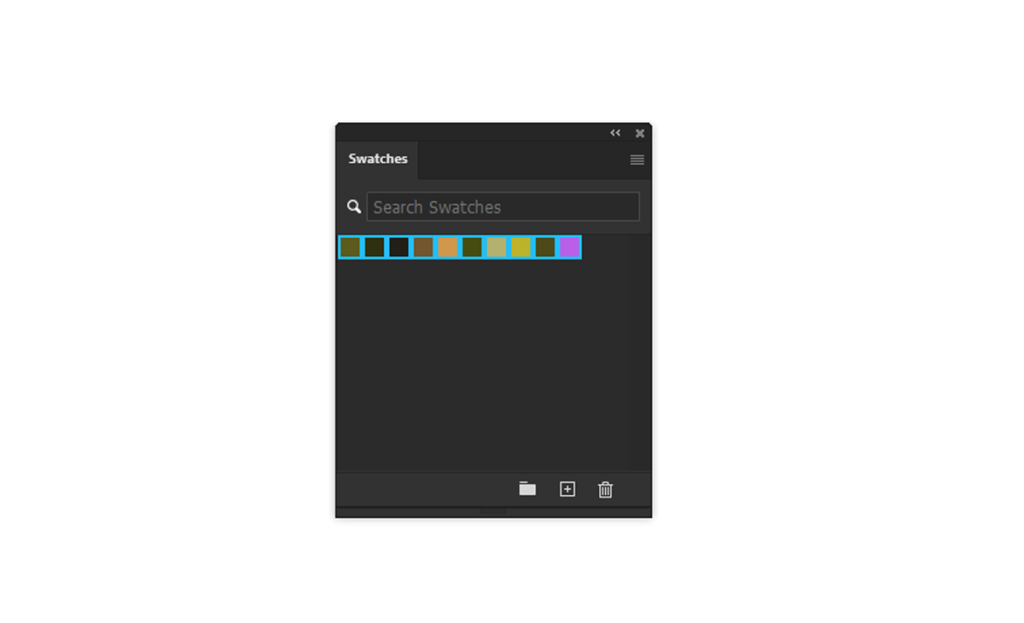
Then, click on the “Create New Group” icon (folder icon) in the Swatches panel to group them together.
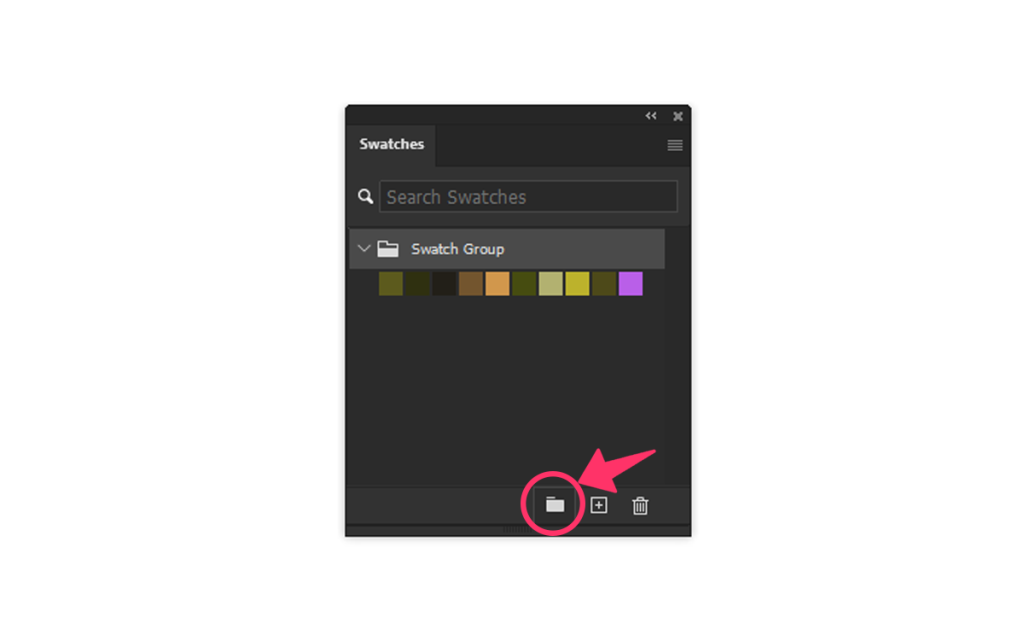
Create a New Group of Swatches: Click on the “Create New Group” icon in the Swatches panel to create a new swatch group.
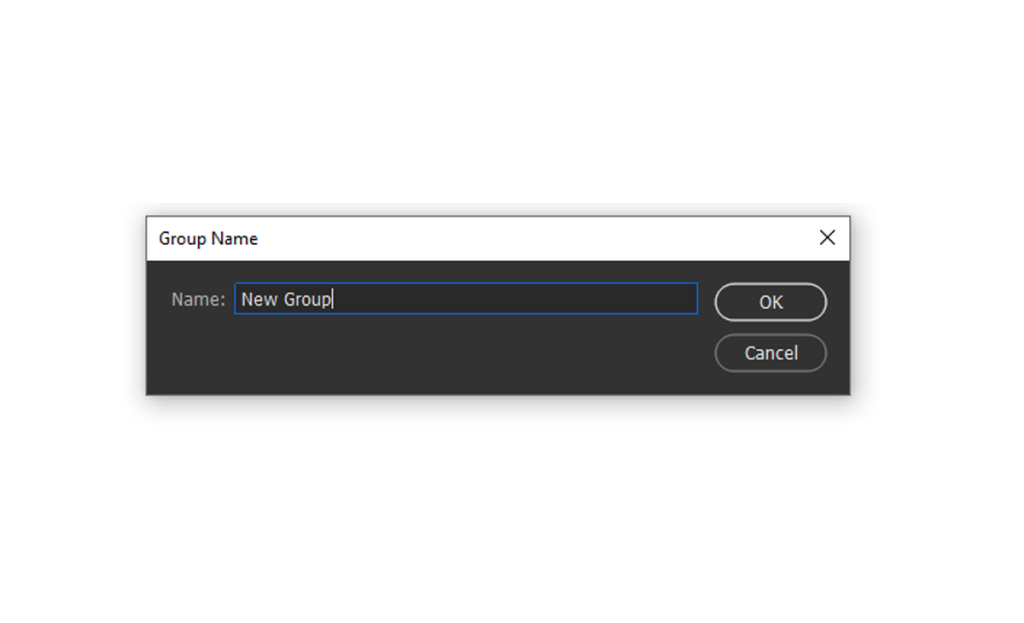
You can name this group and drag individual swatches into it for better organization.
Step 6: Add a Color from the Color Picker to Swatches
Select the Color Picker: Click on the Foreground Color in the toolbar to open the Color Picker.
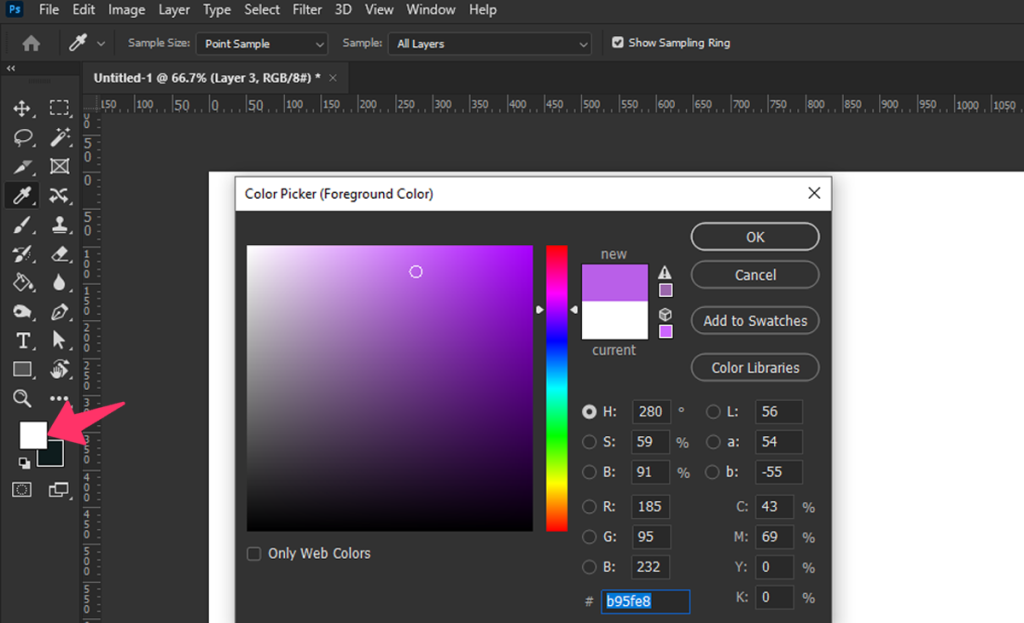
Choose Your Color: Select the color you want to add to your swatches.
Add to Swatches: Once you’ve chosen your color, click the “Add to Swatches” button.
A dialog box will appear where you can name your new swatch.
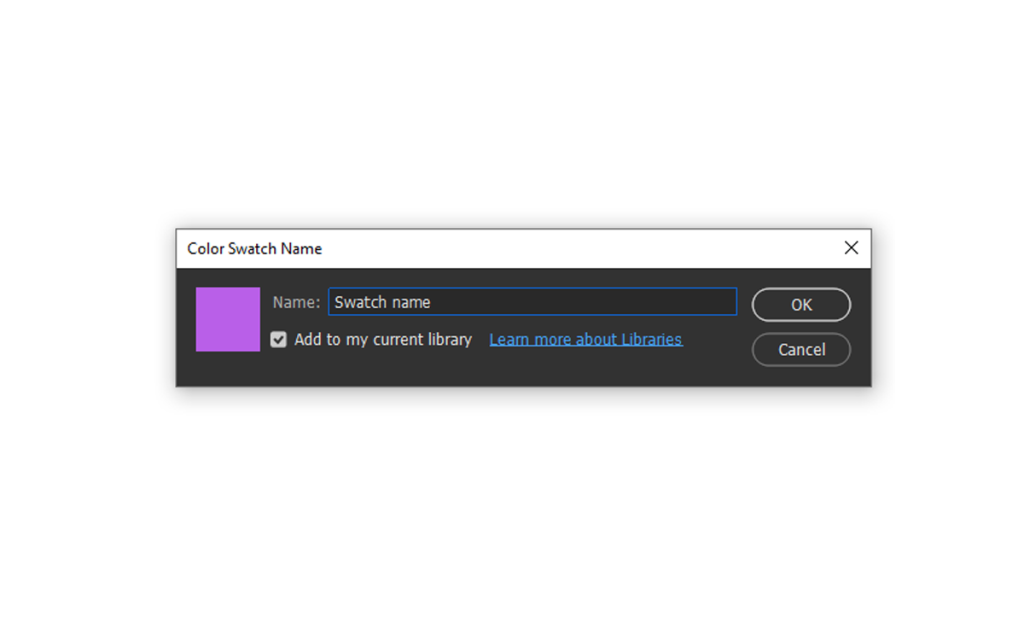
Confirm and Save: Click “OK” to add the new color to your swatches panel.
Step 7: Export Your Swatches
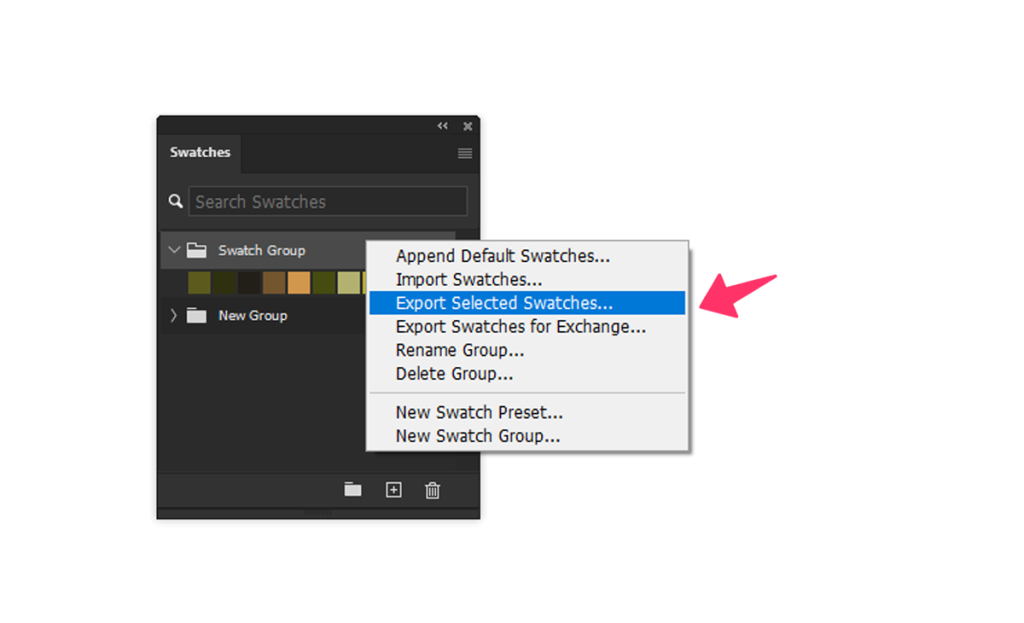
- Open Swatch Panel Menu: Click on the menu icon (three horizontal lines) in the top-right corner of the Swatches panel.
- Select “Export Swatches”: From the drop-down menu, select “Export Swatches.”
- Choose File Format: Select the desired file format, such as. ASE (Adobe Swatch Exchange) or. ACO (Adobe Color).
- Save the File: Choose the location where you want to save your swatch file, name it, and click “Save.”
Conclusion
Importing swatches in Photoshop is a straightforward process that can greatly enhance your workflow.
By keeping your color palettes organized and easily accessible, you can maintain consistency and efficiency in your design projects. Experiment with different swatch files to find the perfect palette for your next masterpiece.
Explore our store for a variety of design tools and resources that can elevate your projects. From custom brushes to unique swatches, we have everything you need to bring your creative vision to life.
Happy designing!