
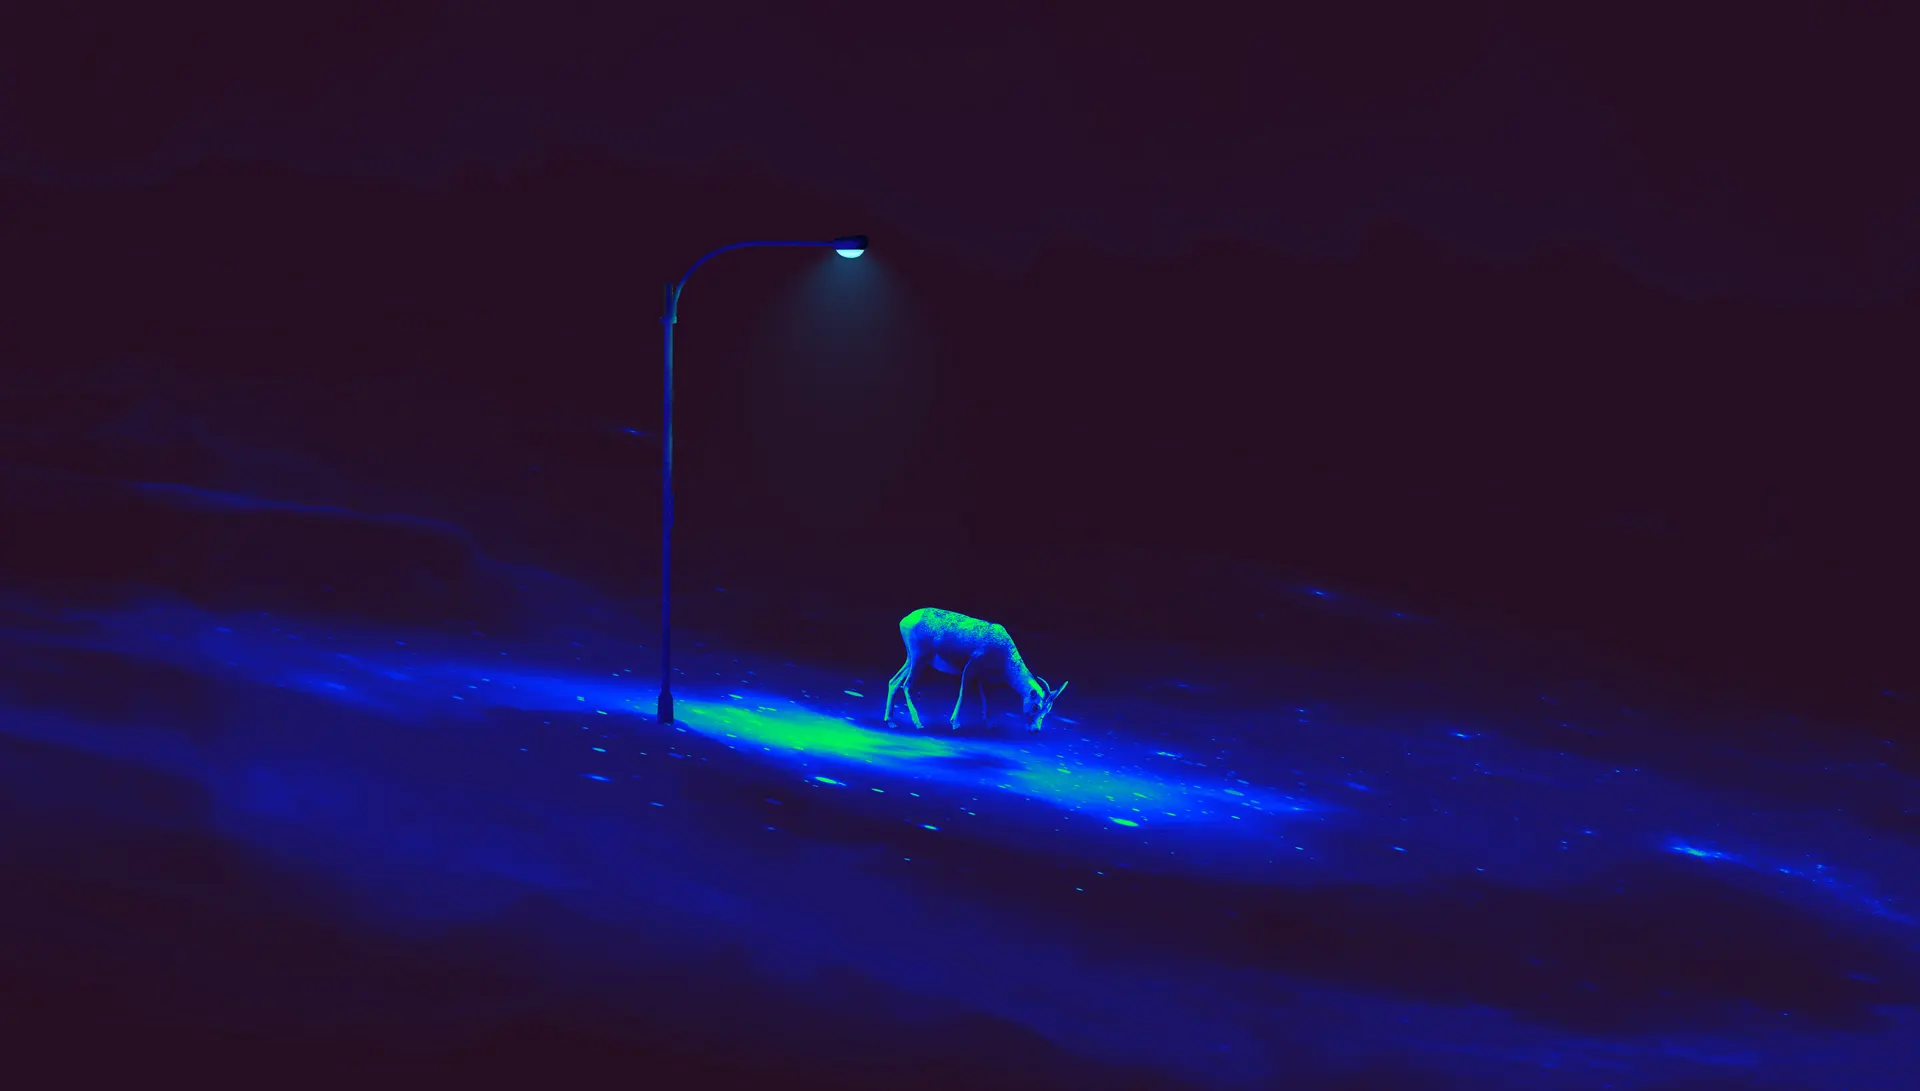
“A deer grazes beneath a lone lamp—its silence echoing the stillness of night farm.”
Tag: stars
12:55
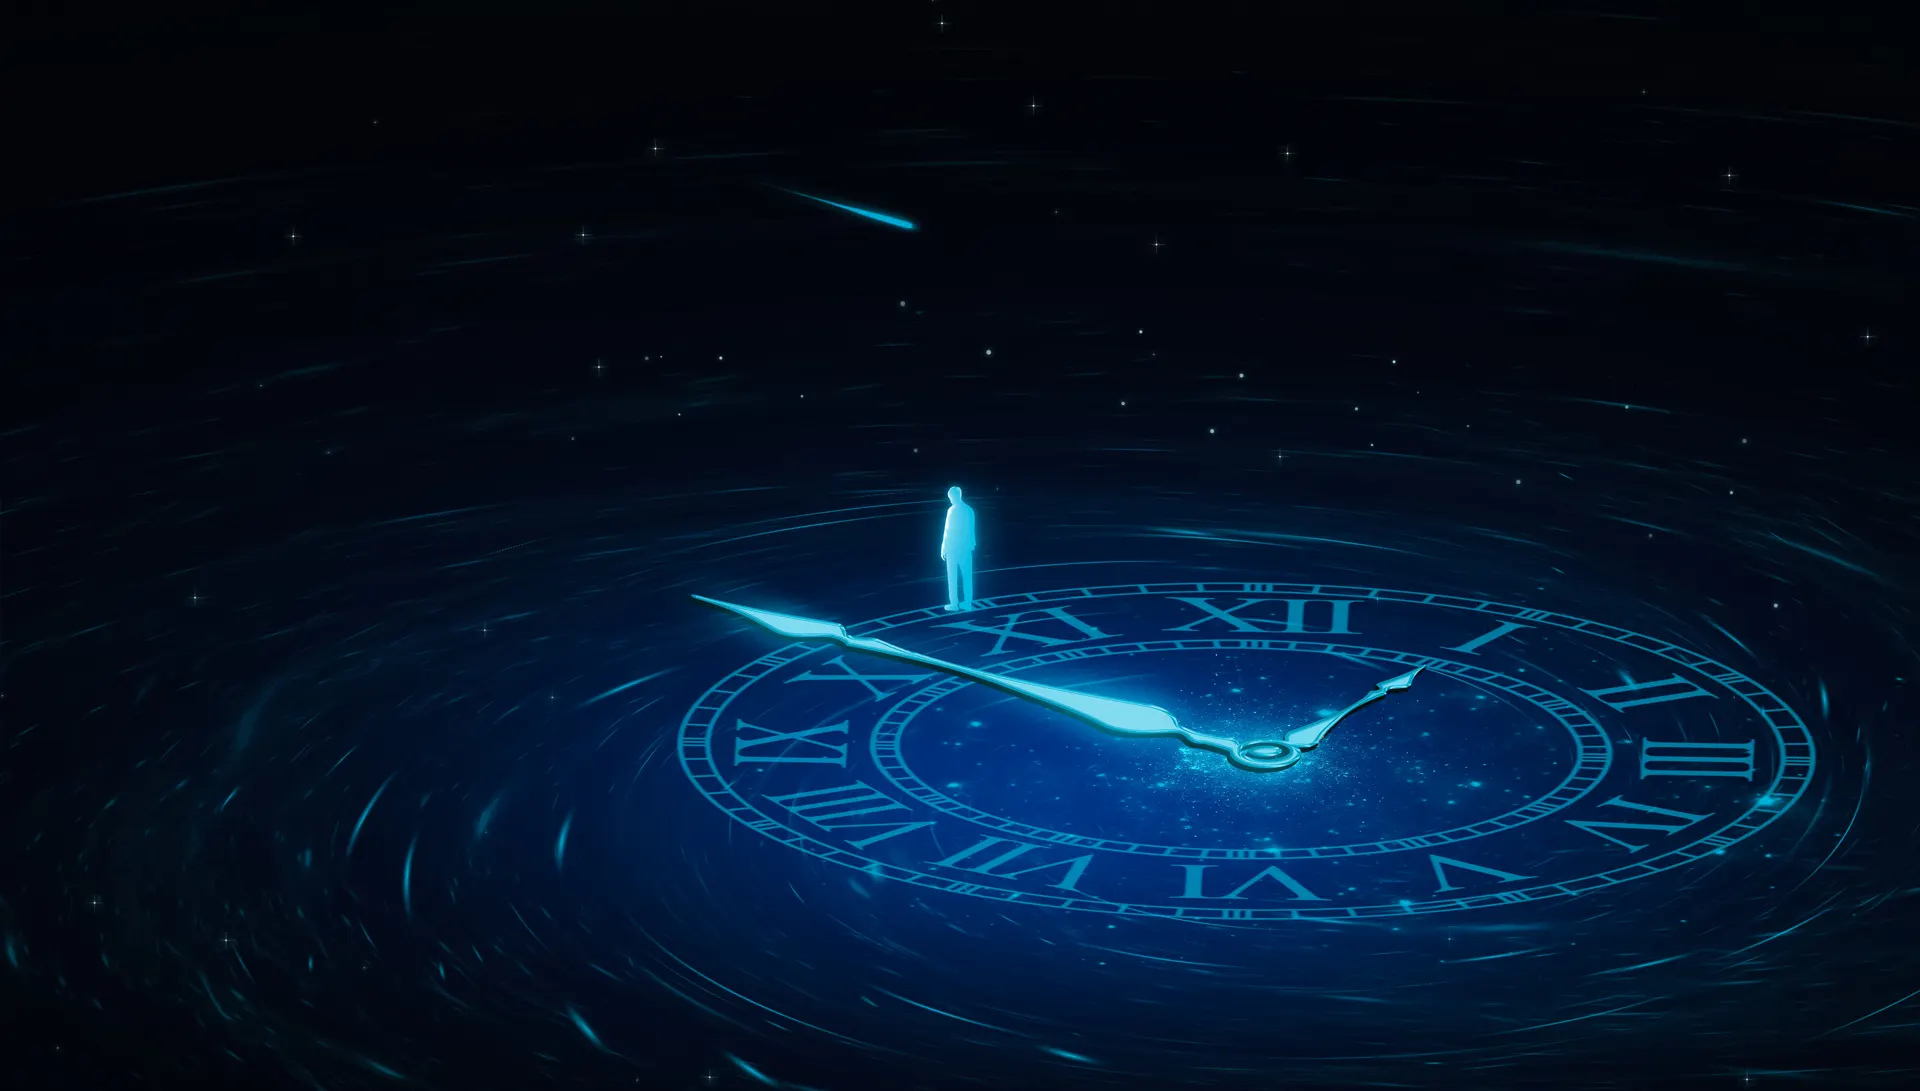
“A luminous clock floats in the stars—its hand bearing a soul suspended at 12:55, where time meets the vastness of creation.”
Space Race
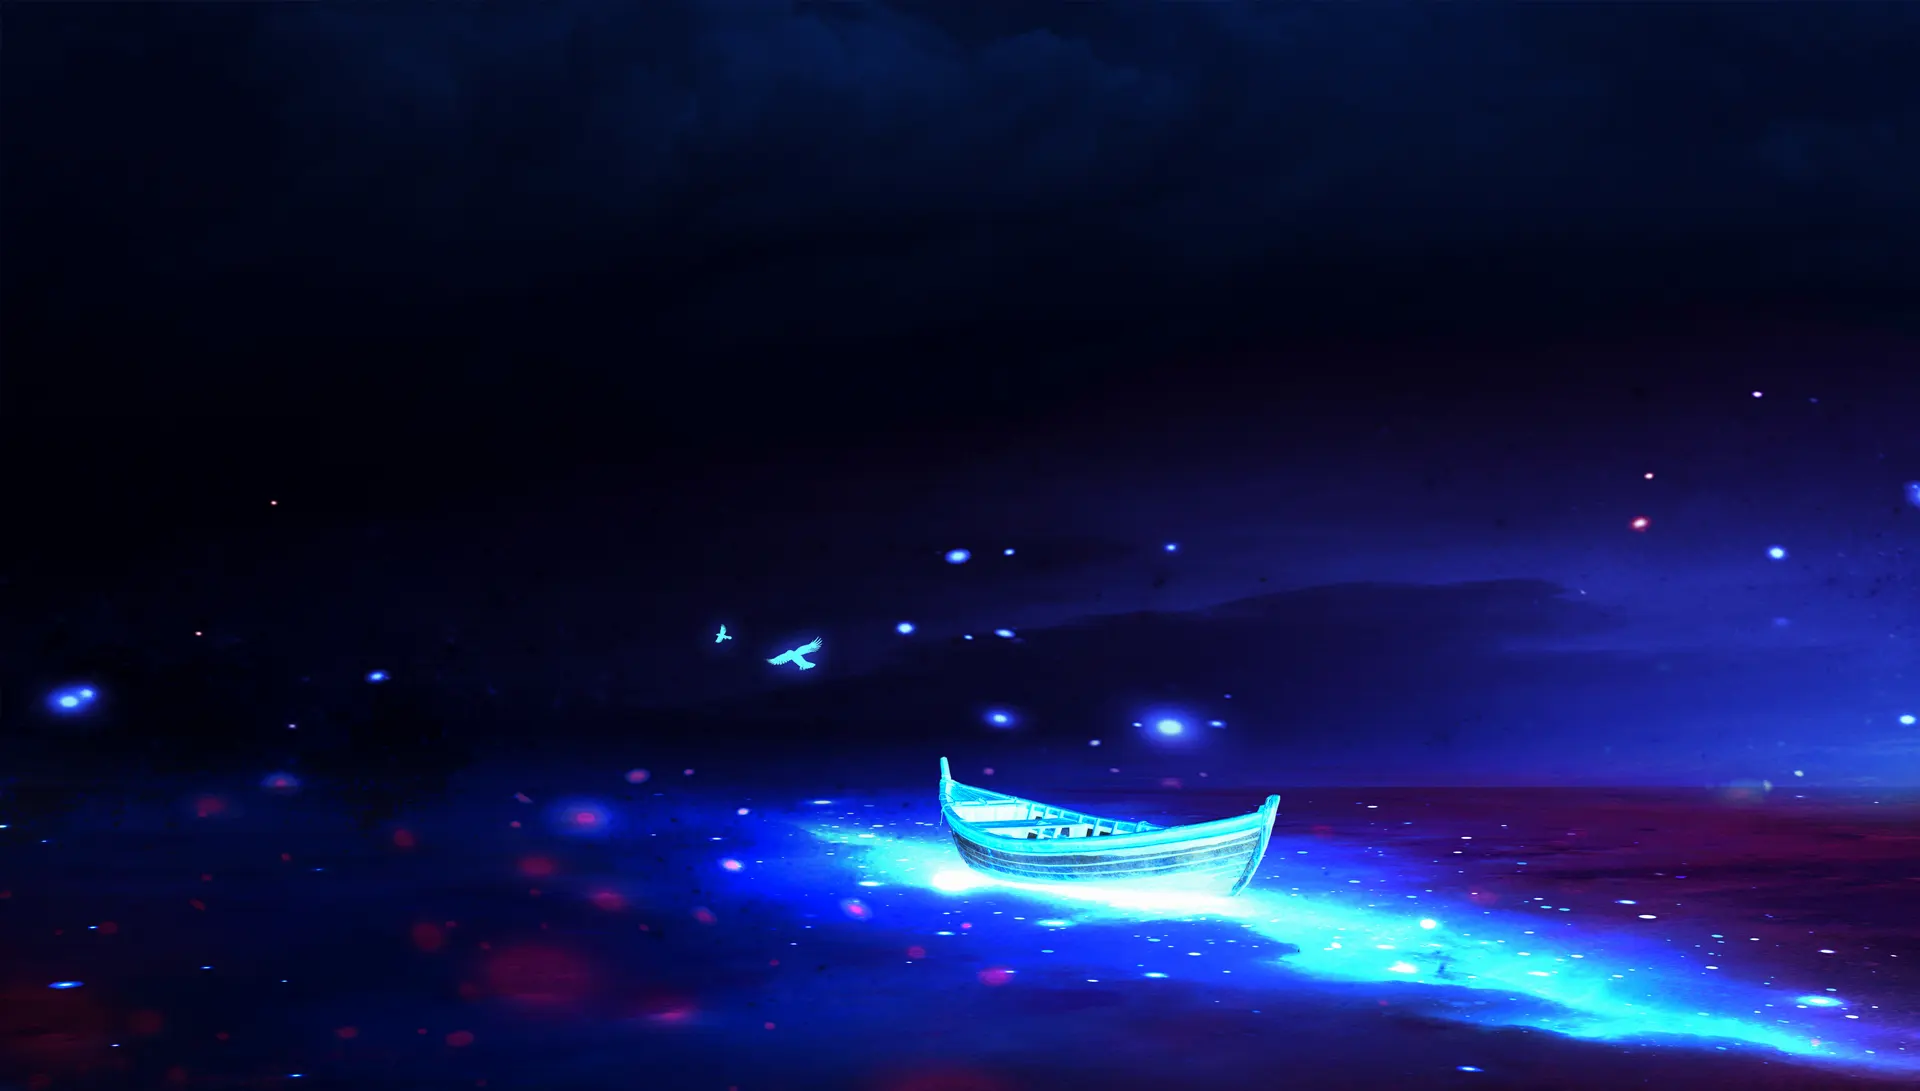
“A lone boat drifts across a glowing nebula—its path lit by cosmic birds racing through the night.”
Moon time
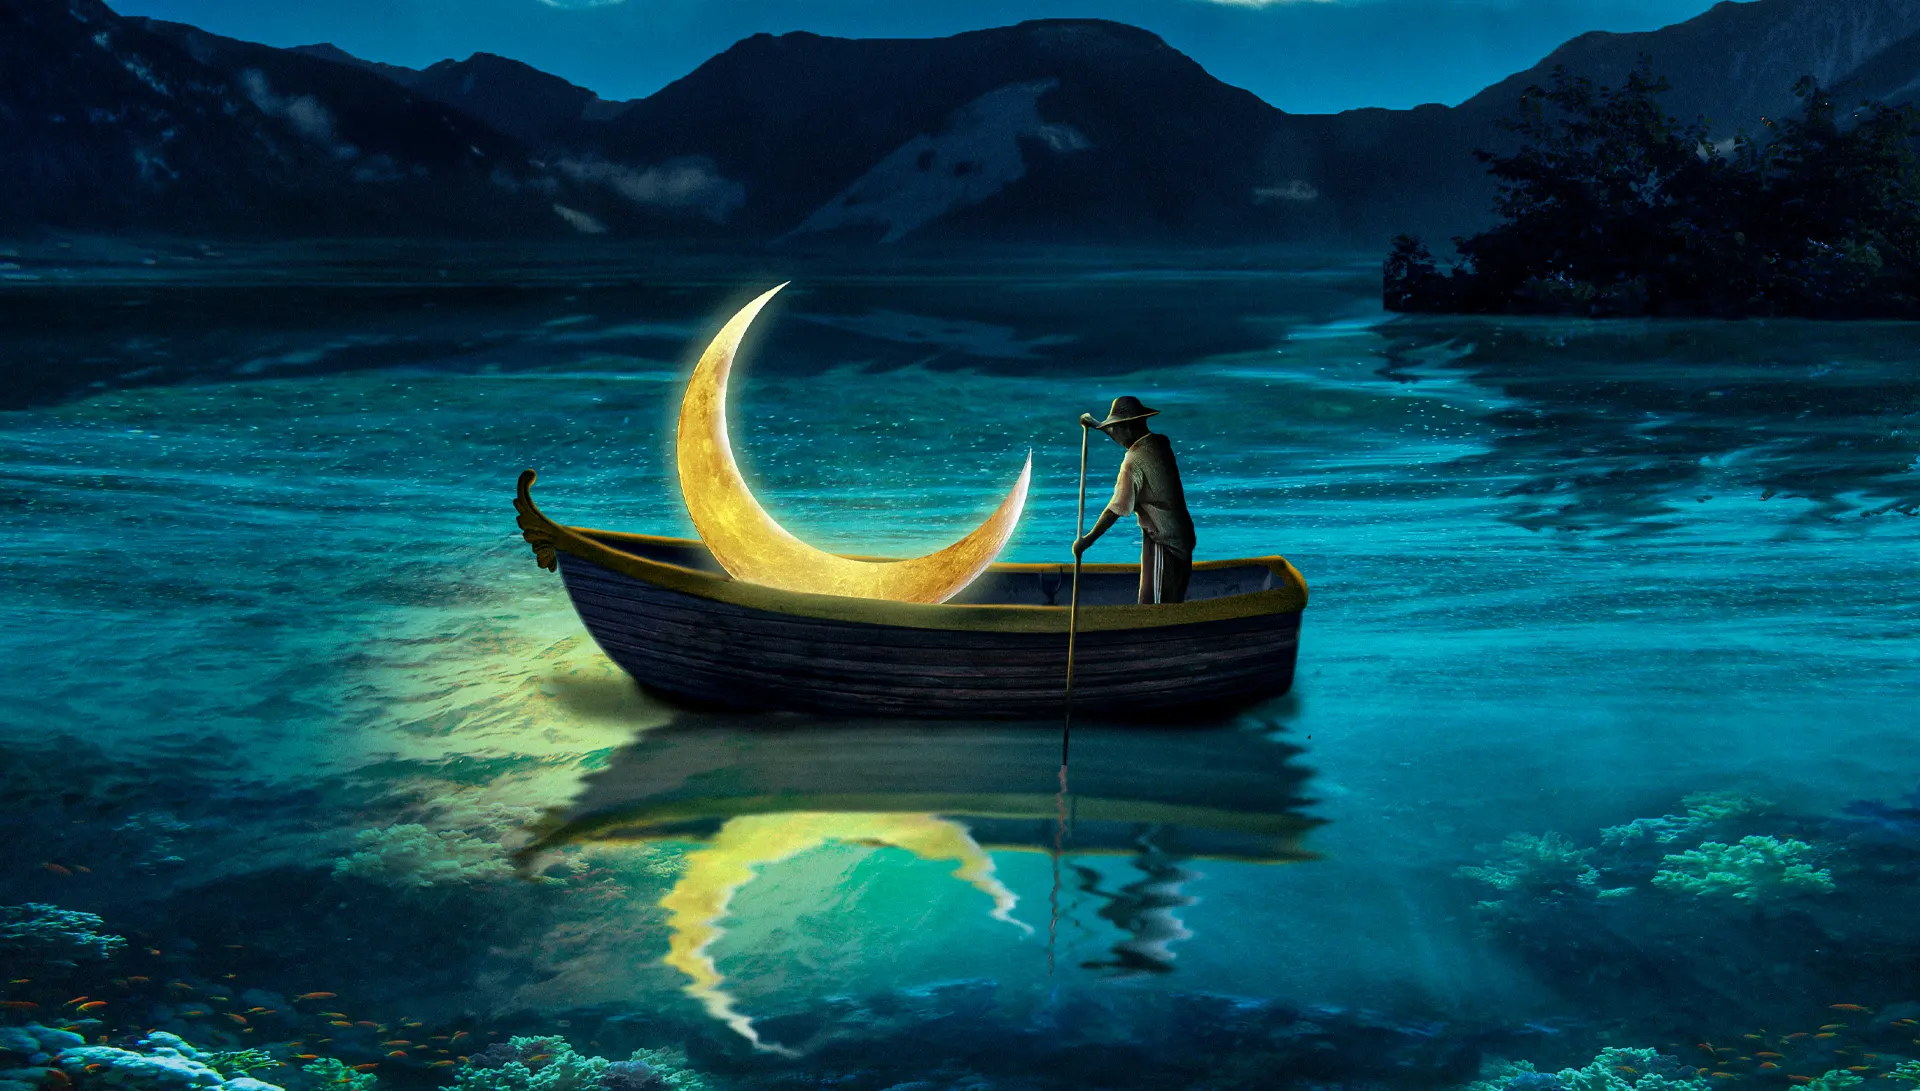
“A crescent moon rests within a boat—its golden glow guiding across blue waters, a timeless voyage through silence and wonder.”
Supernova
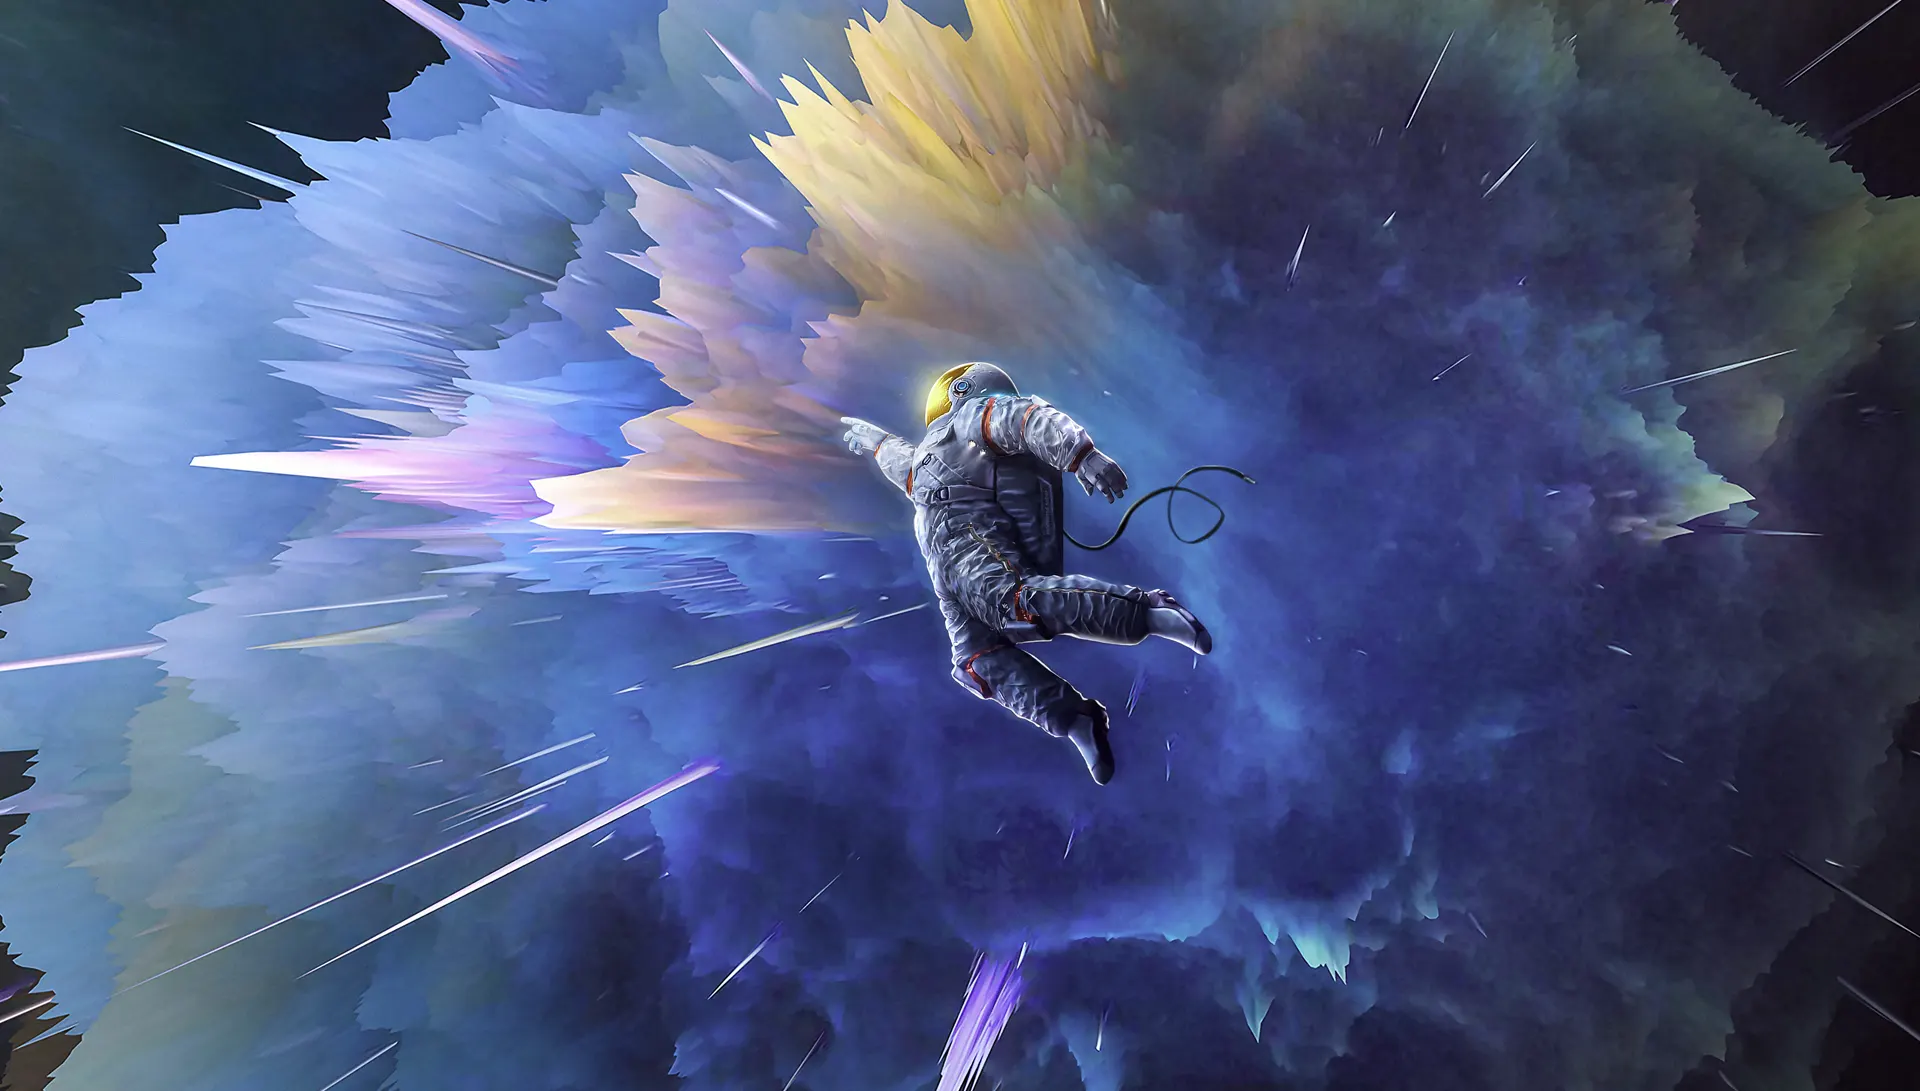
“An astronaut drifts into a radiant nebula—colors erupt like galaxies reborn, a vision of beauty within chaos.”
Inside
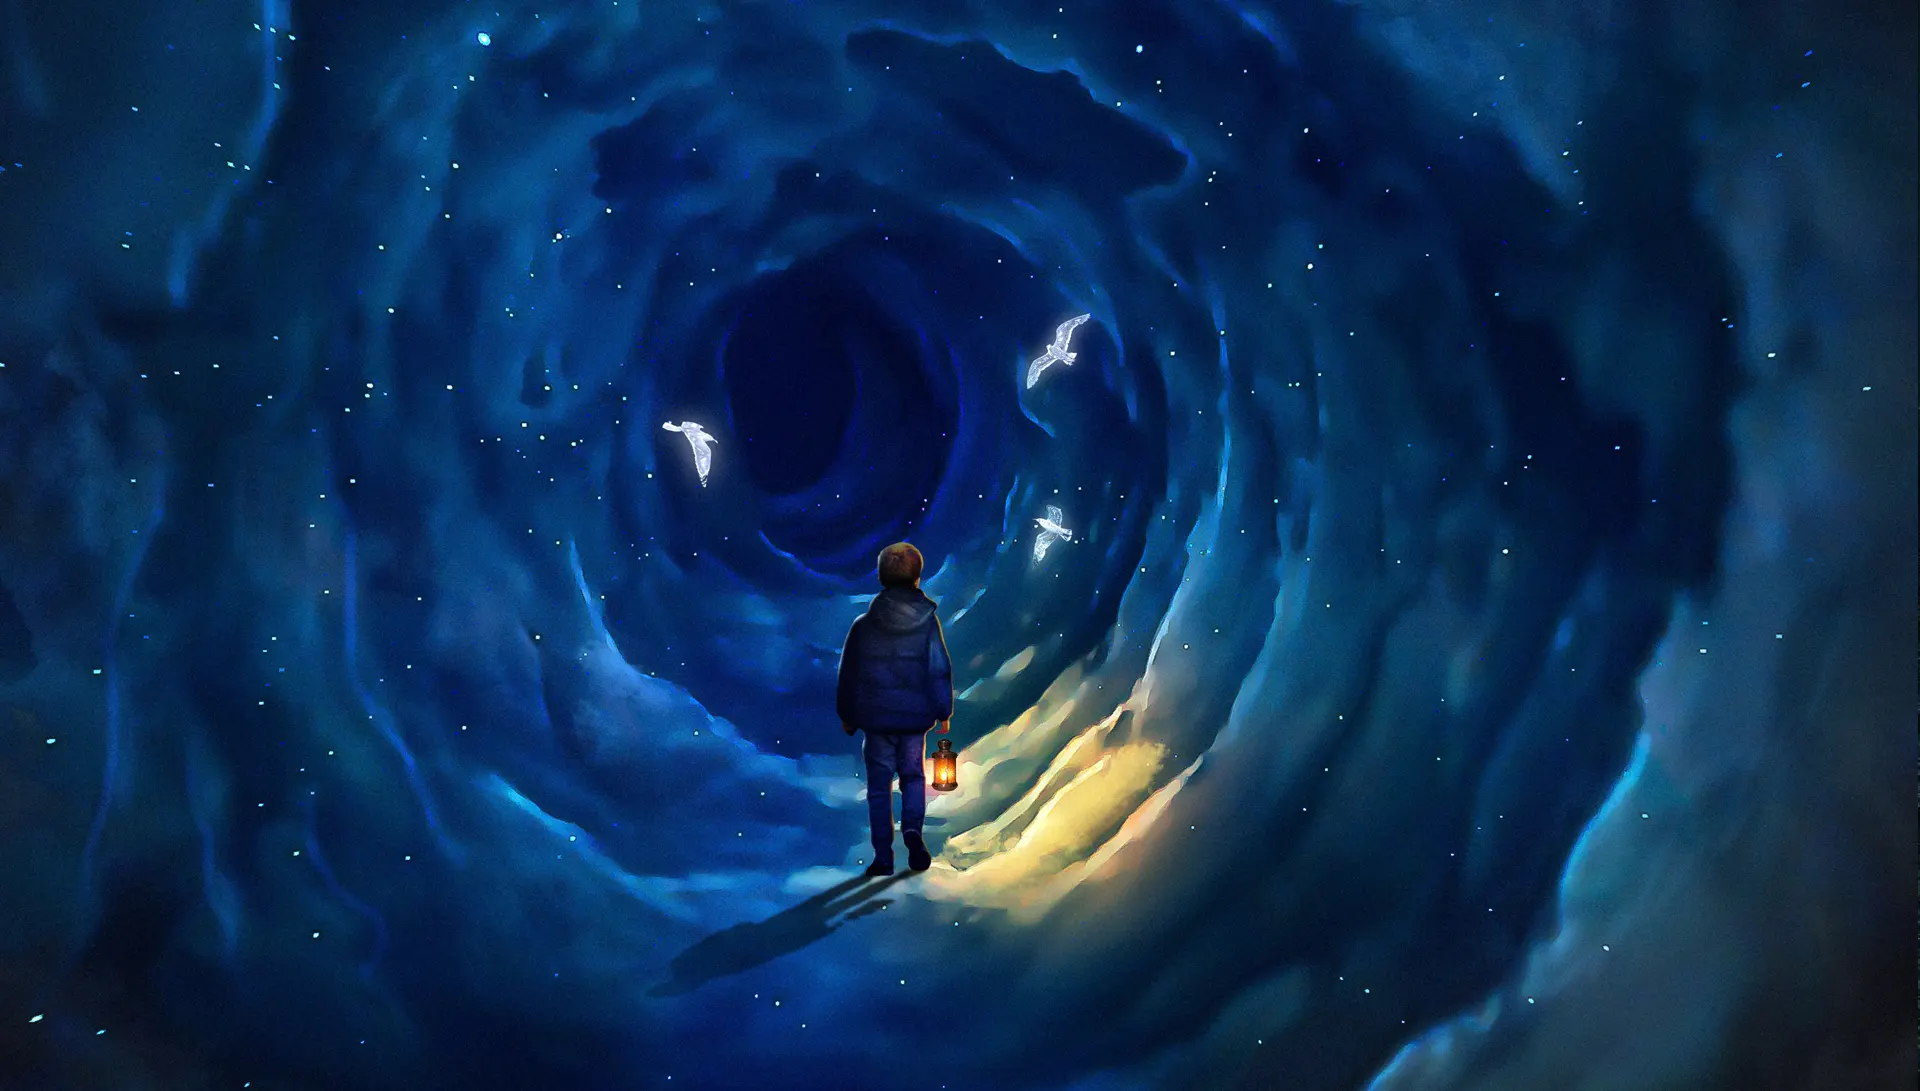
“A lone figure steps into a spiral of clouds, lantern in hand—light guiding through mystery, as if searching for the soul within.”
Create a Realistic Nebula in Photoshop

Hey there, space lovers!

Tutorial Resources

Do you want to learn how to create amazing nebula in Photoshop?
If so, you are in the right place. In this blog tutorial, I will teach you how to use my space brushes to paint beautiful and realistic nebula in photoshop.
My space brushes are specially designed to help you create stunning space scenes with ease. They have different shapes, sizes, and textures to suit your needs and preferences. You can use them to paint Nebula, stars, shooting star, black holes.
In this tutorial, I will give you some tips and tricks on how to blend the colors, add effects, and make your nebula look awesome.
You will see some examples of how I used these brushes in my own artworks as well.
Step 1: Create a new file and fill in a dark background.
The first thing you need to do is to create a new file in Photoshop.
Go to File > New and choose the size and resolution you want. I recommend using a large size and a high resolution for better quality. For this tutorial, I used 2500 x 1605 pixels and 300 dpi. Next, you need to fill in the background with a dark color #010006
.
This will create contrast and make your nebula stand out. You can use any dark color you like, but I suggest using a dark blue.
To fill in the background, go to Edit > Fill and choose the color you want. Alternatively, you can use the Paint Bucket Tool (G)
and click on the canvas.

Step 2: Paint with any nebula brush
Now comes the fun part. You can start painting your nebula with any of the space brushes.
These brushes are dynamic and realistic, so you don’t need to worry about the details. Just let your imagination run wild and enjoy the process.
To use the brushes, you need to load them into Photoshop first, you need to create a new layer above the background layer.
Go to Layer > New > Layer and name it “Nebula”. Then, select the Brush Tool (B) and choose any of the nebula brushes from the panel. Next, you need to choose a color for your nebula. You can use any color you want, but I suggest using a light or bright color to contrast with the dark background.
You can use the Color Picker Tool (I) to pick a color from an image or use the Color Panel to choose a color manually. Then, you can start painting on the canvas. You can use different brushes and colors to create different shapes and effects.
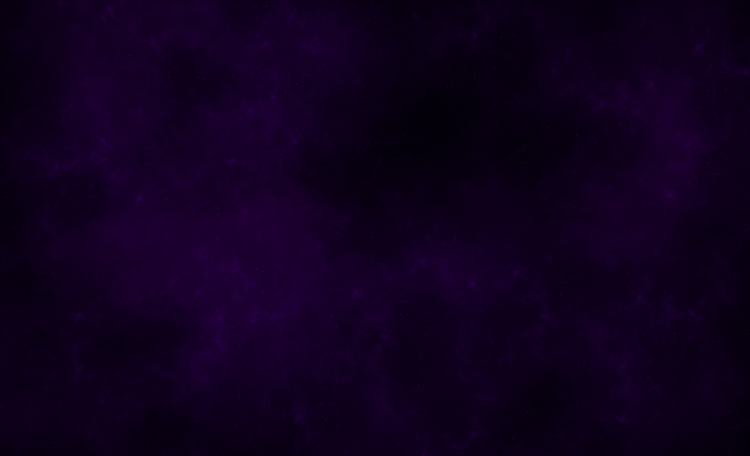
Step 3: Paint another nebula with purple
To make your space scene more interesting, you can paint another nebula with a different color. For this tutorial, I chose purple, but you can use any color you like. To paint another nebula, you need to create another layer above the previous one.
Go to Layer > New > Layer and name it “Nebula 2”. Then, select the Brush Tool (B) and choose another space brush from the panel.
You can use a different brush as before. Next, you need to choose a purple color #7a0c65
for your nebula in photoshop.
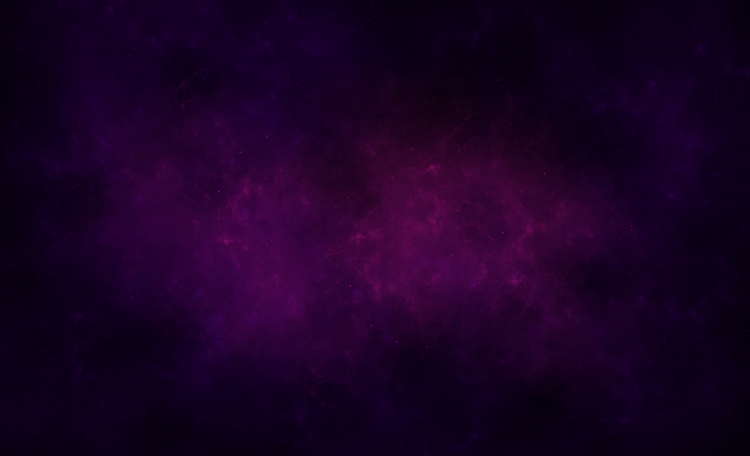
Step 4: Paint stars
To complete your space scene, you need to add some stars. You can find dynamic stars in this pack that will help you create realistic stars.
To paint stars, you need to create another layer above the previous one. Go to Layer > New > Layer and name it “Stars“. Then, select the Brush Tool (B) and choose any of the star brushes from this brush pack.
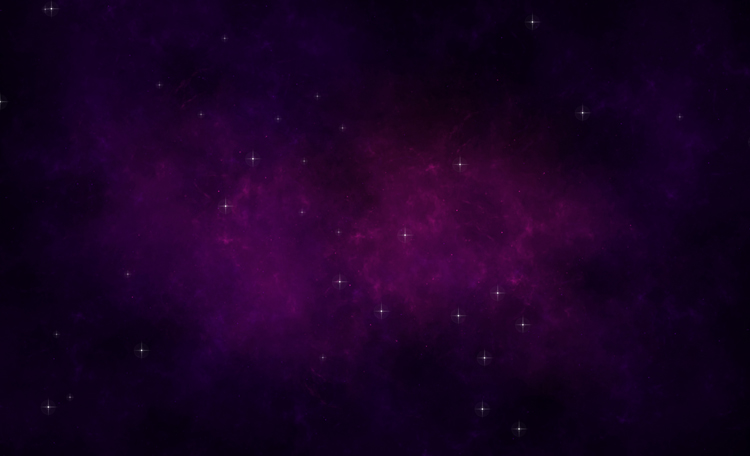
Step 5: Add some contrast with a linear nebula.
create a new layer and name it “Linear Nebula”. Then, select a nebula brush and a color for your nebula. I chose a purple color #ff00b8
Next, paint on the canvas with the brush. You can use different brushes and colors to create different shapes and effects.
However, instead of using Linear Light as the blending mode. This will make your nebula brighter and more intense.
You can also change the blending mode of the layer to get different results, but you can experiment with other modes as well.
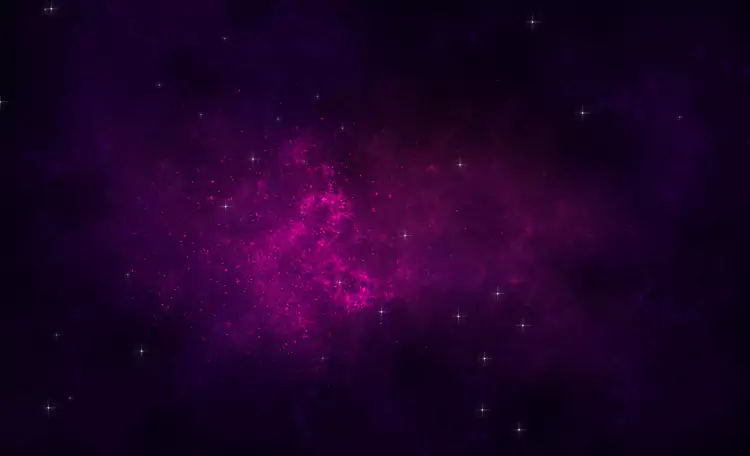
Step 6: Add some warmth with a yellow nebula.
To make your space scene more colorful, you can add some warmth with a yellow nebula.
You should have something like this:
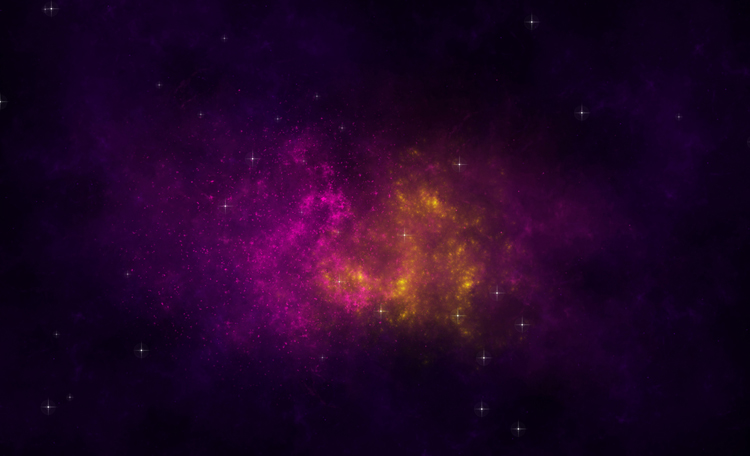
I hope you enjoyed this tutorial and found it useful to create nebula in photoshop. If you did, please share it with your friends. I would love to see your creations and hear your feedback.
Thank you for reading and happy painting!
How to Create a Black Hole in Photoshop
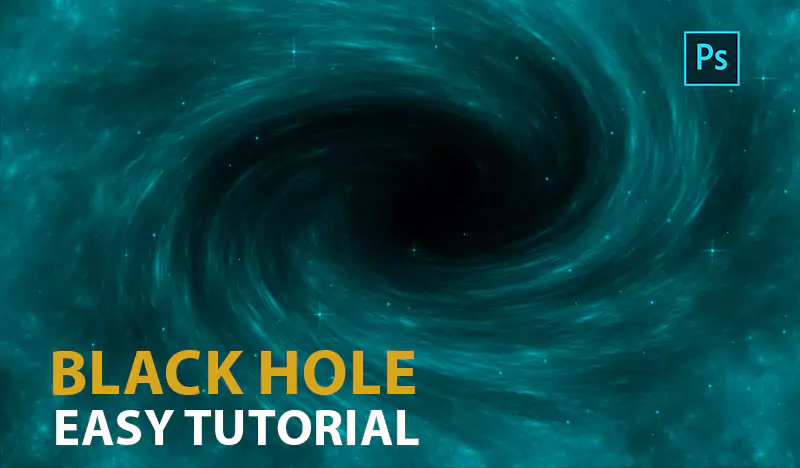
How to Create a Black Hole in Photoshop!
This tutorial will also introduce you to a new technique for Photoshop that I have developed to create realistic black hole in photoshop with brushes. This technique is simple and effective, and it can be used to create different types of black holes with different colors and shapes. You will be amazed by the results you can achieve with this technique and the brush set. So, if you are ready to learn something new and exciting, let’s begin this tutorial!
Tutorial Resources
Step 1: Create a new file and a dark background color.
The first step is to create a new file in Photoshop with the dimensions of your choice.
I’m using a 2500 x 1605 PX file with a resolution of 300 dpi. You can use any size you want, but make sure it is large enough to fit your space scene.
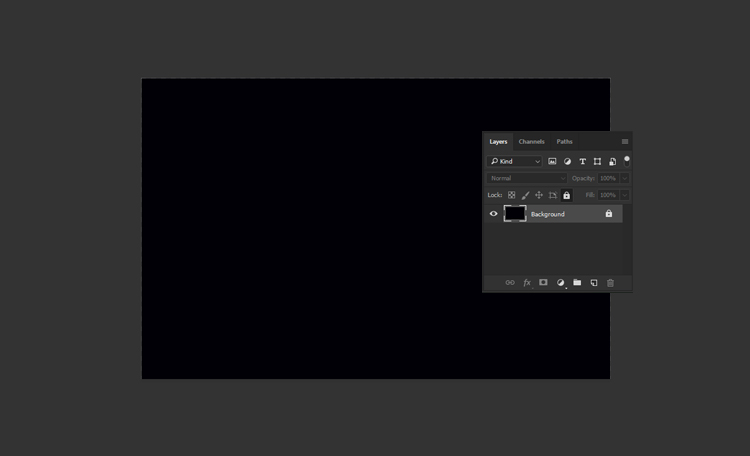
Next, we need to fill the background with a dark color. You can use any dark color you like, but I recommend using a very dark blue or purple to create some contrast with the stars and planets later. To fill the background, select the Paint Bucket Tool (G) and click on the canvas.
You should have something like this:
Step 2: Import our brushes and select the nebula you want.
The next step is import brushes.
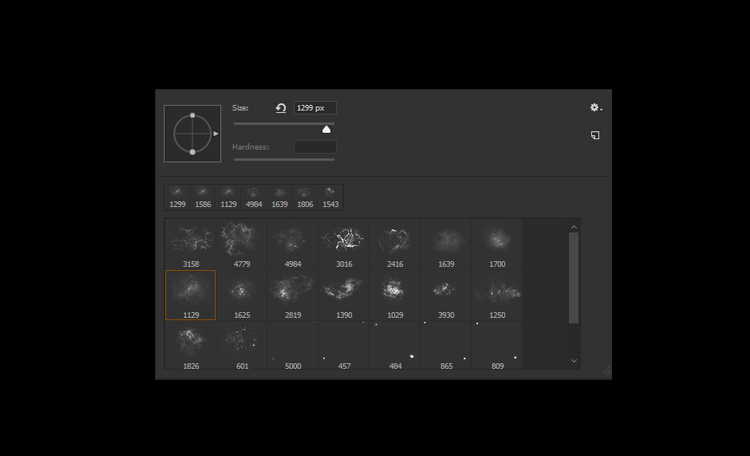
Now, we are going to use one of the brushes to create a nebula. A nebula is a cloud of dust and gas in space.
To create a nebula, select the Brush Tool (B) and choose one of the brushes from the set, which looks like this.
Step 3: Paint with nebula in a circular movement
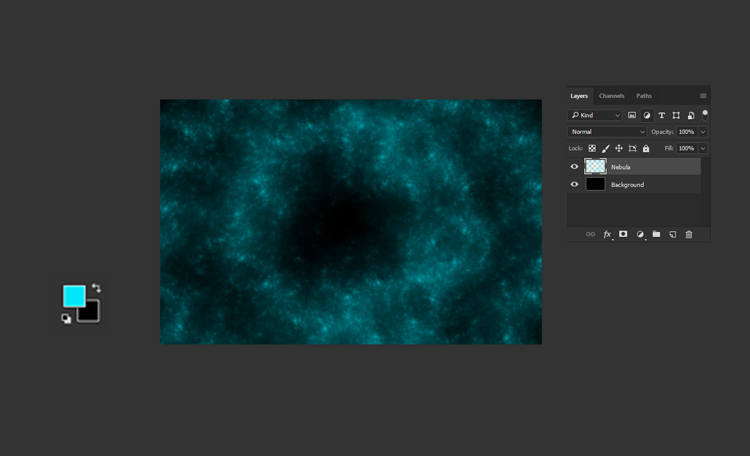
The next step is to change the foreground color to #00e5f8 , which is a bright cyan color. You can use the Color Picker or type the hex code in the box.
Next, create a new layer (Ctrl+Shift+N) and name it Nebula. On this layer,
Paint with the nebula brush in a circular motion around the center of the canvas to create a more dynamic and realistic effect.
Step 4: Merge layers and apply twirl filter.
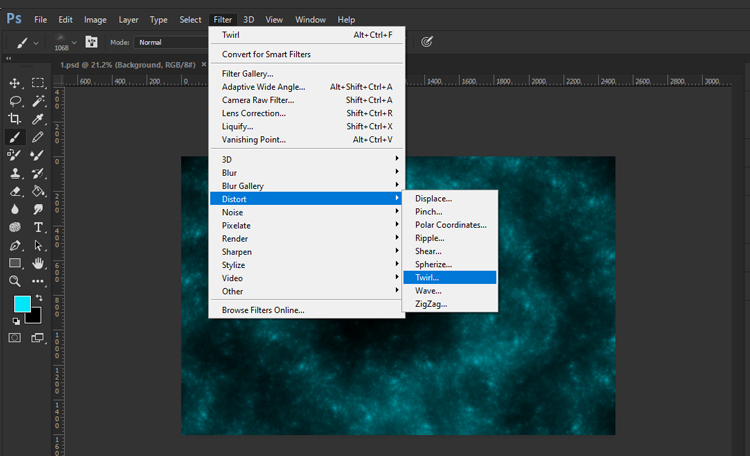
The next step is to merge the nebula layers and apply a twirl filter to create a spiral effect.
To do this, select both nebula layers in the Layers panel and press Ctrl+E to merge them. Then,
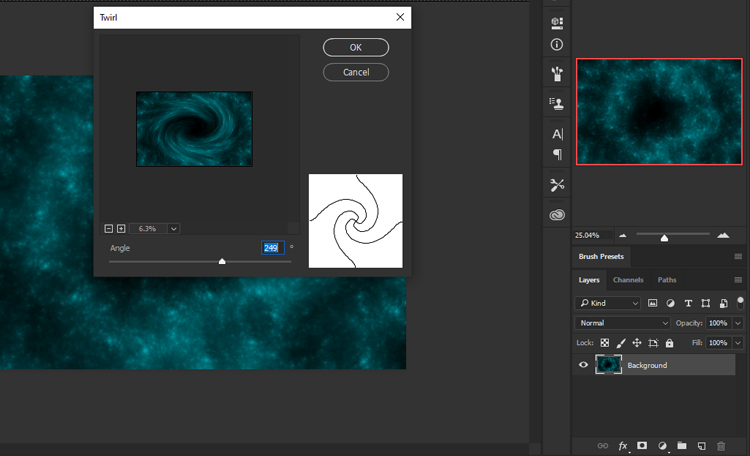
go to Filter > Distort > Twirl
and adjust the angle as you like.
Step 5: Use angle to create a black hole.
The angle is the amount of rotation that the filter applies to the image. The higher the angle, the more twisted the image becomes. The lower the angle, the less twisted the image becomes. You can use any angle you want, but I recommend using a high angle to create a spiral effect.
I’m using an angle of 249 degrees. You should have something like this.
Step 6: Create a new layer and paint some edges in the corner.
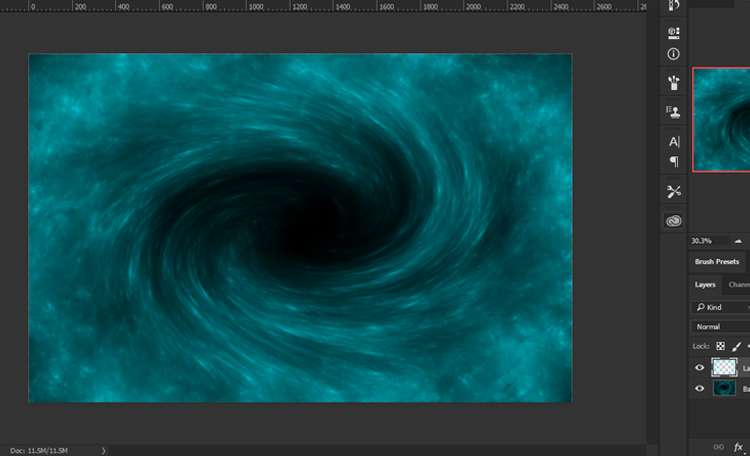
The next step is to create a new layer and use the same nebula brush to paint some edges in the corner of the canvas. This will add some depth and interest to your space scene. To do this, select the Brush Tool (B) and choose the same nebula brush as before.
Then, create a new layer. On this layer, click and drag the brush along the edges of the canvas. You can use any color you like, but I recommend using a lighter color than the background. You should have something like this:
Next, add some stars to your space scene using the dynamic stars brush in this pack. This brush will create different sizes and brightness of stars depending on the pressure and speed of your stroke.
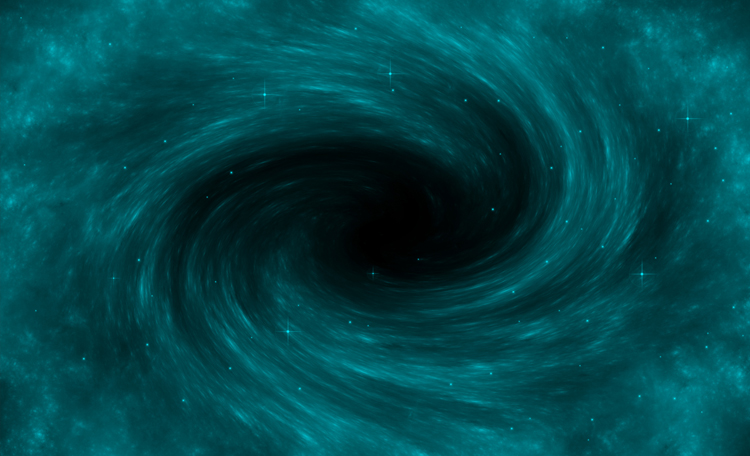
Congratulations!
You have successfully created a stunning black hole scene in Photoshop using a custom brush set for space. I hope you enjoyed this tutorial and learned something new. Thank you for following along!