
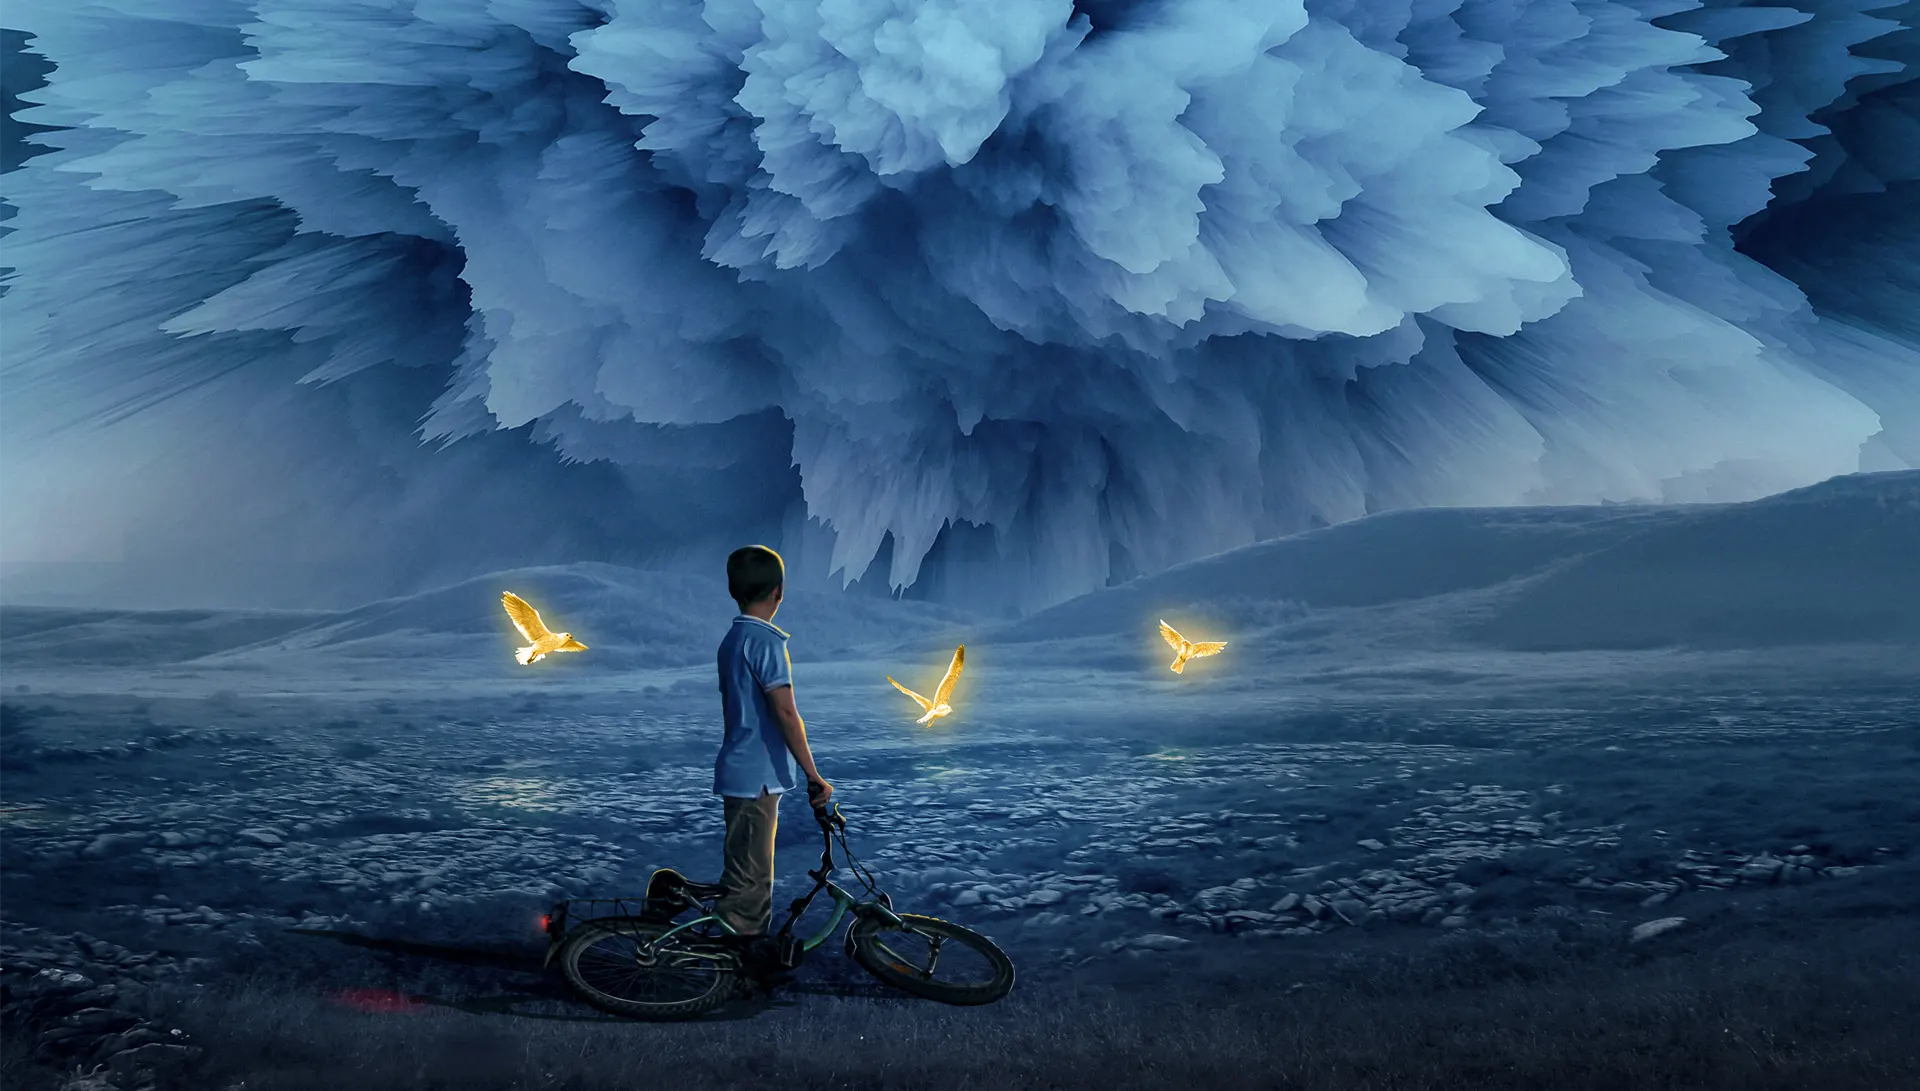
“A lone figure gazes at storm clouds breaking apart—three golden birds emerge from the chaos, symbols of hope rising from destruction.”
Tag: digital painting
Symphony III

“In a forest of shadows, a crescent moon rests upon the earth—its light releasing golden birds, while a lone figure with a guitar listens to the night’s final song.”
End of The Night
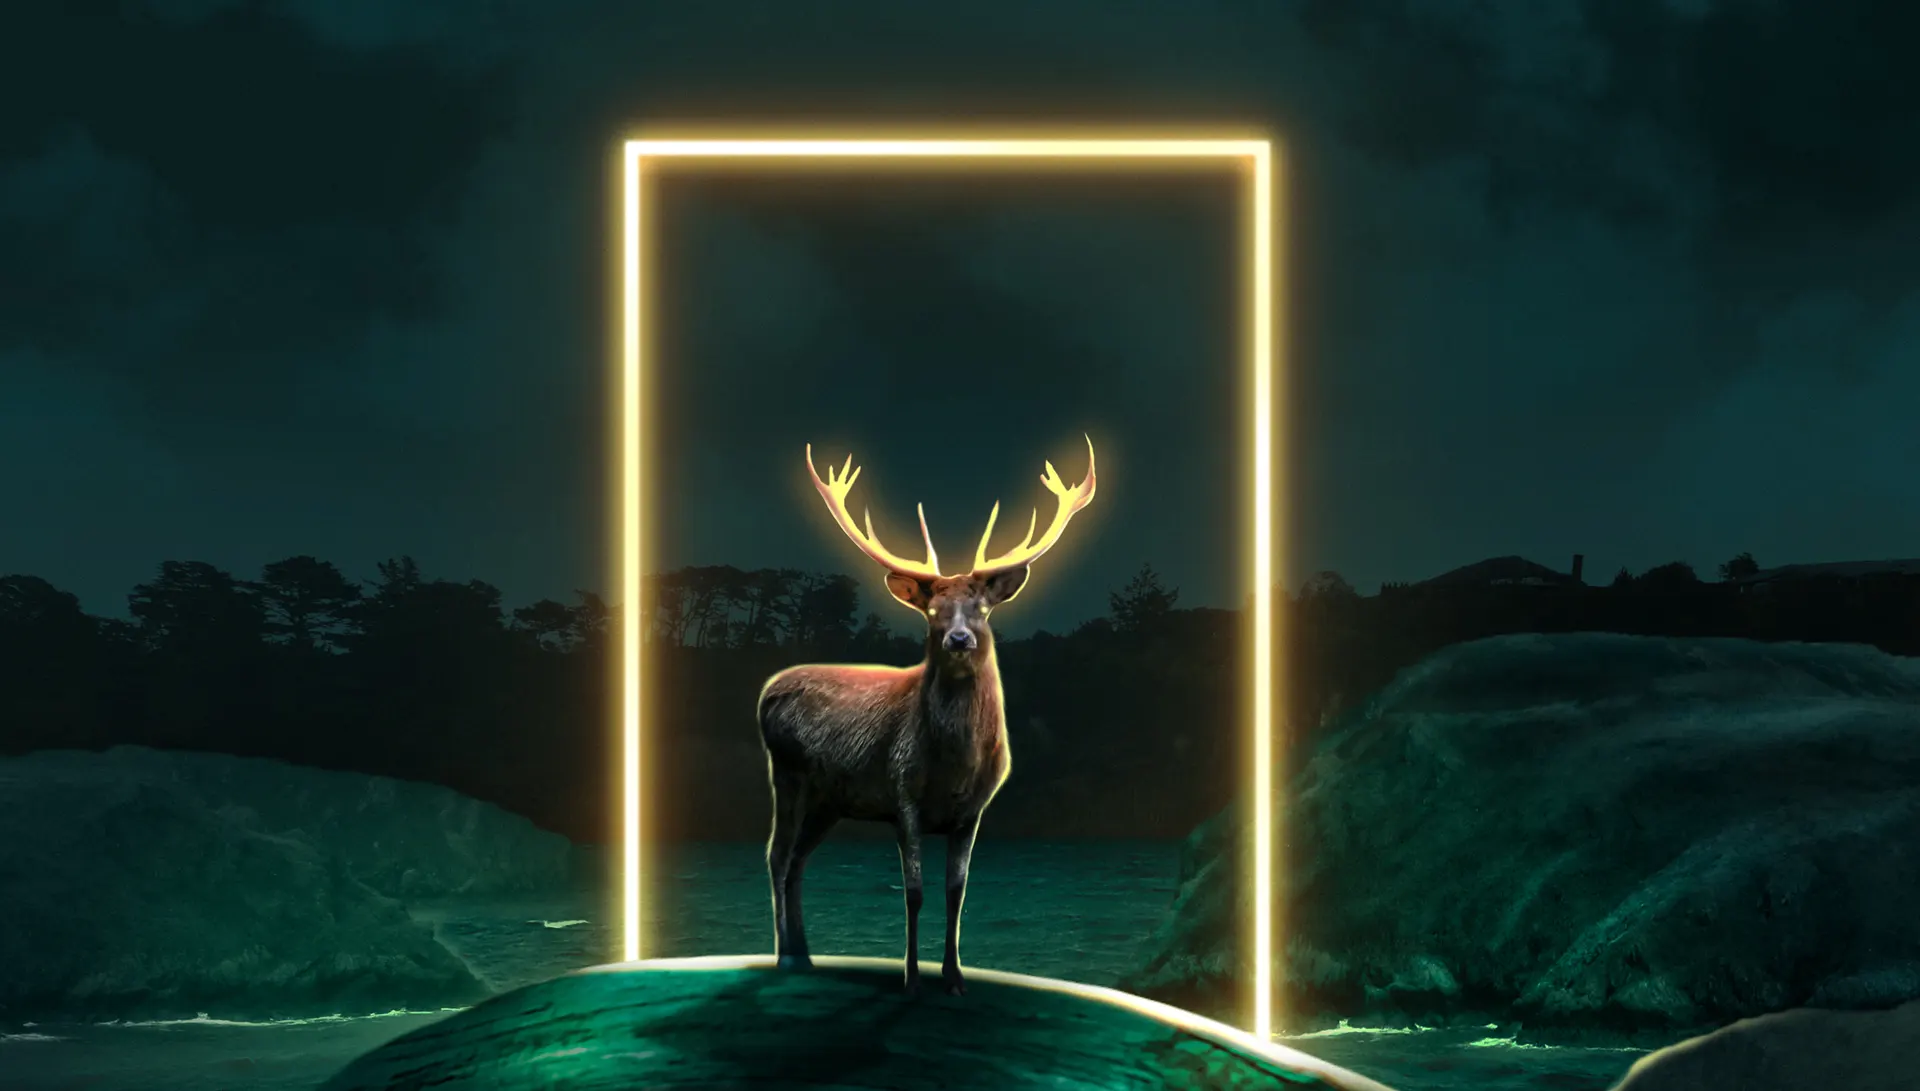
“A lone deer stands before a radiant frame—light piercing the darkness, a quiet symbol of endings that awaken new beginnings.”
The cow Explosion

“An astronaut witnesses a radiant burst—an explosion of light and spirit, surreal and untamed, echoing the wild energy of life itself.”
Jouska
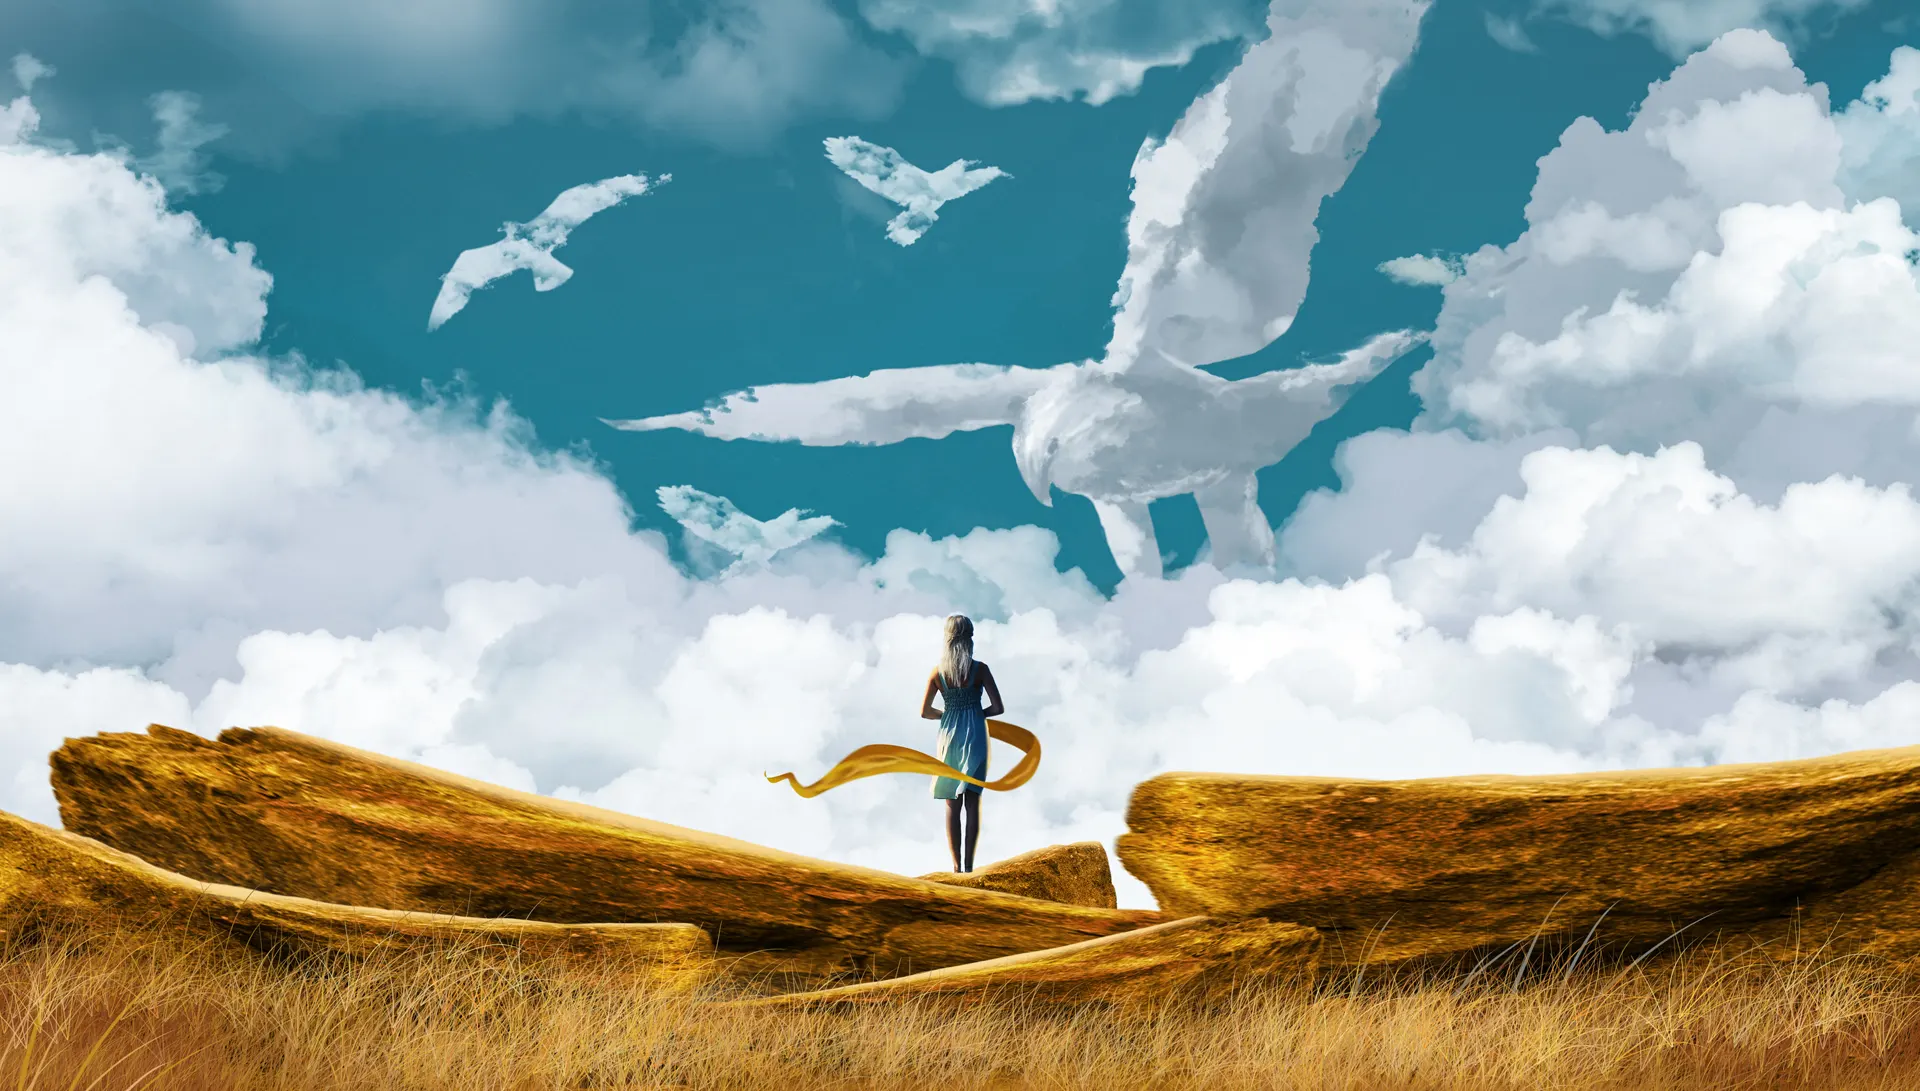
“A figure stands beneath bird‑shaped clouds, ribbon in hand—an imagined conversation with the sky, where thoughts take flight.”
Vortex

A figure drifts beneath turquoise light, surrounded by corals and glowing blooms—an underwater dream where silence becomes infinite
Mission on Saturn

“A lone traveler ascends stone steps toward Saturn’s radiant rings—an odyssey of wonder, where the path itself feels infinite.”
Symphony II
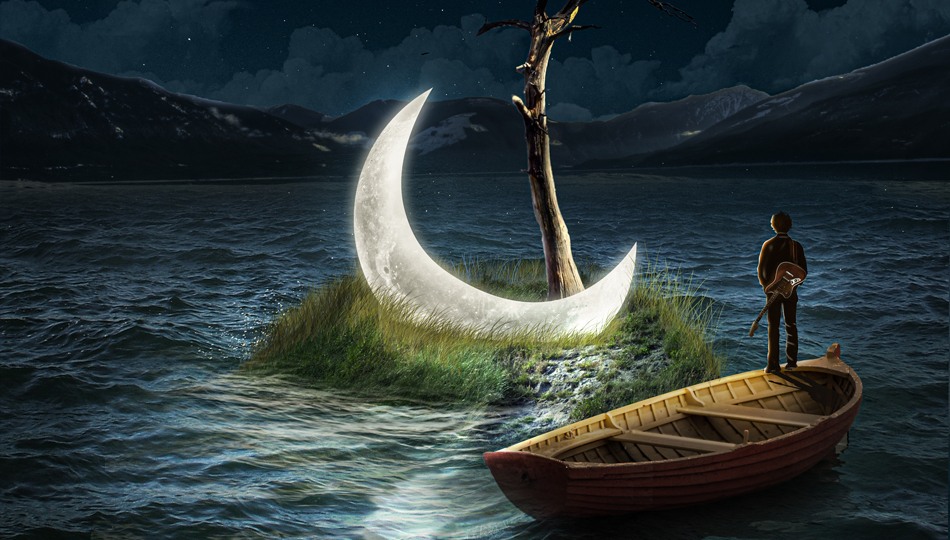
“A lone figure drifts across dark waters, guitar in hand, as a crescent moon glows beside a silent tree—music and light weaving a dreamlike harmony.”
Freedom

From an open cage, radiant birds rise into the night—childhood longing turned into light, showing that creativity needs freedom to shine.
Enterprise
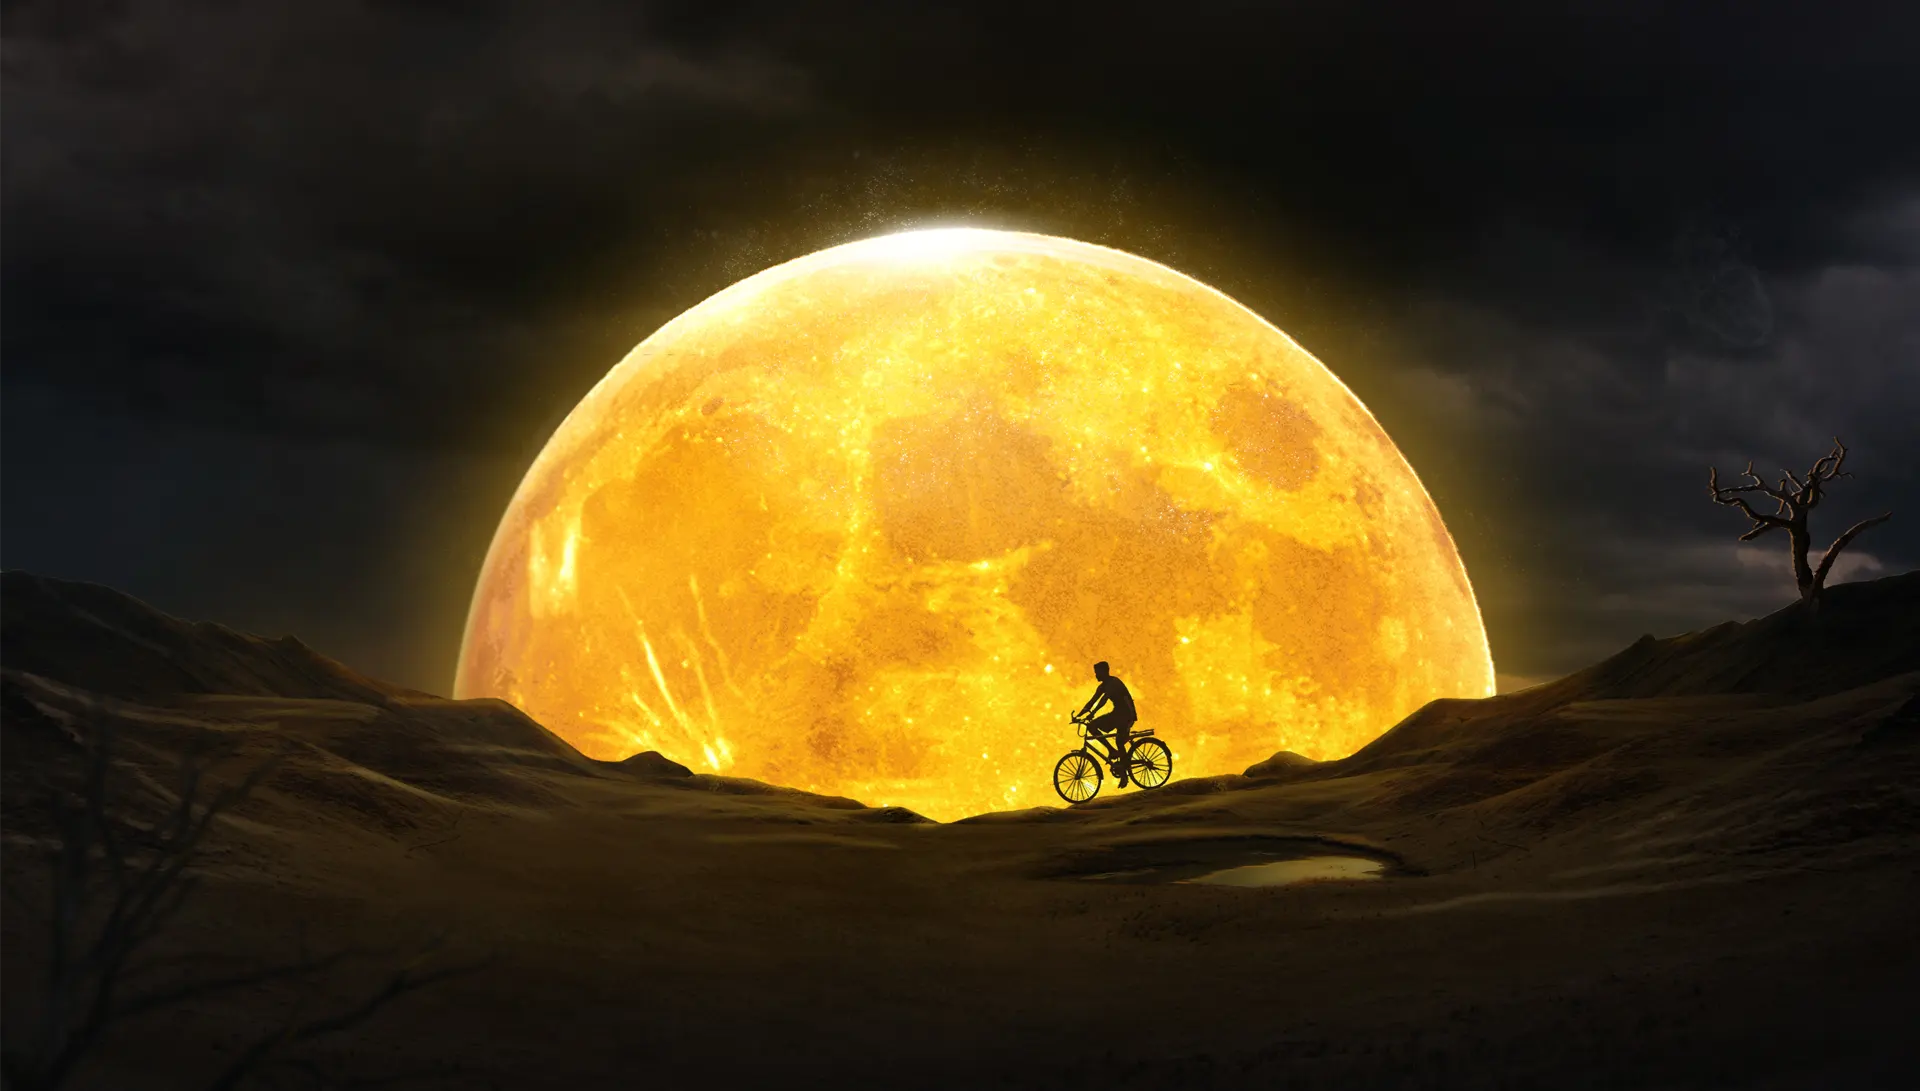
Under the brilliance of a full moon, the journey unfolds. The glowing light becomes both guide and companion, illuminating paths of courage and wonder.
How to Paint Clouds in Photoshop Using Custom Brushes

How to Paint Clouds in Photoshop Using Custom Brushes
Introduction
Creating realistic clouds in Photoshop can elevate your digital art to a new level. In this tutorial, we’ll guide you through the process of painting clouds using custom brushes. Whether you’re a beginner or an experienced artist, these techniques will help you achieve stunning results.
Step 1: Choosing the Right Brush
- Download My Brush Set: Click here to download the custom cloud brushes.
- Load the Brush: Open Photoshop, go to the Brush tool (B), click on the brush preset picker, and select “Load Brushes” to add your new cloud brushes.
- Choosing the Right Brush To paint clouds, custom brushes are essential. You can choose from our exclusive brush set, which offers a variety of cloud brushes to suit your needs:
Step 2: Setting Up Your Canvas
Start by opening Photoshop and creating a new document.
Set your dimensions according to your project needs. A good starting point is 2500x1520 pixels with a resolution of 300 DPI.
Step 3: Preparing the Background
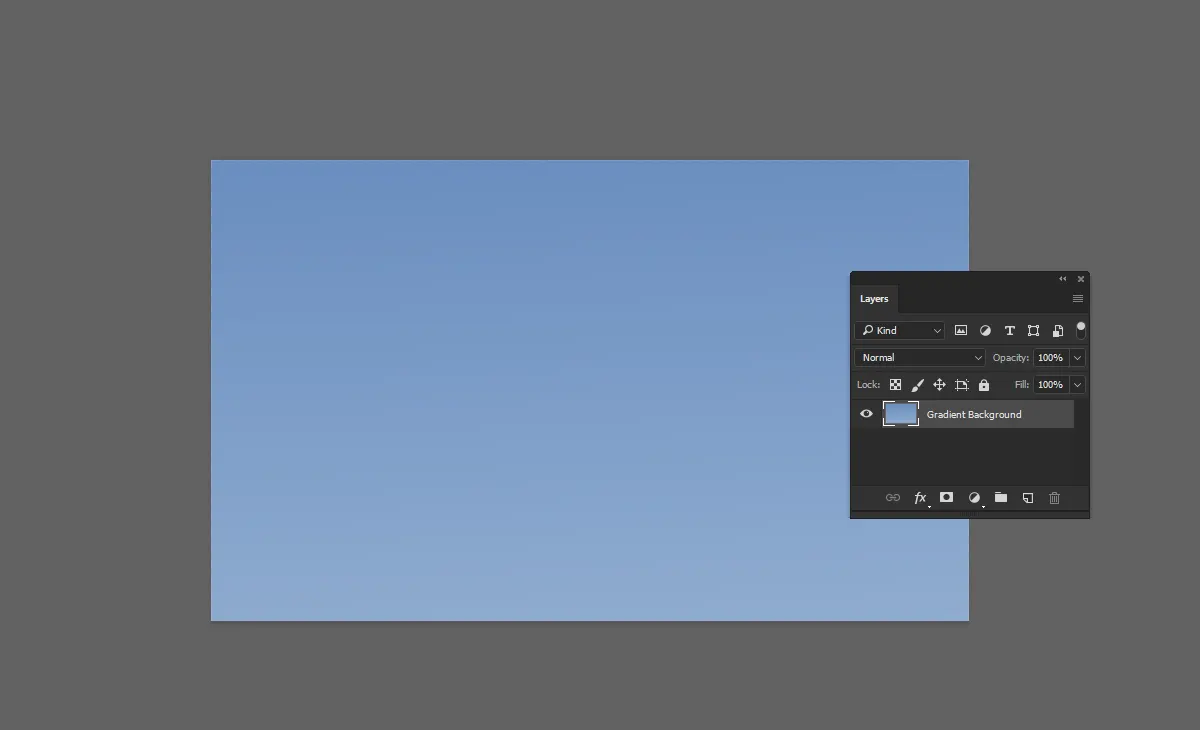
Before painting the clouds, prepare a suitable background. A gradient sky works great:
- Create a New Layer: Open Photoshop and create a new layer for the gradient background.
- Select the Gradient Tool: Choose the Gradient tool (G) from the toolbar.
- Choose Your Colors: Set your gradient to transition between the colors
#5a81b8and#8ca9ce. - Apply the Gradient: Click and drag from the top to the bottom of your canvas to apply the gradient, creating a beautiful sky backdrop for your clouds.
Here’s the result.
Different Examples of Results with Our Cloud Brush Set Using our custom cloud brush set, you can achieve a variety of cloud styles. Here are a few examples:

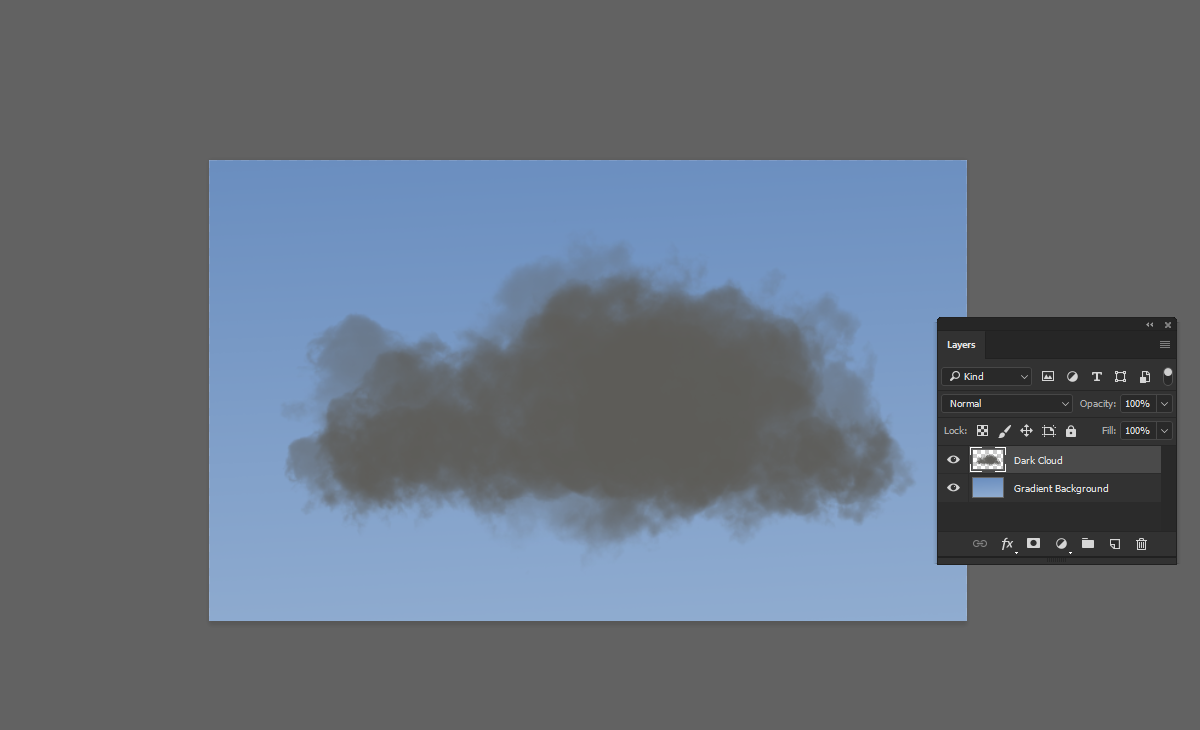
Step 4: Painting the Shadow of the Clouds
To create realistic shadows for your clouds:
- Set the Foreground Color: Change your foreground color to
#5d5c58. - Paint the Shadows: paint the shadow areas of your clouds. Focus on the lower parts and the areas that would naturally be darker.
Step 5: Painting the Light of the Clouds
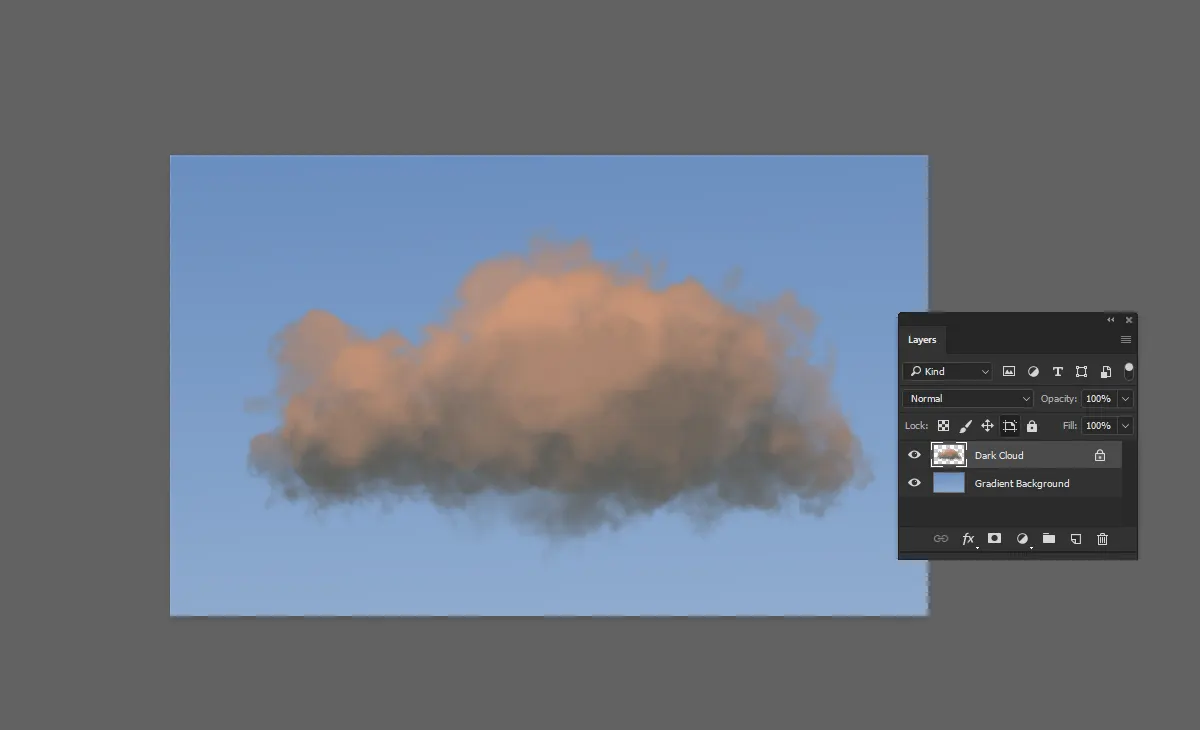
For adding highlights and enhancing the depth:
- Disable Auto-Nesting: Ensure that “Prevent Auto-Nesting into and out of Artboards” is selected.
- Set the Foreground Color: Change your foreground color to
#eaac8a. - Paint the Highlights: Using the same brush, paint the light areas of your clouds. Focus on the top and areas that catch the lightest to create inner shadows.
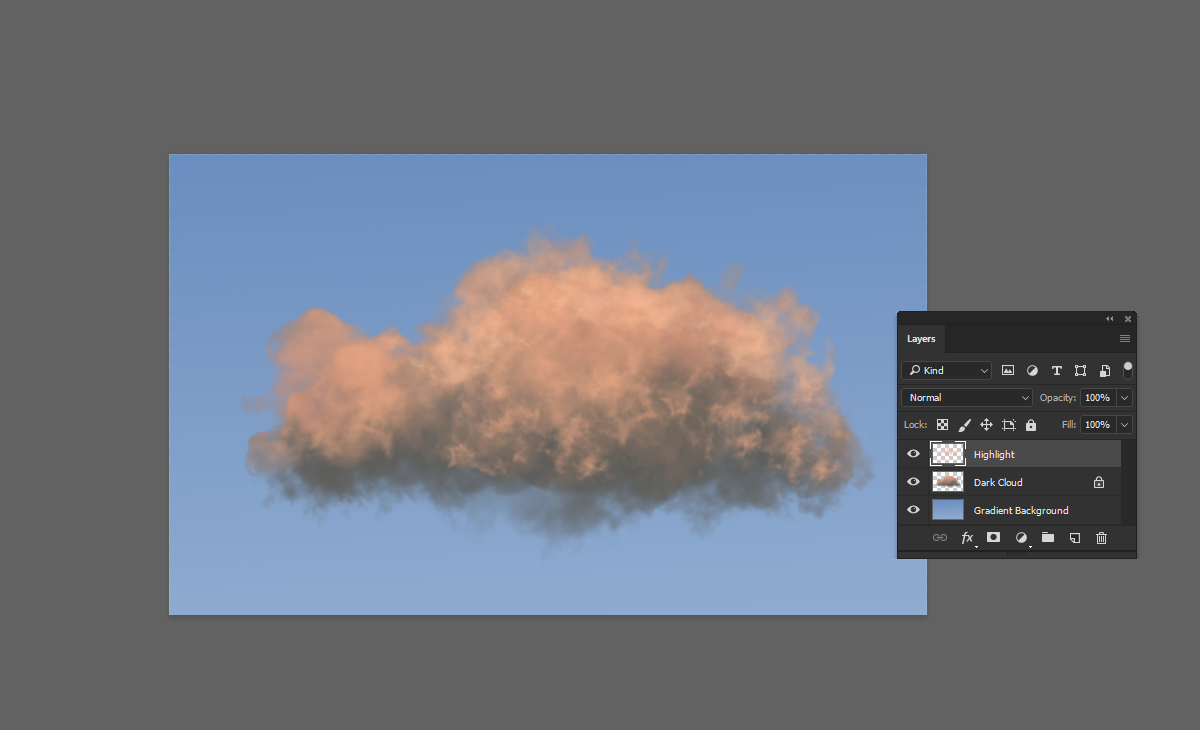
Step 6: Creating Highlights for the Clouds
To add highlights:
- Create a New Layer: Add a new layer and name it “Highlight”.
- Set the Foreground Color: Change your foreground color to
#f9ccab. - Paint the Highlights: paint the highlights on the top and edges of your clouds. This will add a glowing effect and enhance the realism.
Step 7: Adding a Second Layer of Highlights
To enhance the highlights even more:
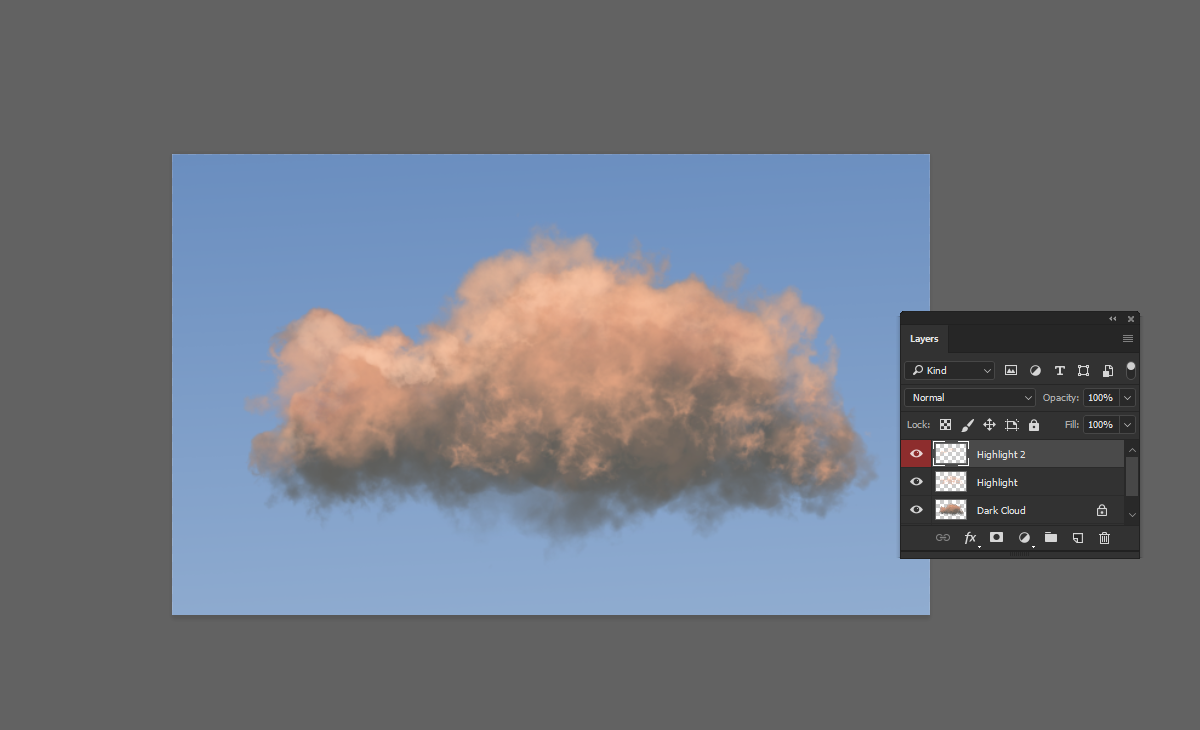
- Create a New Layer: Add a new layer and name it “Highlight 2”.
- Set the Foreground Color: Change your foreground color to
#f9cdac. - Paint the Second Layer of Highlights: gently paint additional highlights. Focus on the areas that you want to stand out the most, enhancing the glow and depth of your clouds.
With this step, your clouds should have a beautiful, layered effect with realistic lighting and shadows.
Step 8: Adding Directional Light Highlights
To define the direction of the light and add depth:
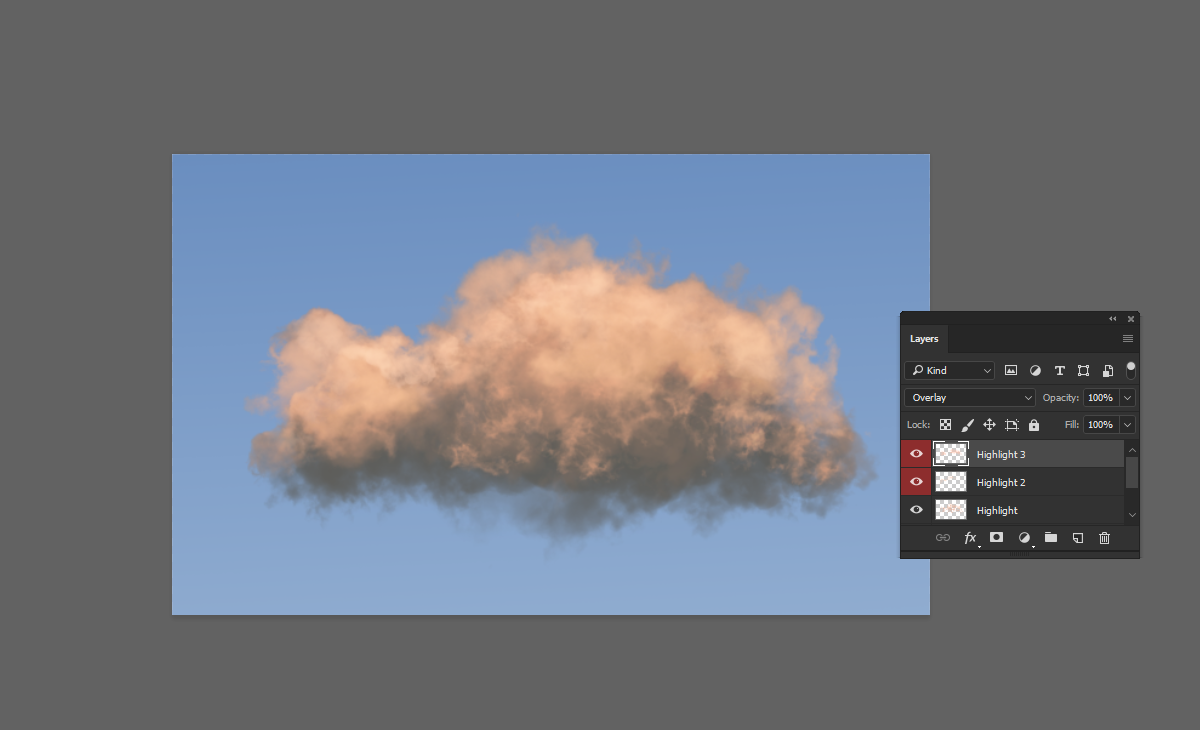
- Create a New Layer: Add a new layer and name it “Highlight 3”.
- Set the Foreground Color: Change your foreground color to
#f1b099. - Set Layer Mode to Overlay: Change the blending mode of this layer to “Overlay”.
- Paint the Highlights: paint the areas where the light would naturally hit. This will create a realistic direction of light and enhance the overall effect of your clouds.
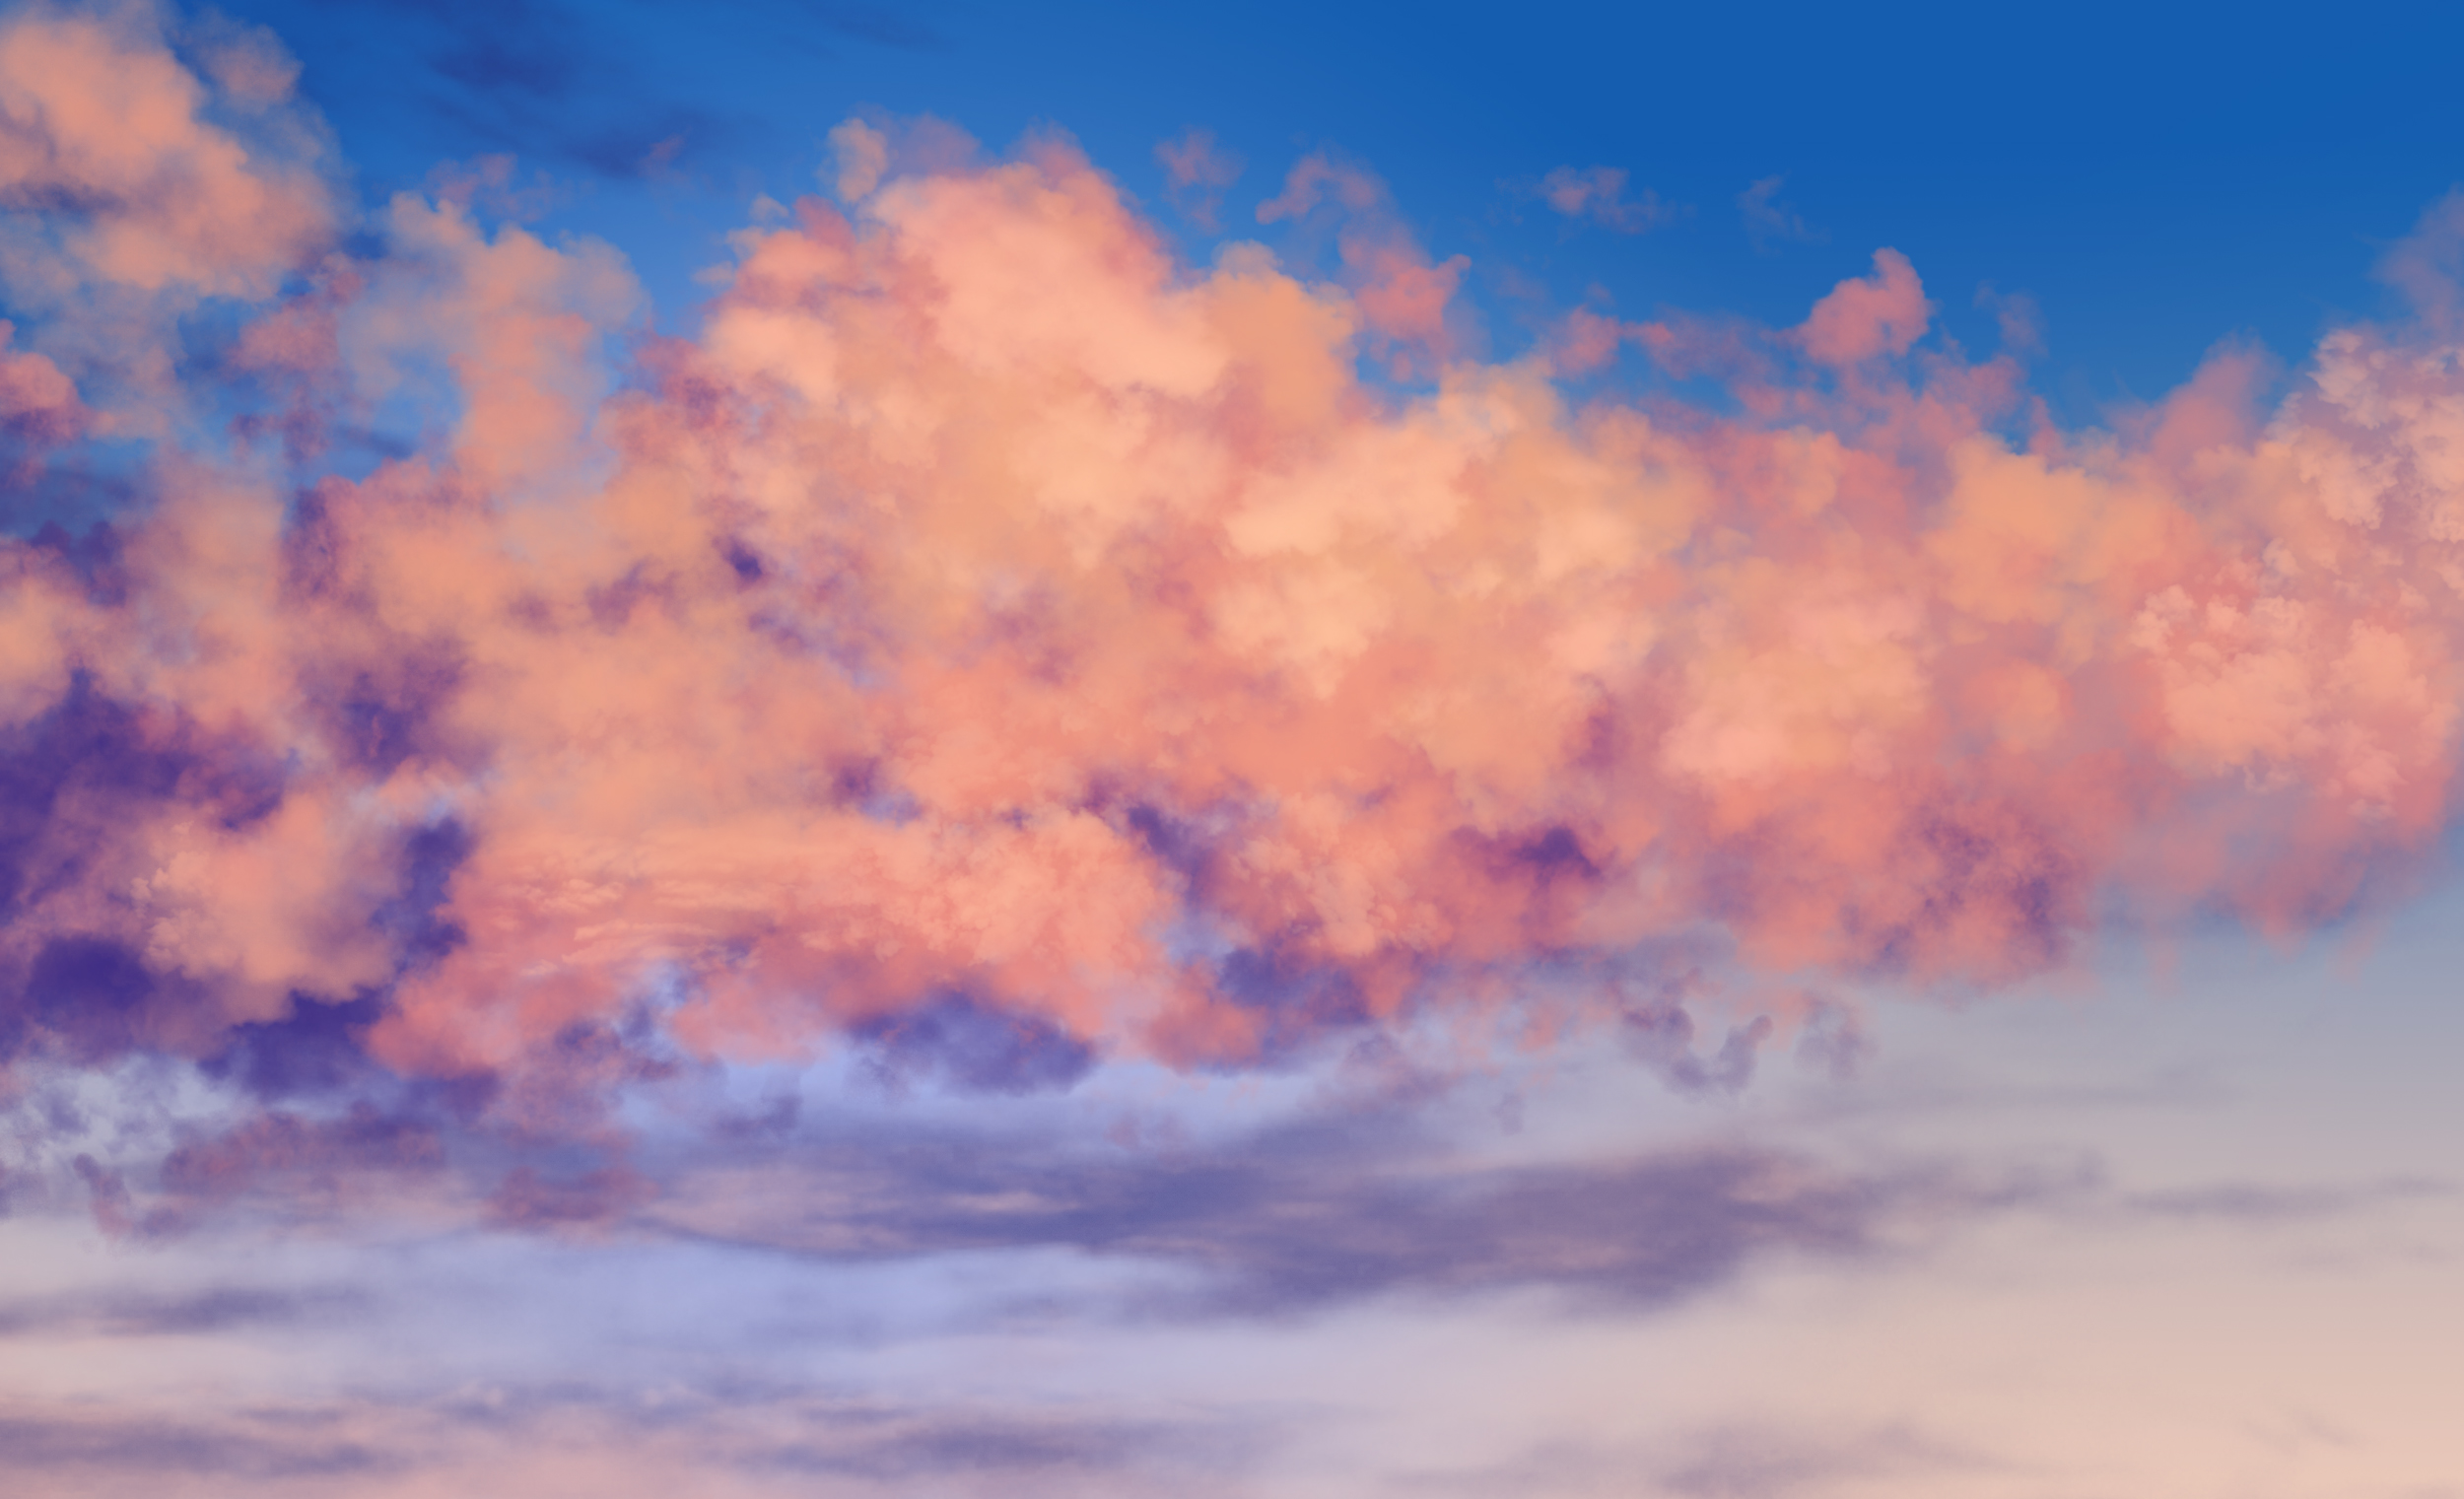
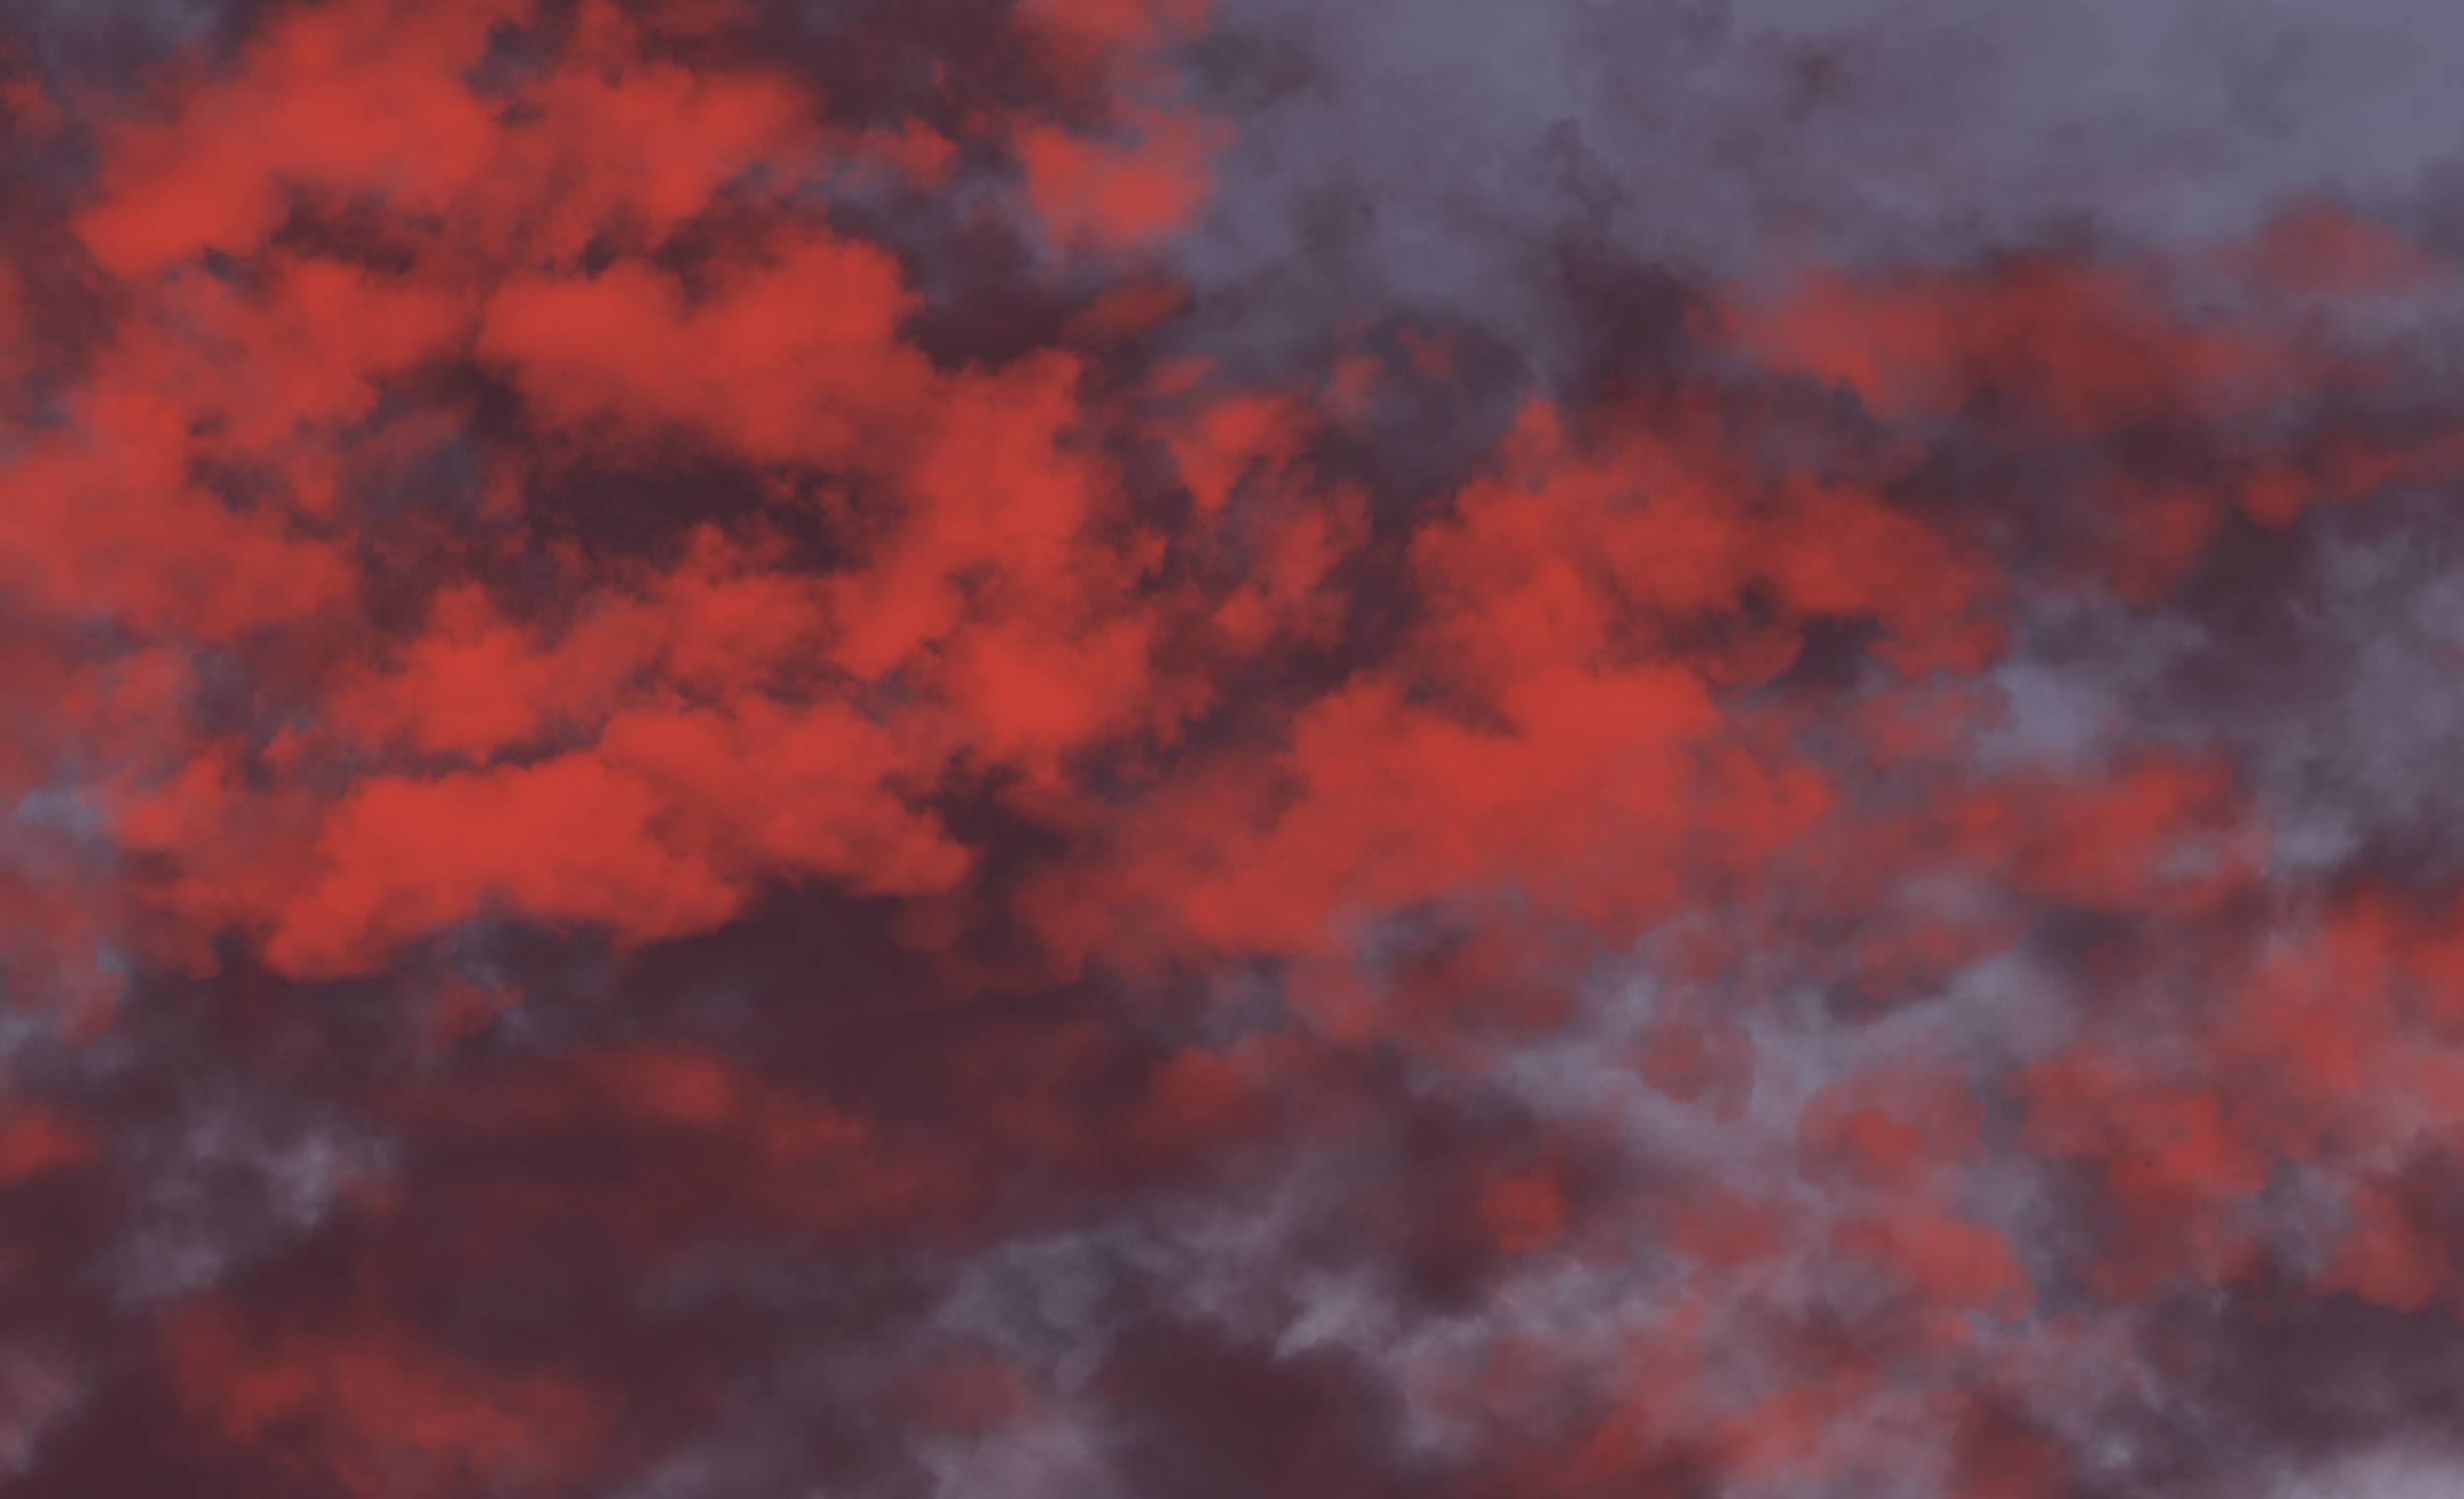
Check out these stunning examples created using our Cloud Brushes Vol. 3.
You can get them and start creating your own masterpieces!
We hope you enjoyed this tutorial and found it helpful.
Happy creating!