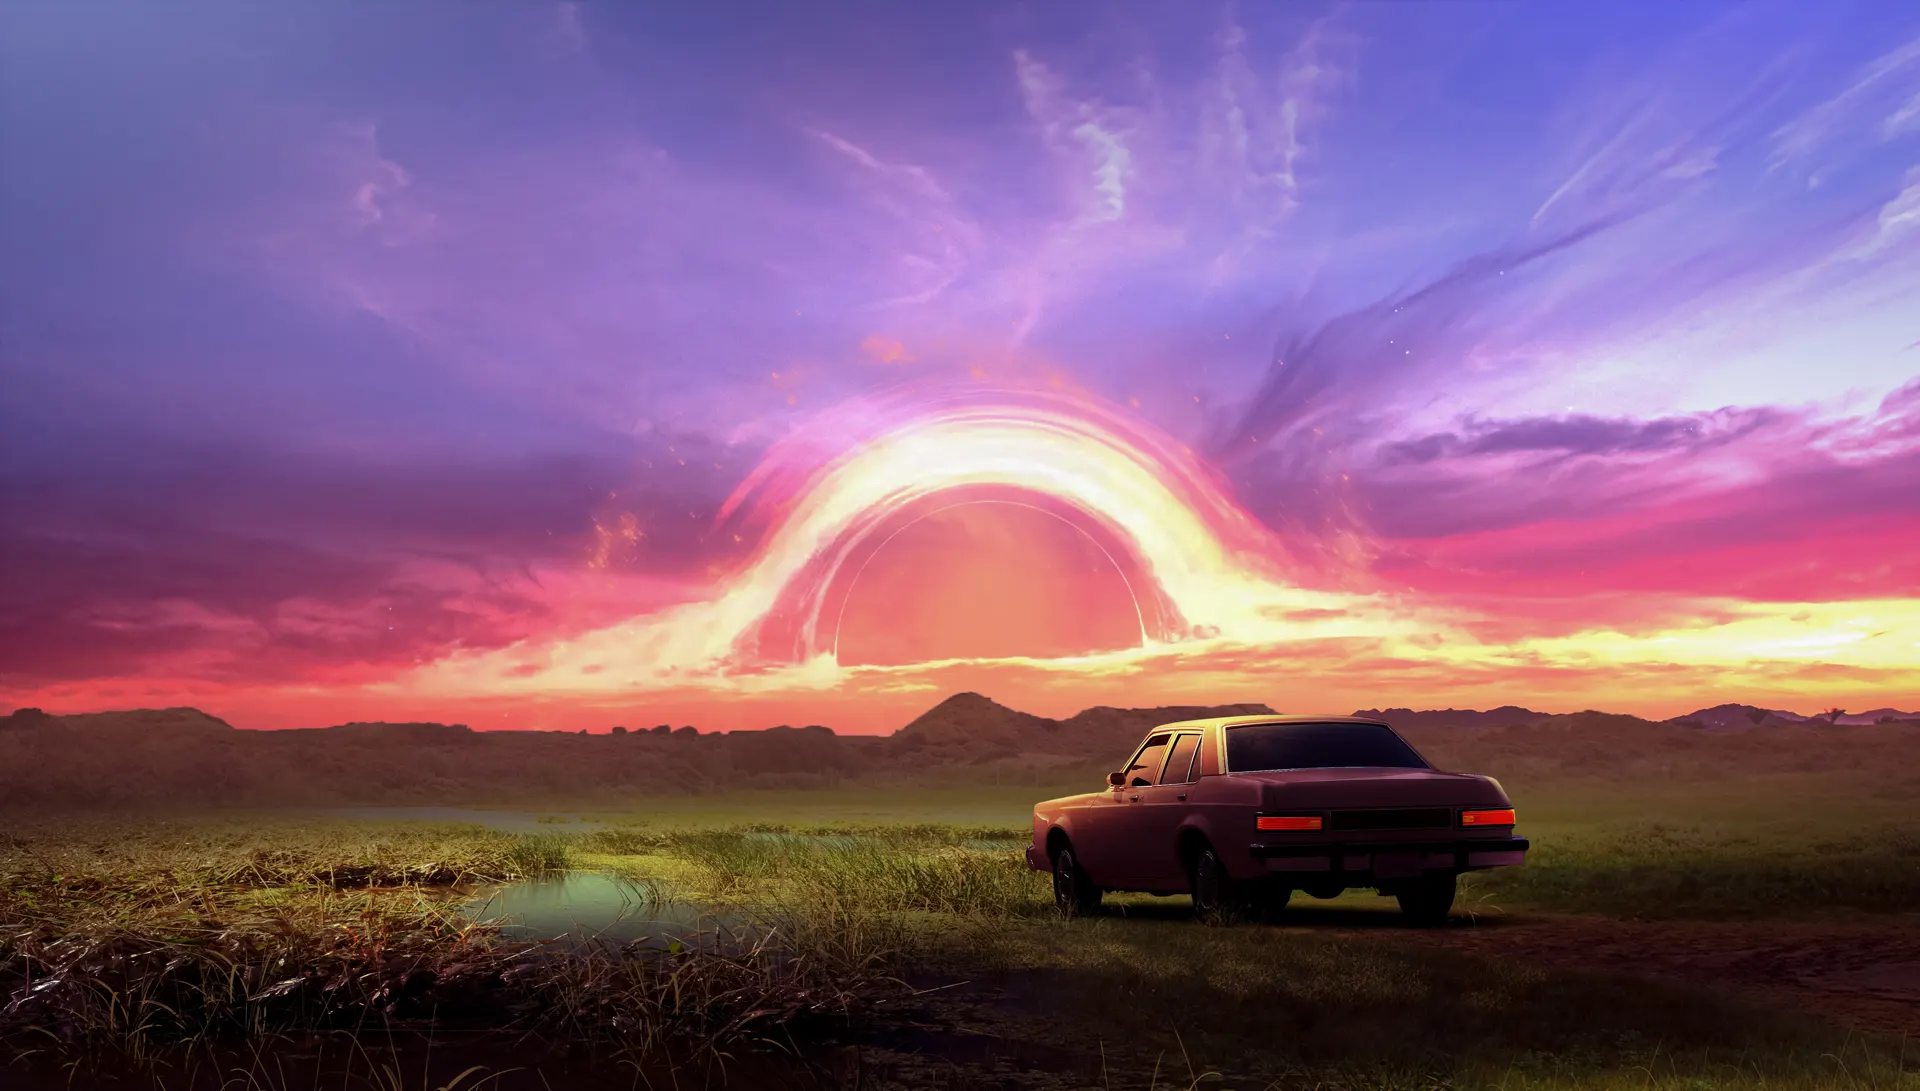
“A car rests beneath a black hole—its horizon torn open by a cosmic ring of light.”
Tag: landscape
Empty
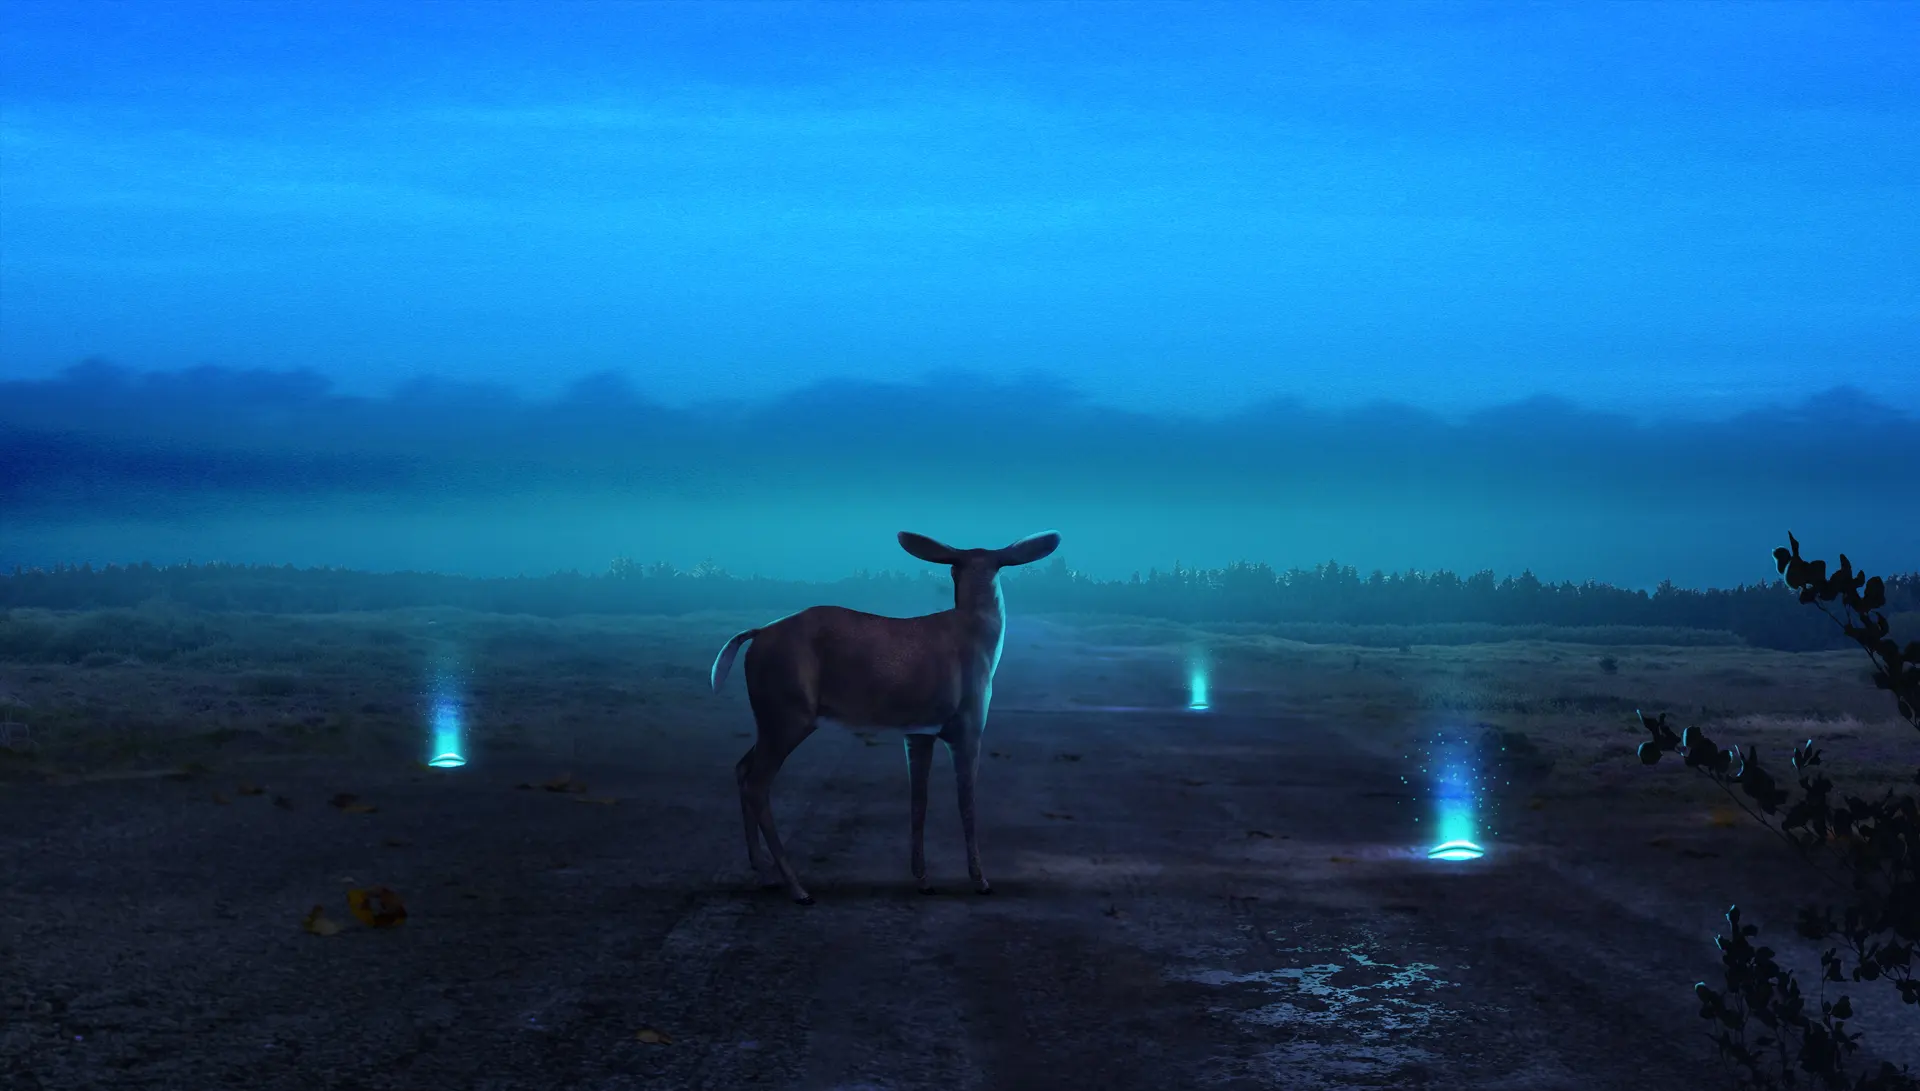
“A lone deer stands in fading light—surrounded by silent blue glows, echoing the stillness of an empty path.”
August
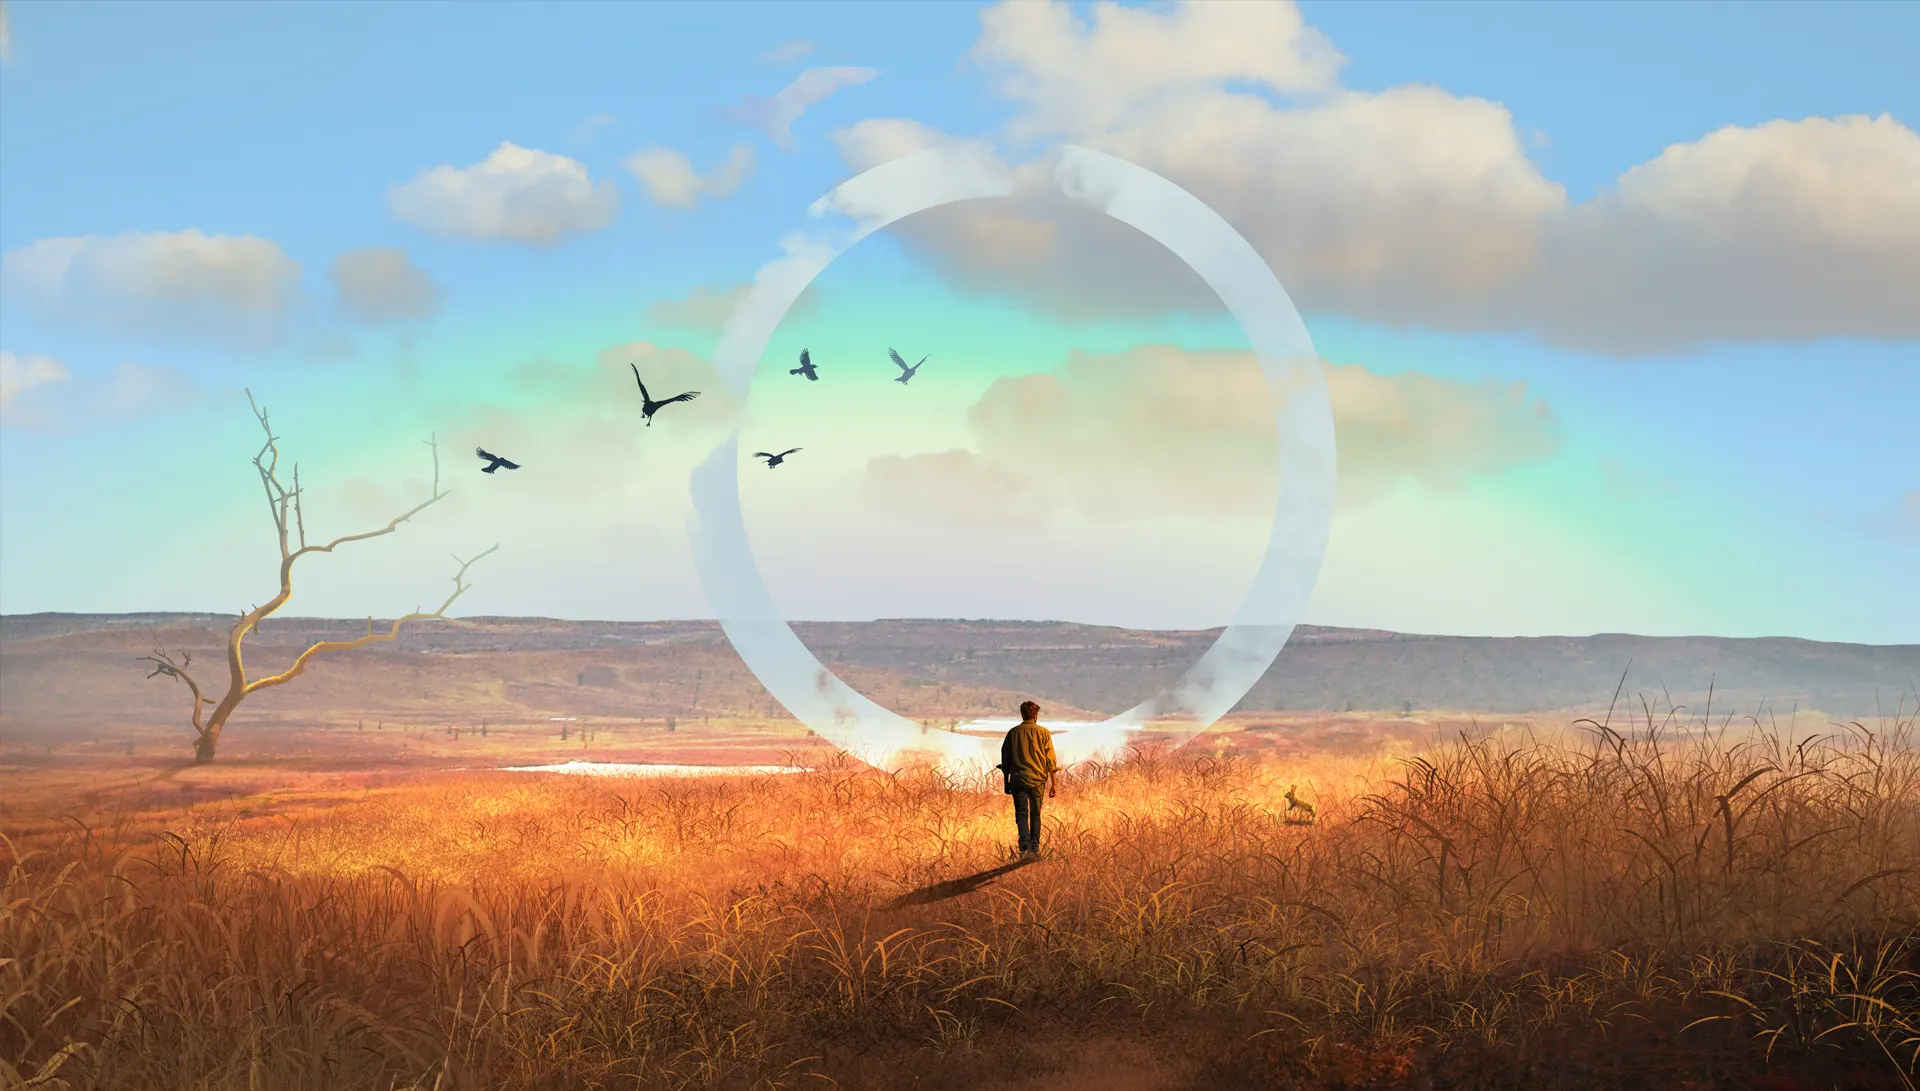
“A wanderer stands in golden grass—eyes lifted to a glowing ring that crowns the summer sky.”
Time
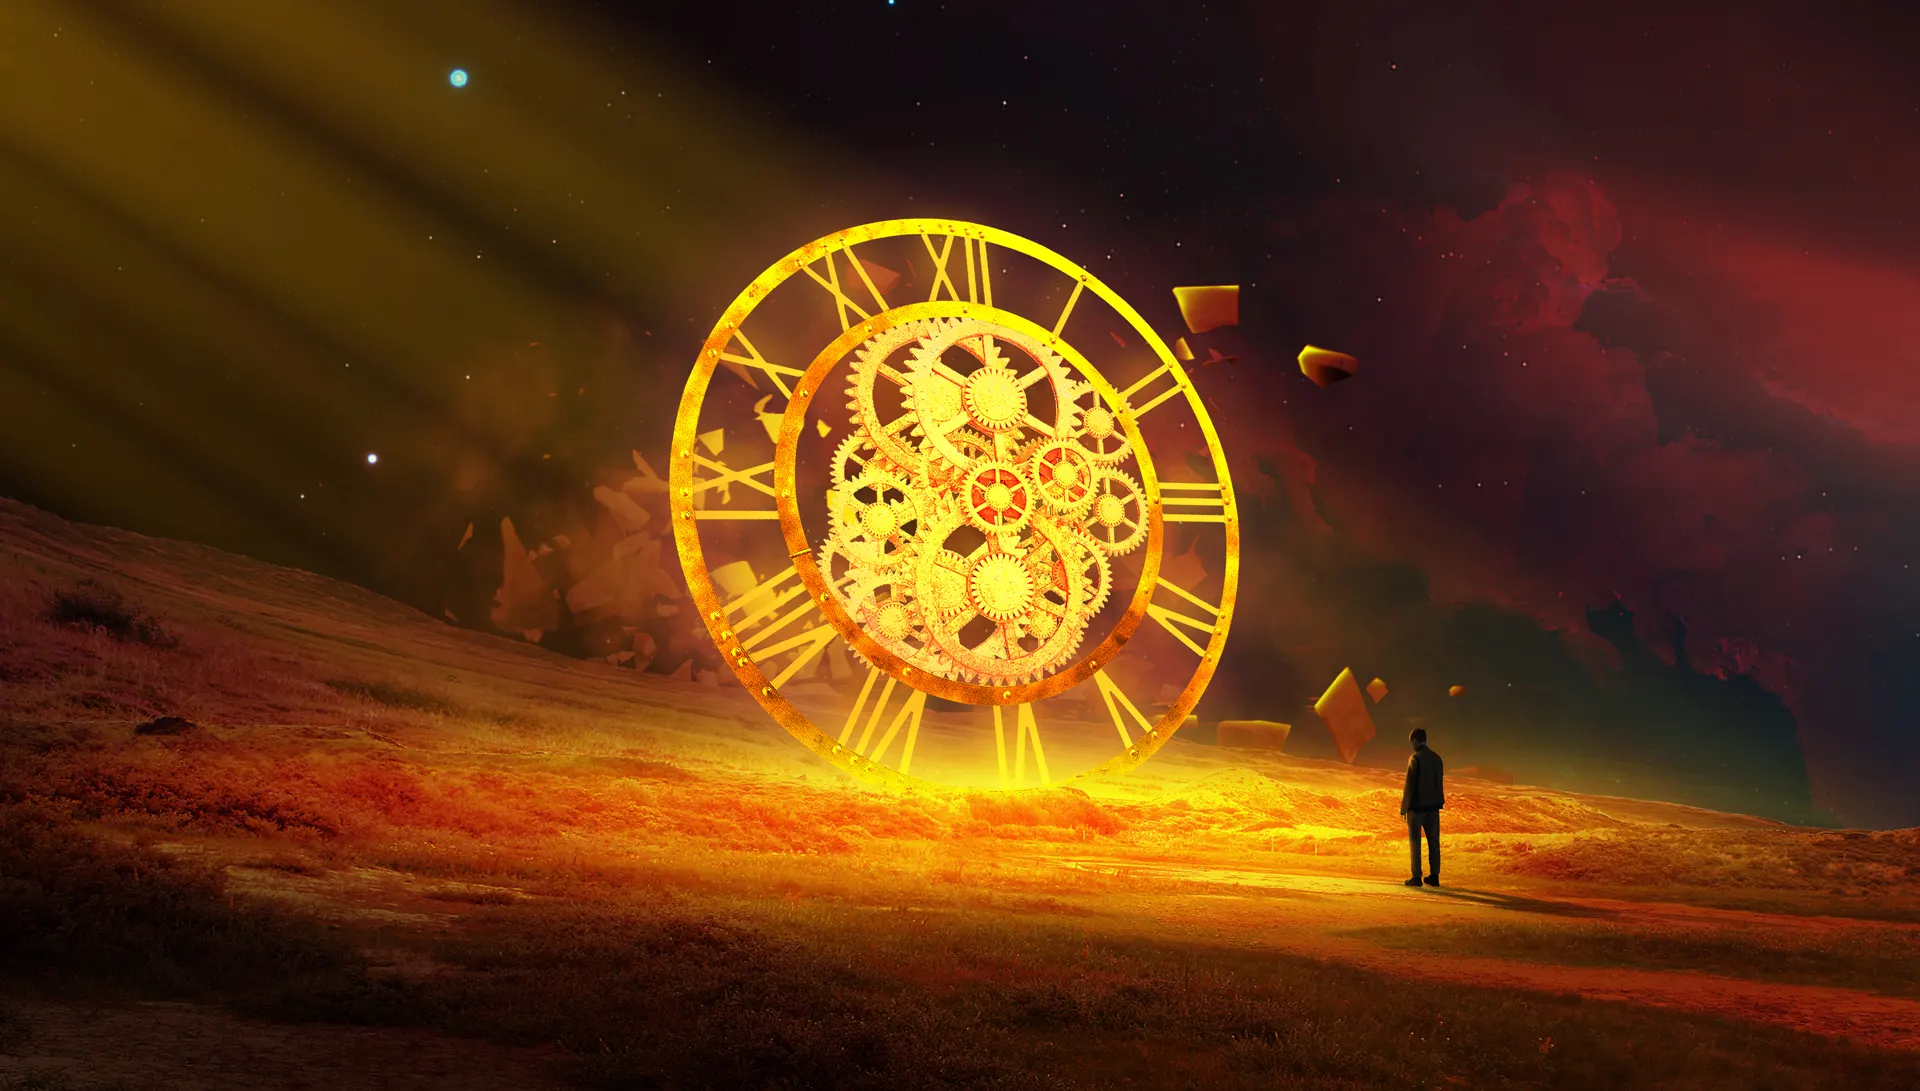
“A golden clock rises in the void—its gears glowing as a lone soul contemplates the fleeting hours “
Hypnogate
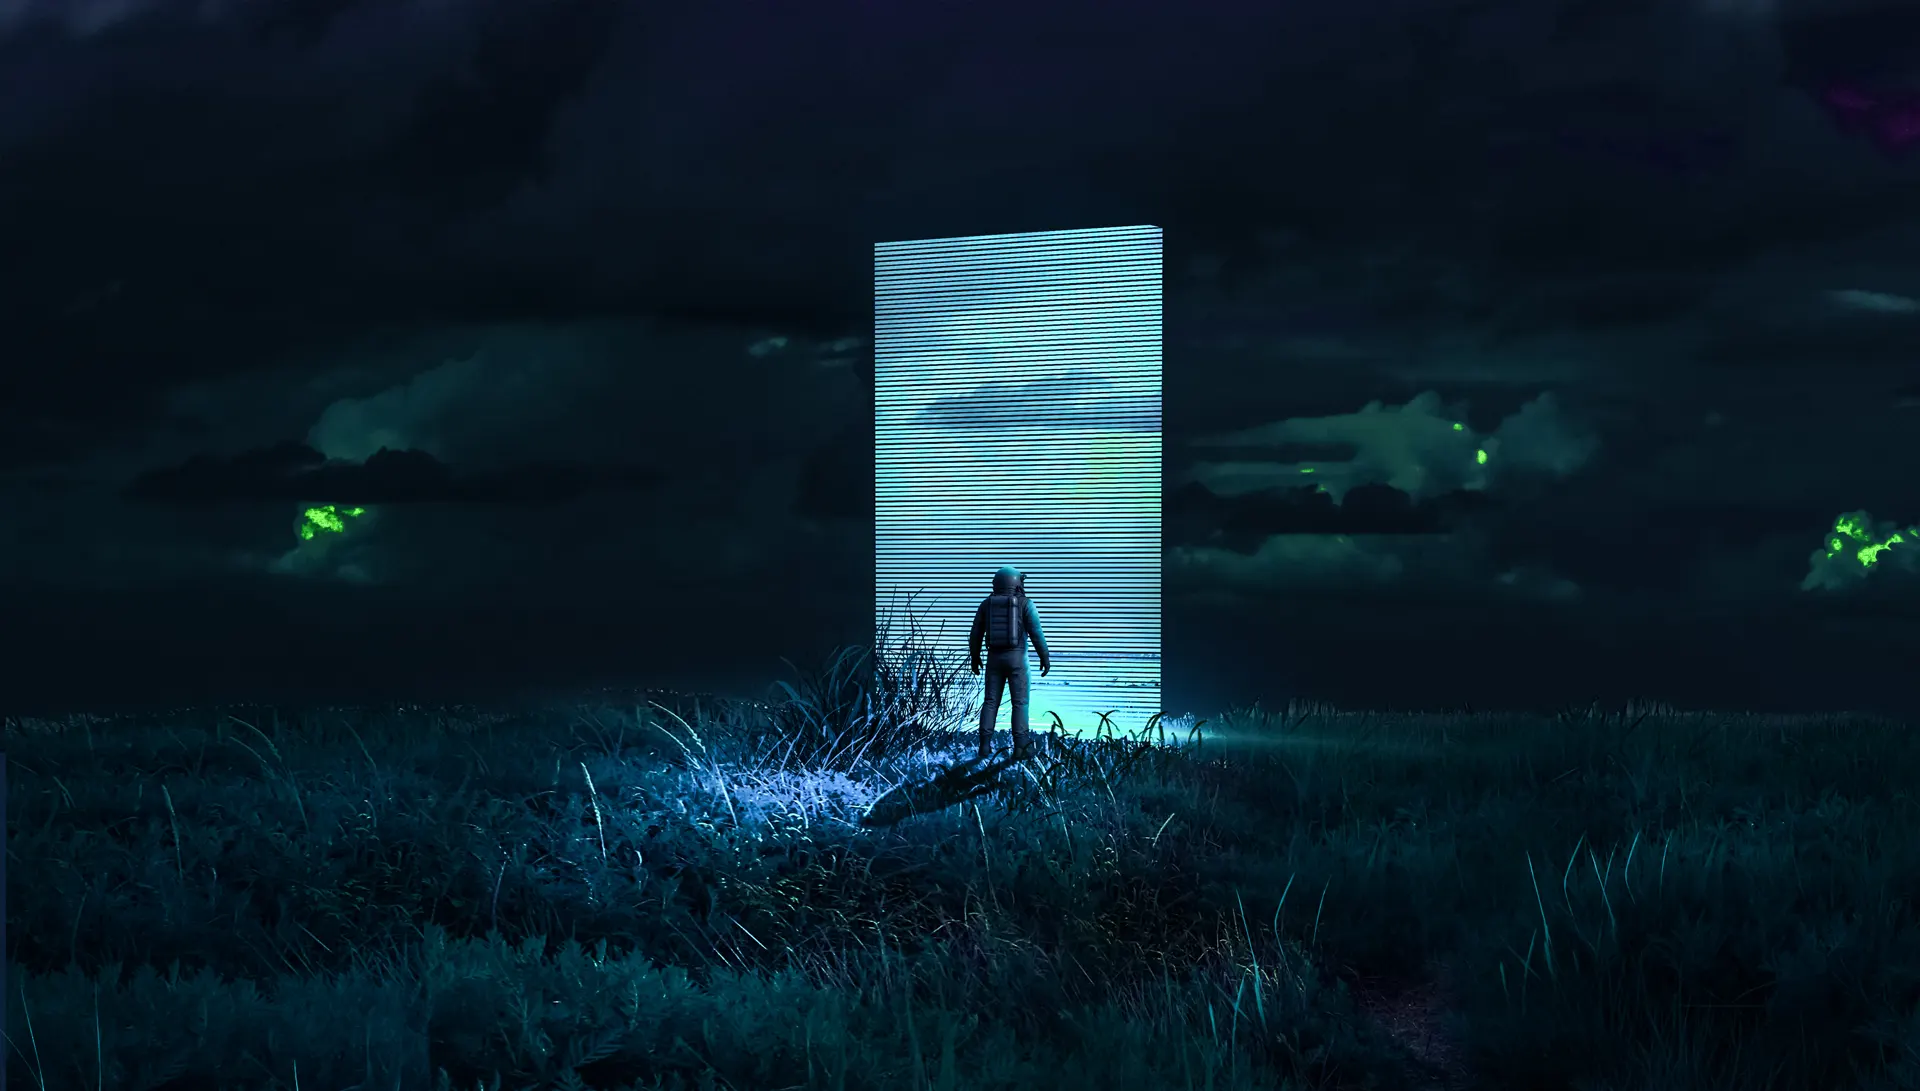
“A radiant gate opens in the night—its light pulling the soul toward dreams beyond the veil.”
Veloria
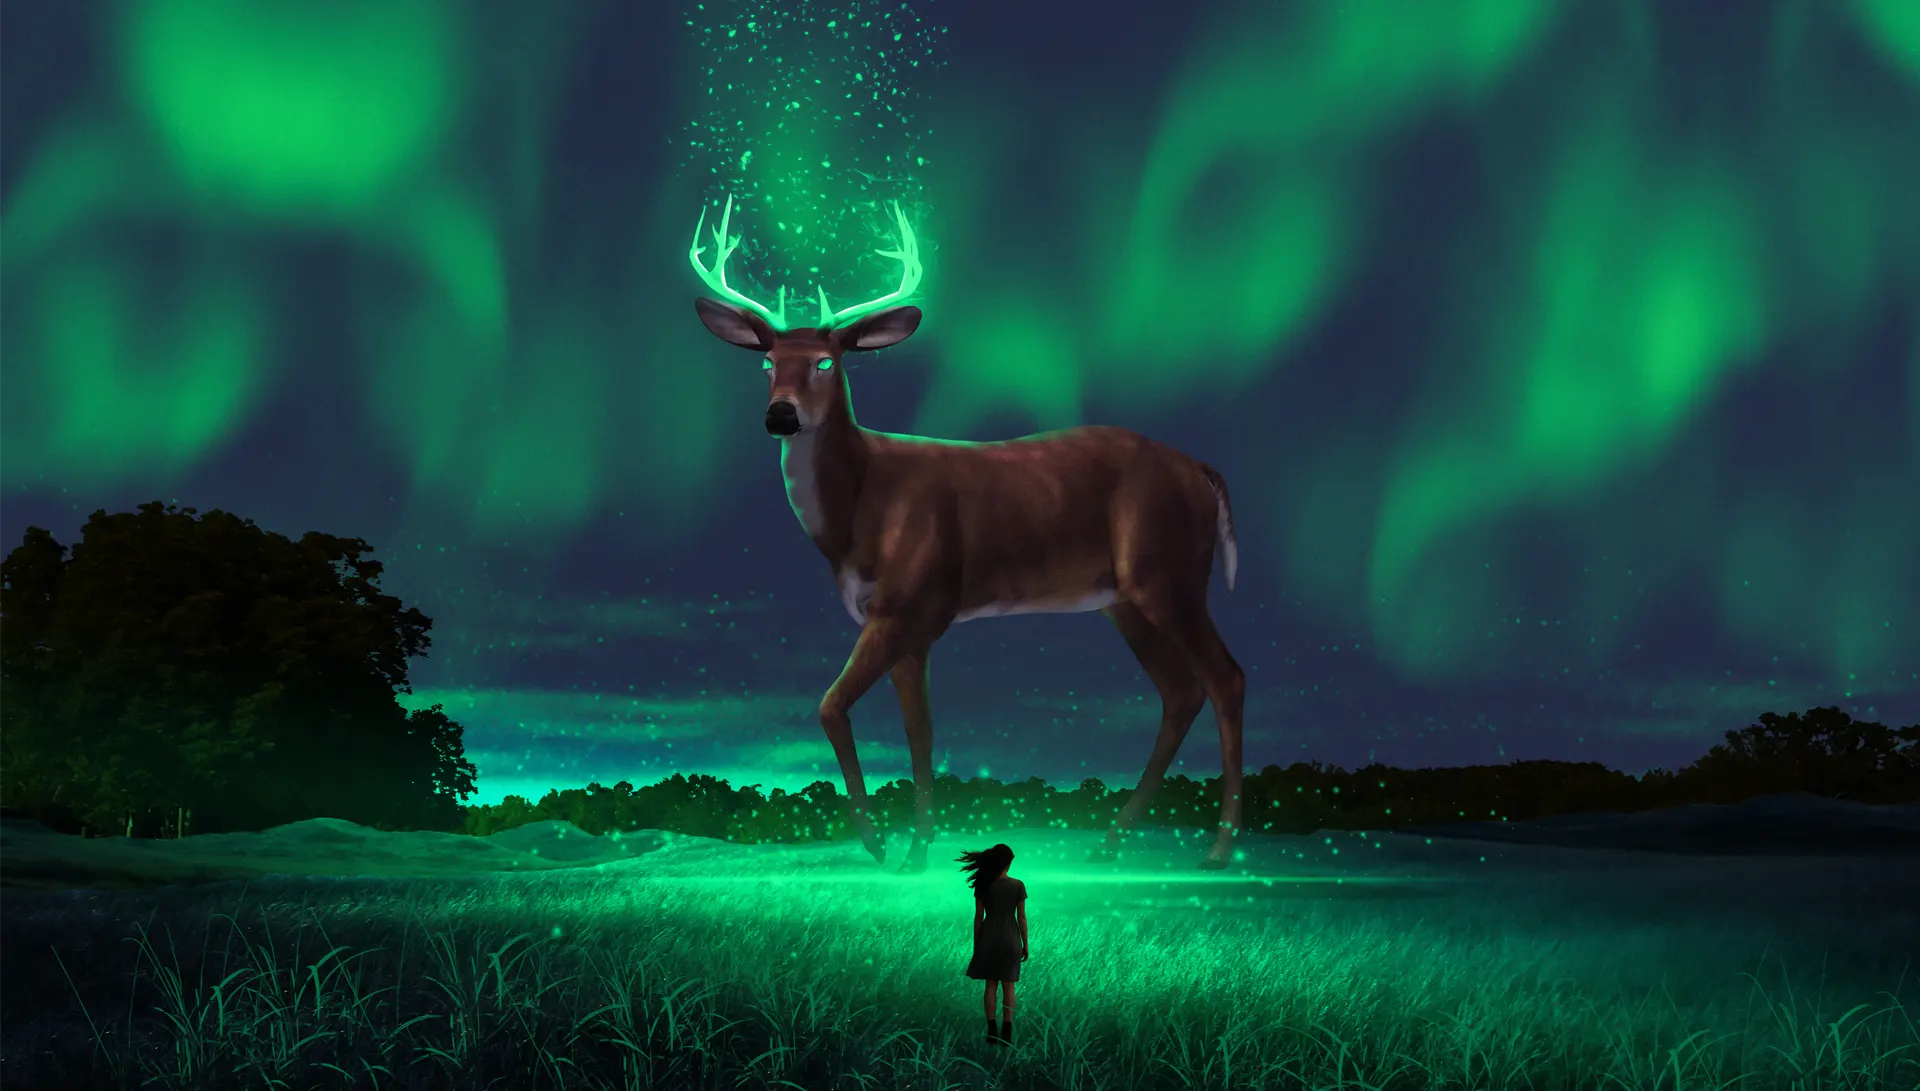
“A colossal deer crowned in light—its antlers shimmering beneath emerald skies, as a wanderer gazes in wonder.”
Symphony III
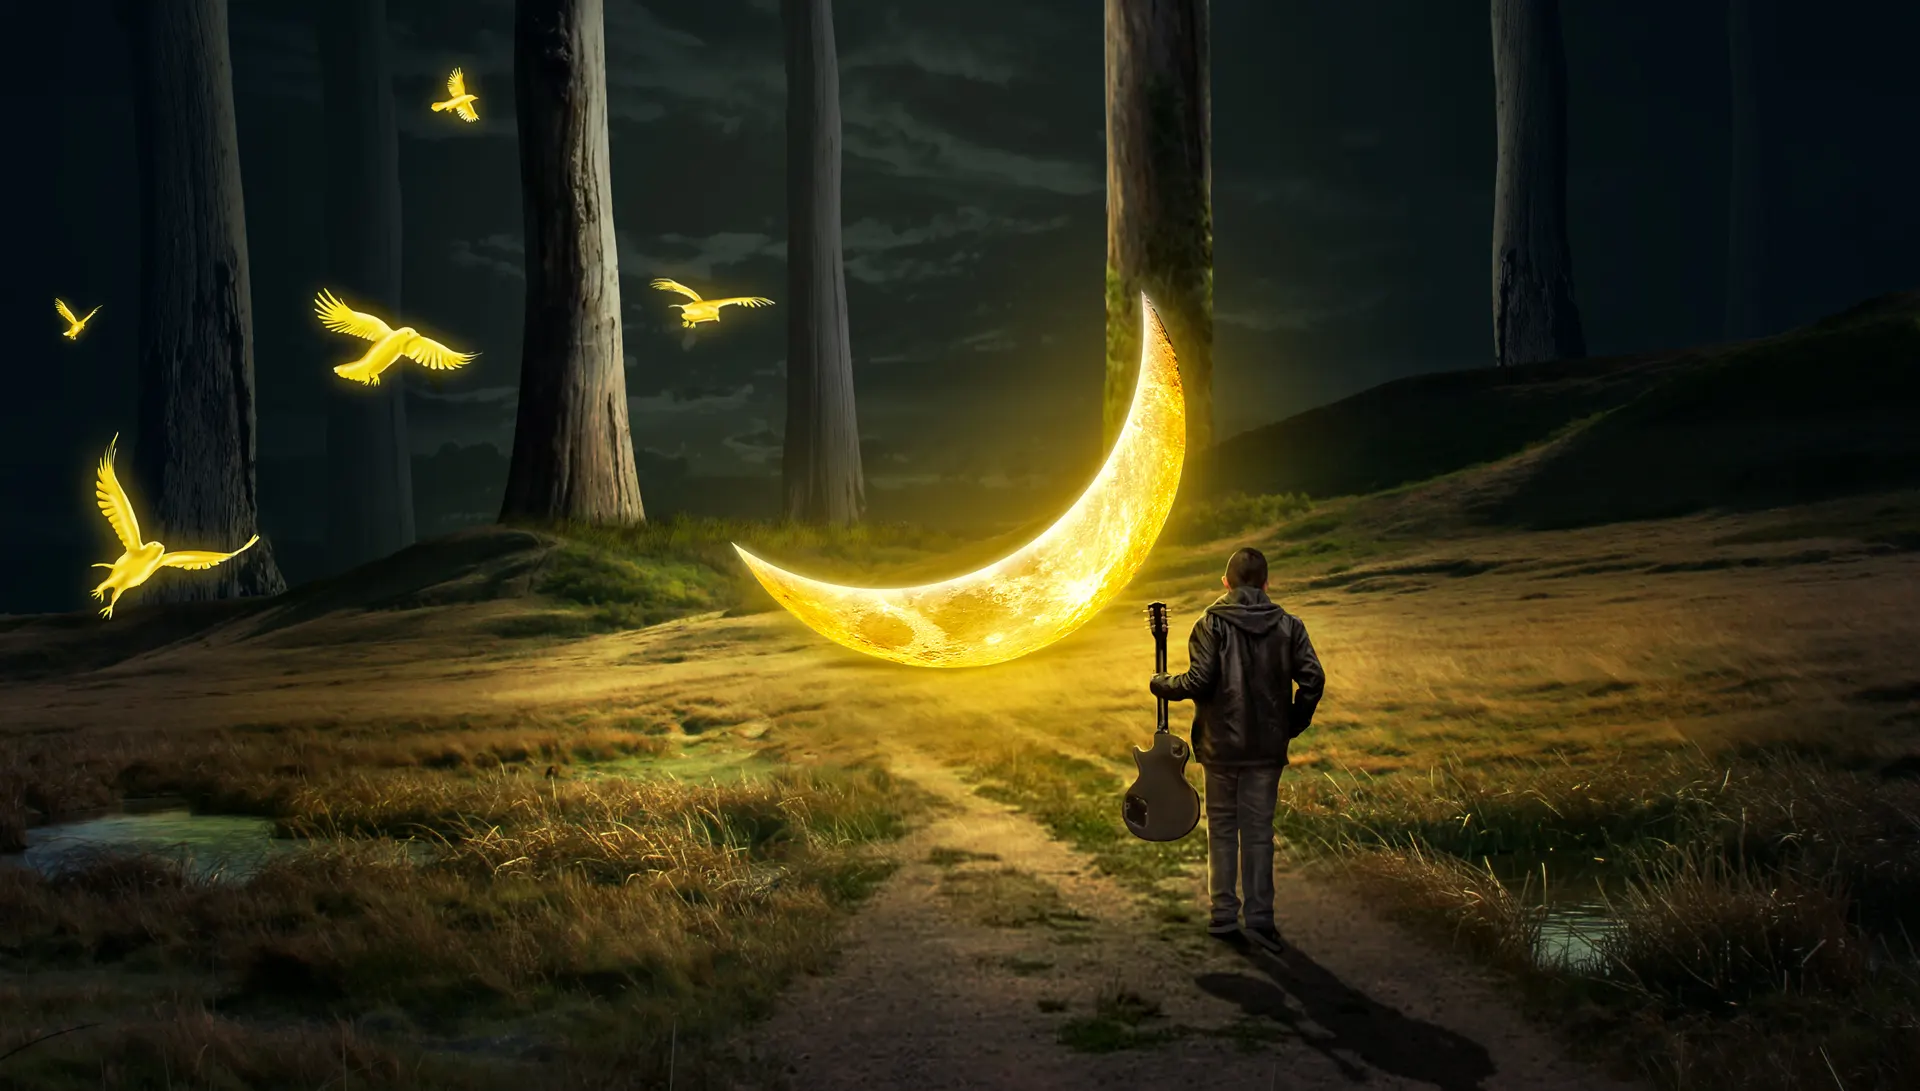
“In a forest of shadows, a crescent moon rests upon the earth—its light releasing golden birds, while a lone figure with a guitar listens to the night’s final song.”
End of The Night
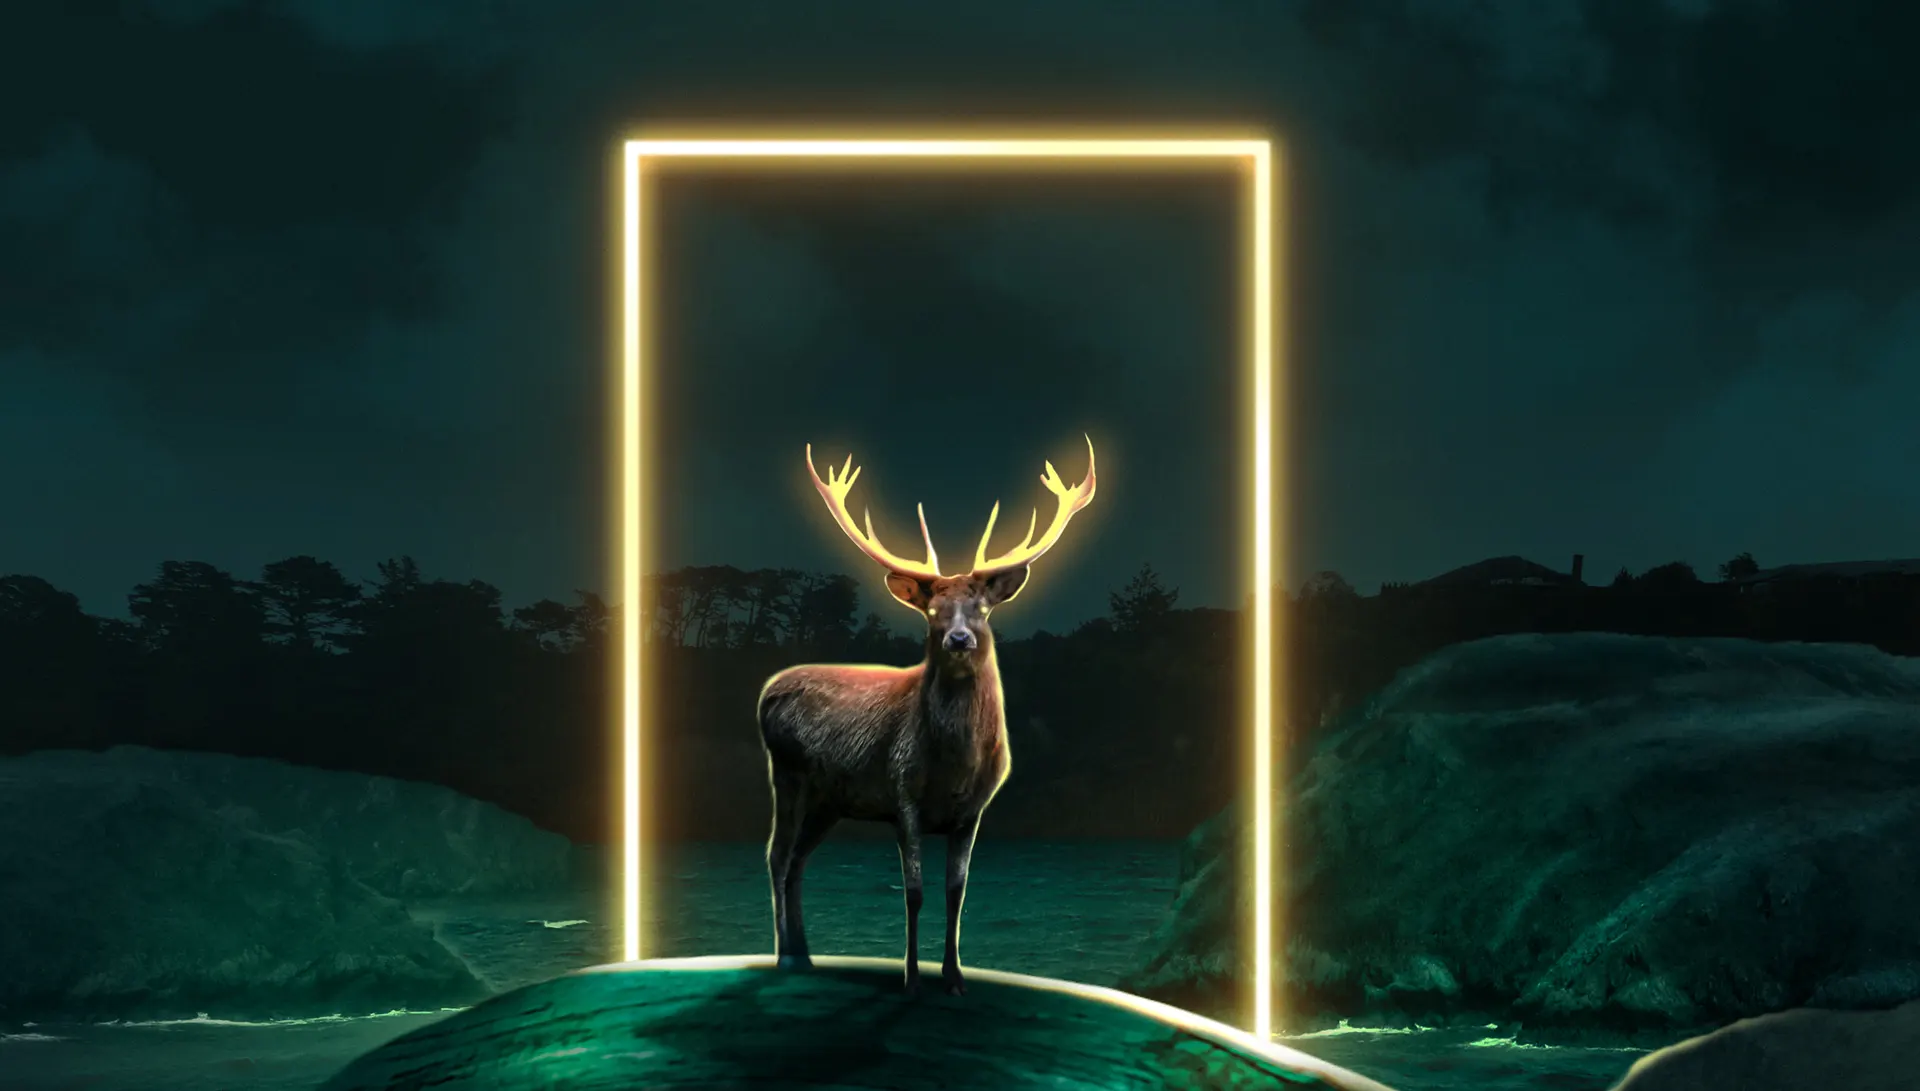
“A lone deer stands before a radiant frame—light piercing the darkness, a quiet symbol of endings that awaken new beginnings.”
How to Paint Realistic Grass in Photoshop

Introduction Grass tutorial Photoshop can add depth and realism to your digital artwork. In this tutorial, we’ll guide you through the steps to paint grass using custom brushes
Tutorial Assets
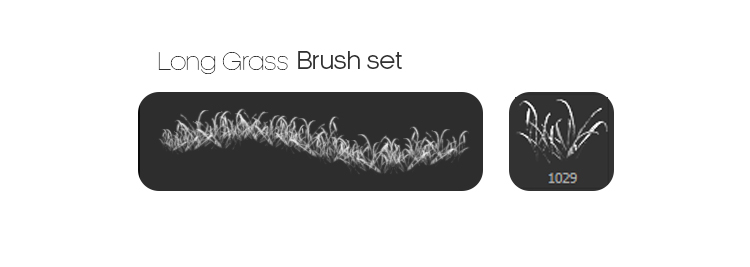
- Grass Brushes: Download our specialized brush set here for the perfect tools to create lifelike grass textures.
Step 1: Selecting the Color of Grass
Begin by choosing the appropriate colors for your grass. Here’s the palette used in this tutorial:
- Shadow Color:
#232d11 - Base Color:
#a5b555 - Highlight Color:
#cbe450
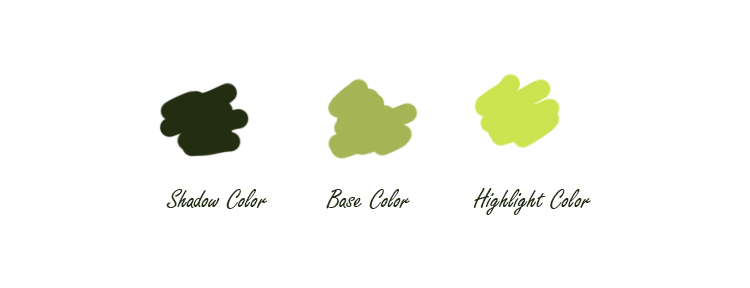
Selecting the right colors is essential to achieving a realistic look. Start with a base color that represents the overall tone of your grass. Use lighter shades for highlights and darker shades for shadows to add depth and dimension.
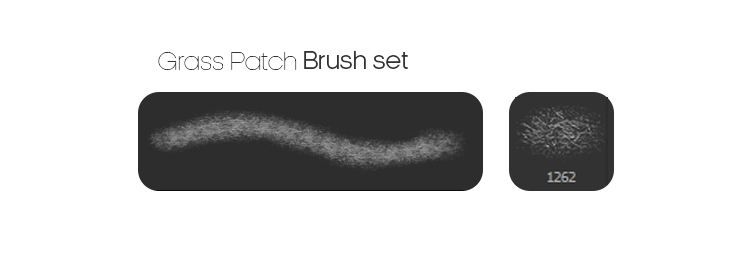
To use the brushes, you need to load them into Photoshop first, you need to create a new layer above the background layer.
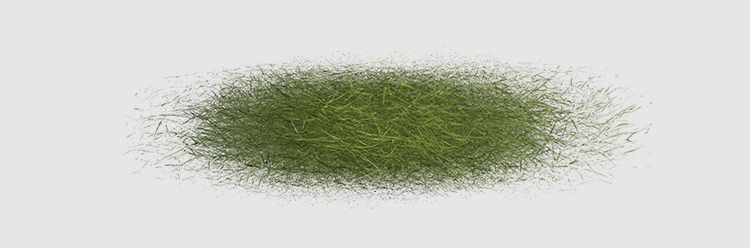
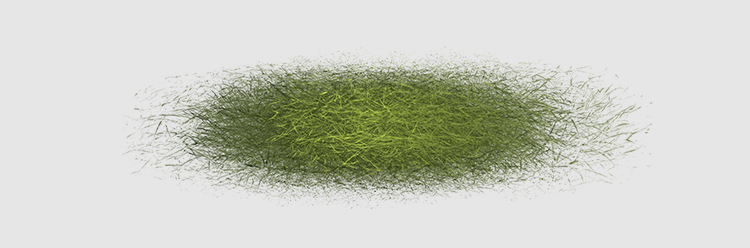
Step 2: Selecting the Color of Grass
First, create a new document in Photoshop by pressing Ctrl + N or navigating to File > New. Set the dimensions to 5000 x 3000 pixels at 300 dpi to ensure high-quality output.
Next, choose the appropriate colors for your grass. Here’s the palette used in this tutorial:
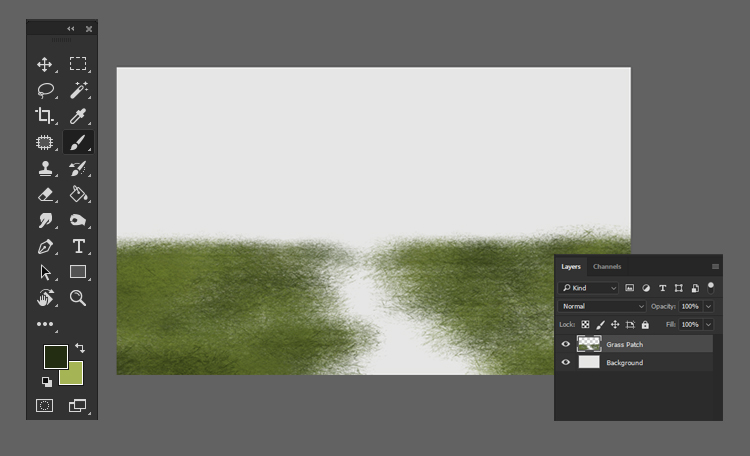
Set the base color as your background color and the Shadow color as your foreground color.
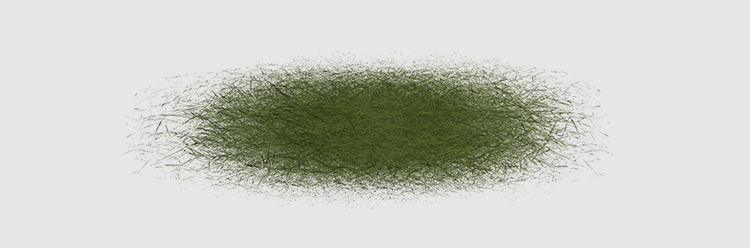
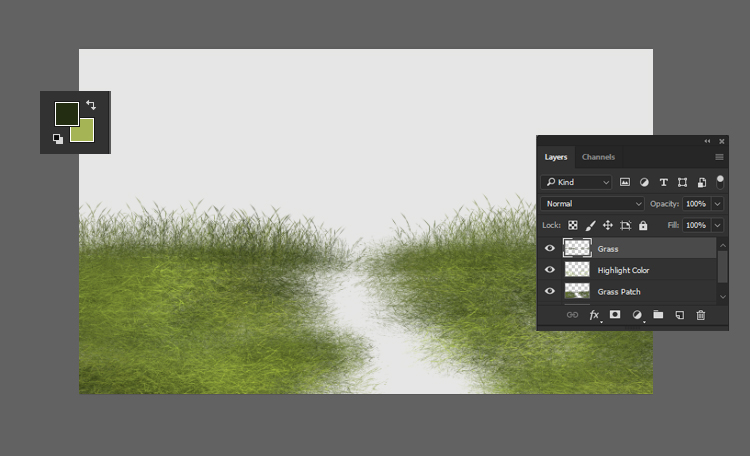
Using the custom grass brushes, paint a patch of grass. Start with the Shadow color, then add the highlight color to create variations.
Step 3: Paint Long Grass
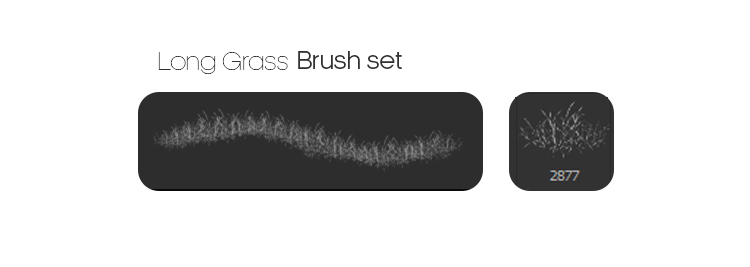
Select a variety of grass brushes from your custom set.
Paint long grass by layering different brush strokes. This will add texture and natural variations to your grass.
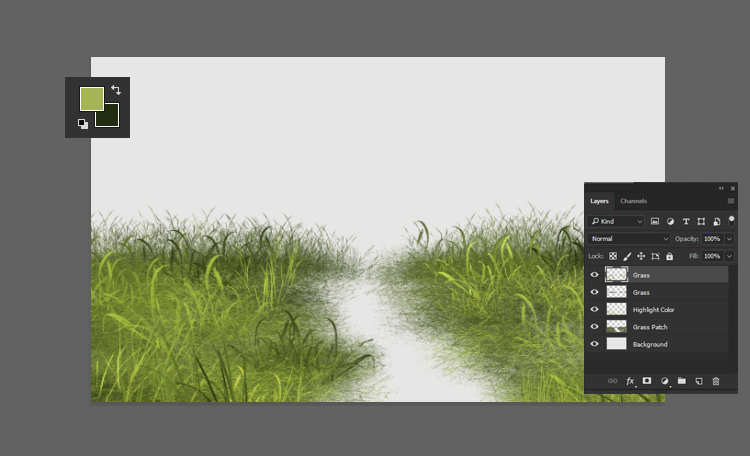
Step 4: Paint Long Grass Highlights
Continue painting the long grass with the highlight color. This will create a more dynamic and realistic look.
Step 5: Paint Mud
Before starting, you can refer to our detailed article on how to paint mud or download our custom mud brushes here.
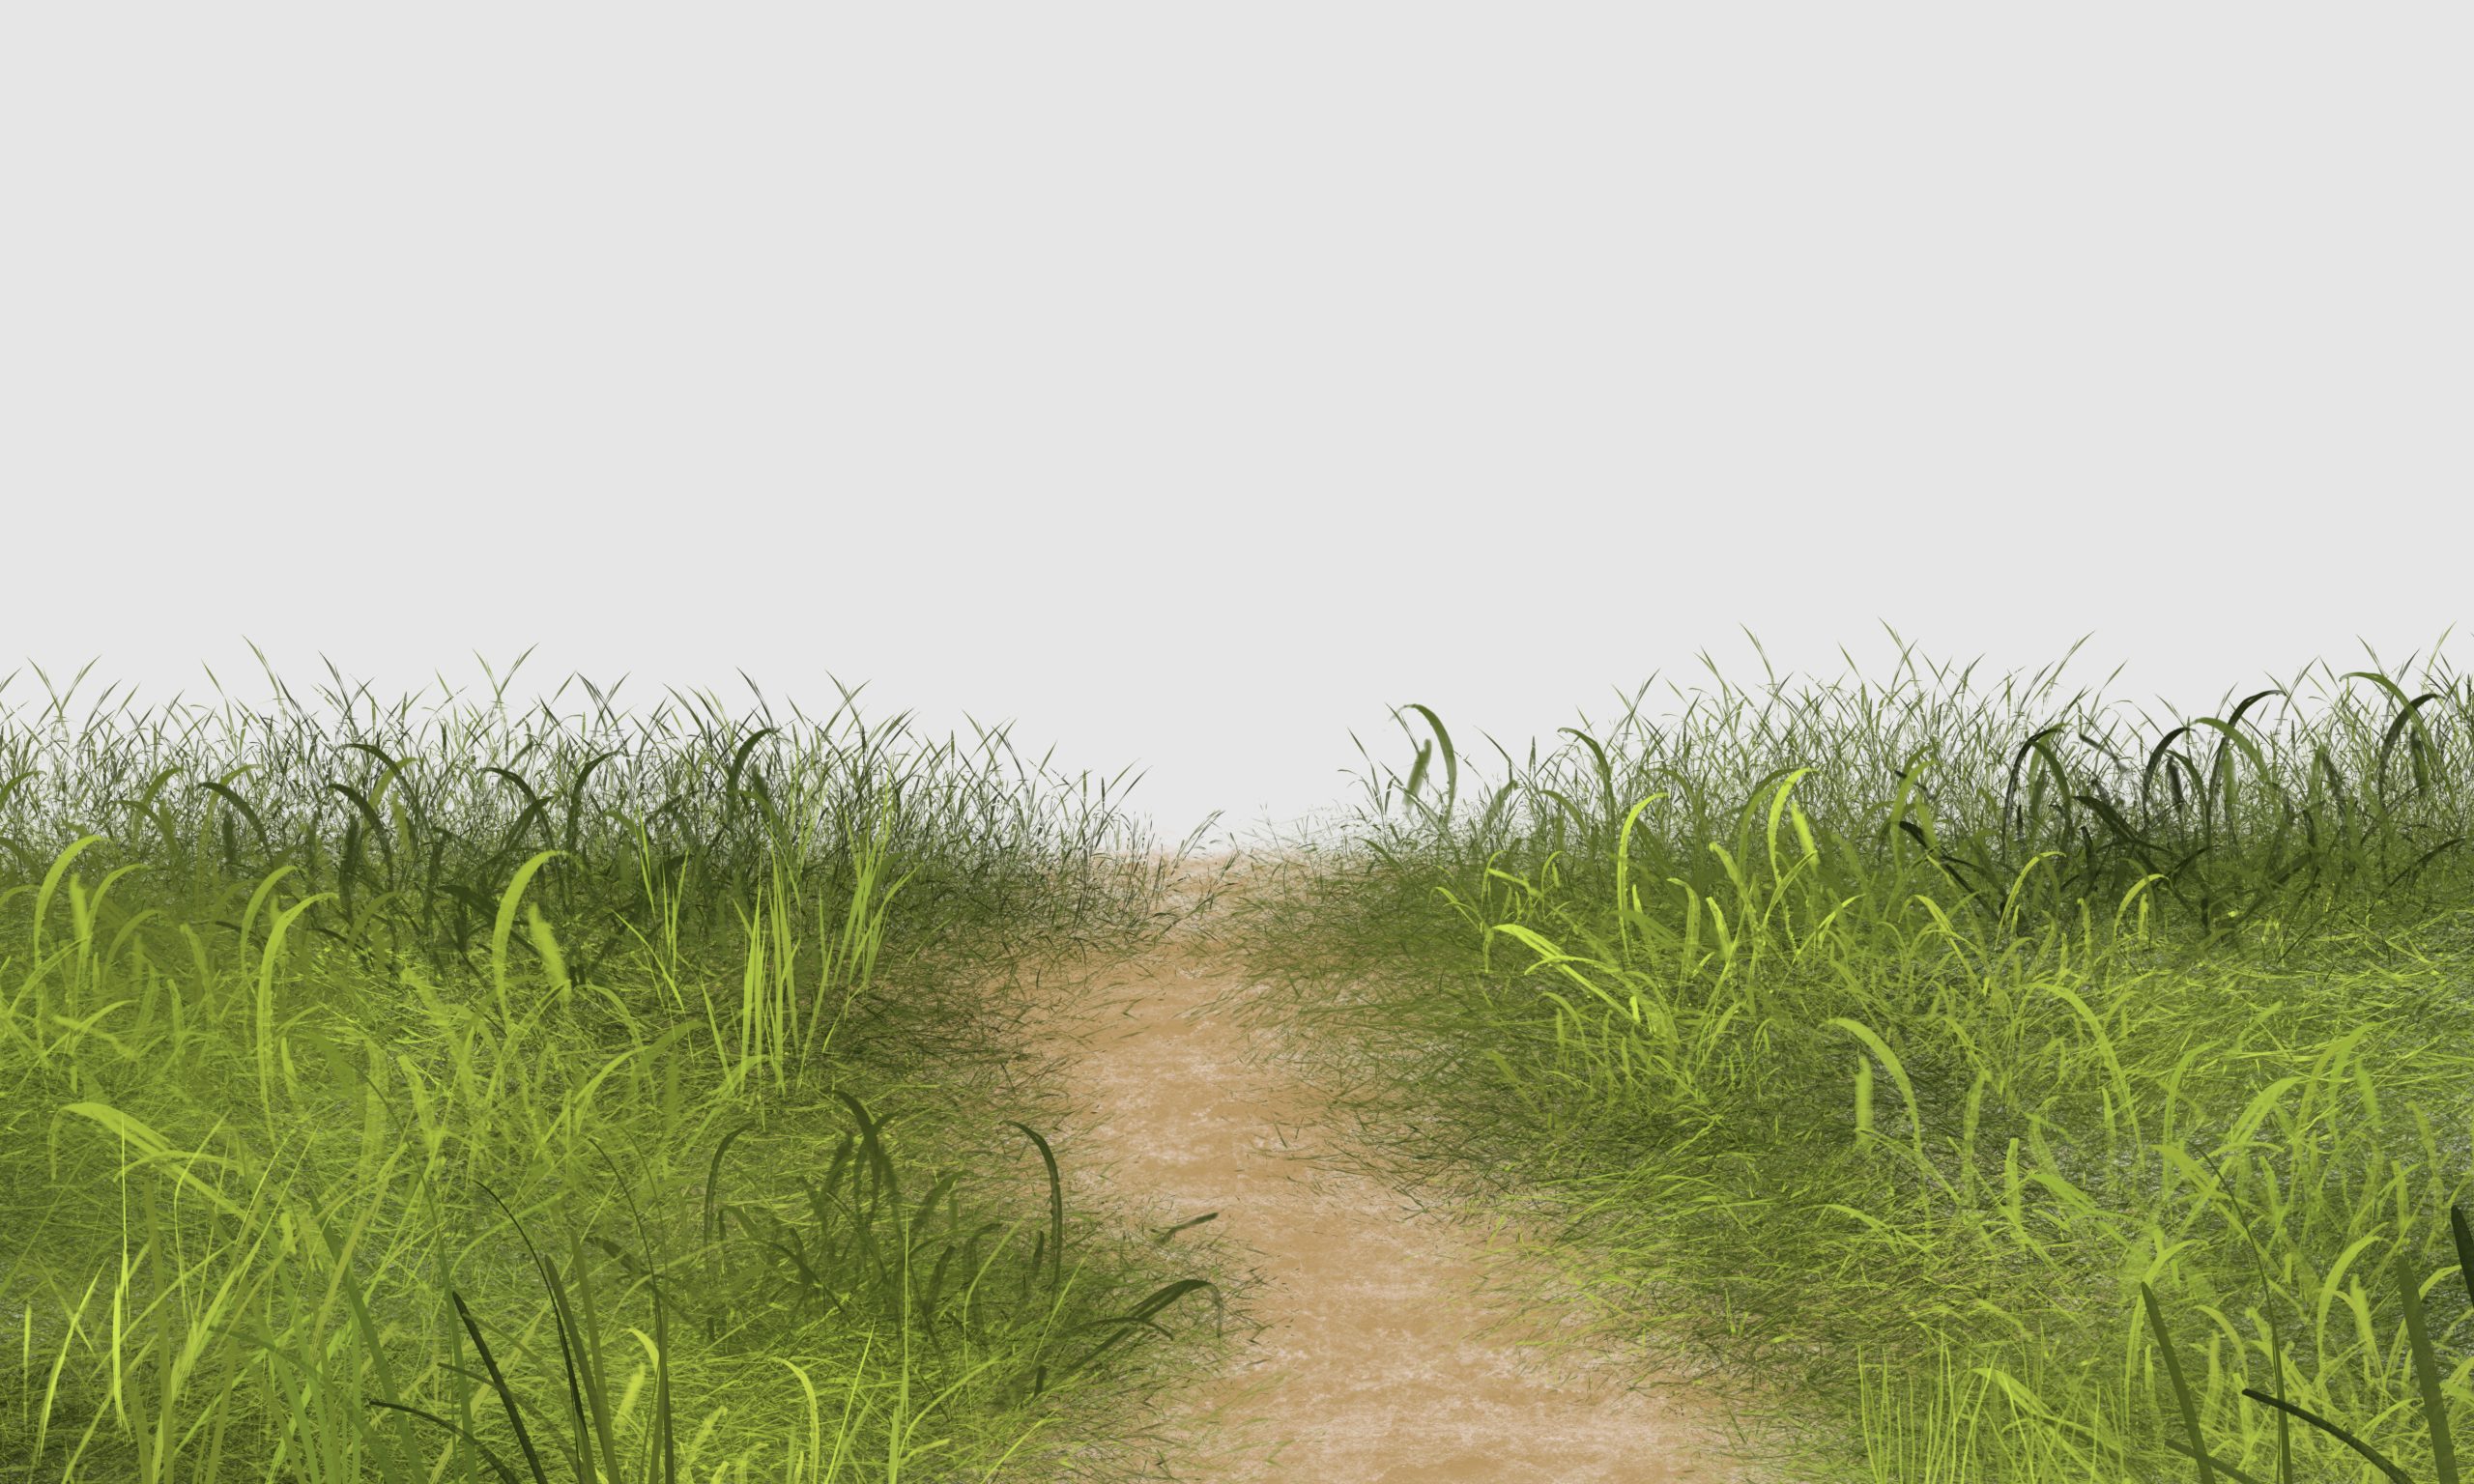
Use the following colors to paint mud in the background or foreground:
- Mud Base Color:
#b79764 - Mud Highlight Color:
#cdb89d
Finishing Touches
Once you have completed painting the grass and mud, take a step back and review your work. Make any necessary adjustments to ensure that the colors blend well and the textures look natural. Experiment with additional brush strokes or layers to enhance the realism of your grass.
How to Create Snow in Photoshop

How to Create Snow in Photoshop
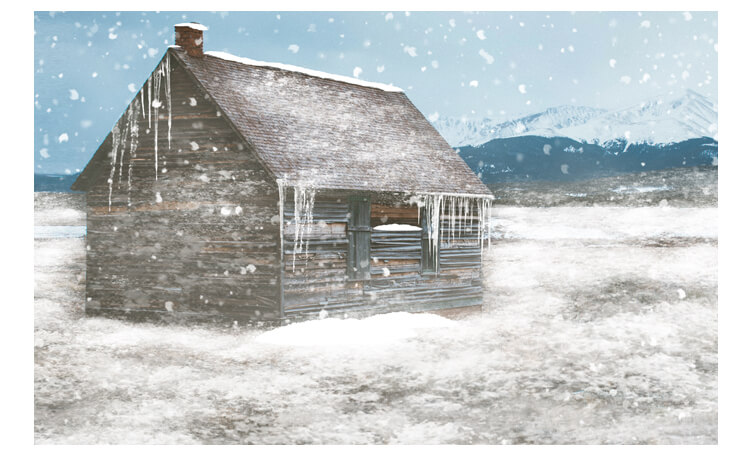
Do you want to create stunning snow scenes in your digital art? If so, you’re going to love this tutorial. I’ve created a brush set for snow in photoshop that you can use to add realistic snow Patch, Falling Snow, icicle, Fog, and snow-covered objects to your paintings. In this post, I’ll show you how to use these brushes to make a beautiful winter landscape in Photoshop. By the end of this tutorial, you’ll be able to create your own snow scenes with ease and confidence. Ready to get started? Let’s go!
Tutorial Resources
Snow Brushes
Step 1: Open your image in Photoshop.
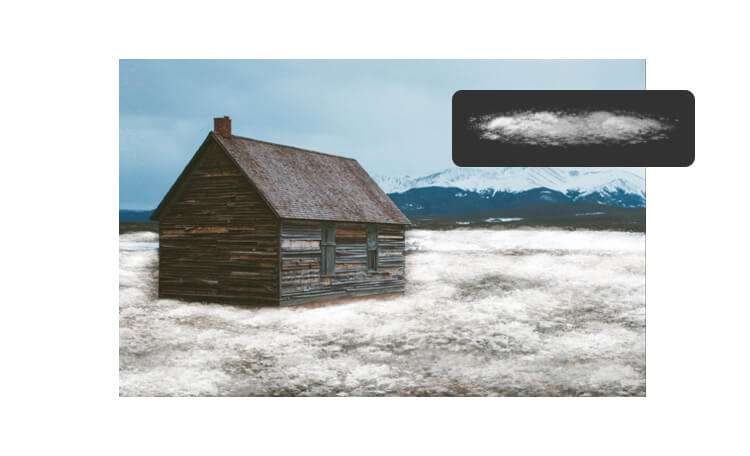
Step 2: Paint the snow on the ground.
Now that you have your image open, you can start painting the snow on the ground. To do this, you need to select the patch snow brush from my snow brush set. This brush will create a realistic snow texture that covers the original surface. To select the patch snow brush,
go to the Brush Tool (B) and click on the Brush Preset Picker in the Options Bar. Then scroll down until you find the brush and click on it.

Step 3: Paint the snow on other objects.
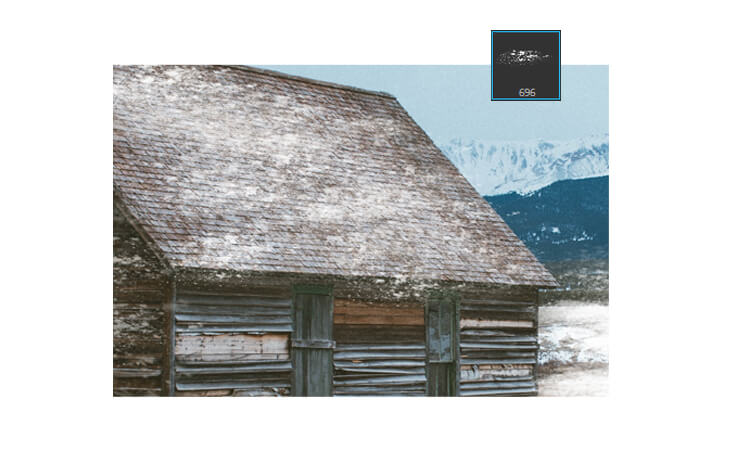
After you have painted the snow on the ground, you can use other patch brushes to cover other objects in your image, such as a car or a mountain. This patch brush is lighter and more transparent, so they will create a subtle snow effect that blends with the original color,
select this Patch snow Brush to paint over the areas you want to cover.
Be careful not to overdo it, as too much snow can make your image look unrealistic.
Step 4: Paint the icicles.
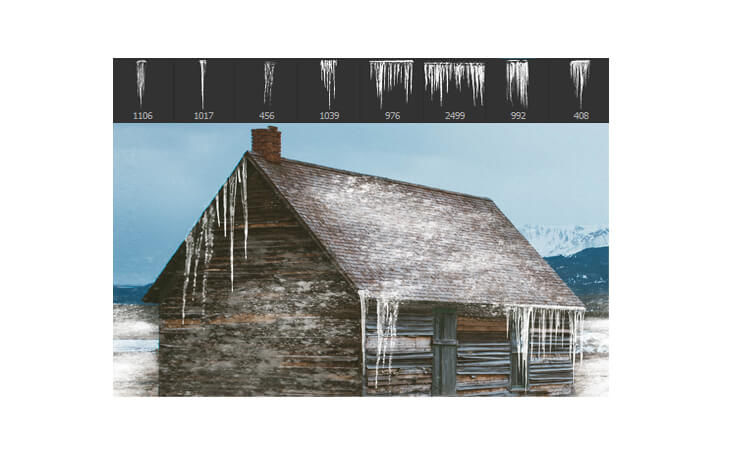
The next thing you can do is to paint some icicles on your image. Icicles are frozen water droplets that hang from the edges of roofs, windows, or other objects. They can add some interest and realism to your snow scene. To paint icicles, you need to use the icicle brush from my snow brush set. These brushes will help you to create different shapes and lengths of icicles.
Step 5: Paint the fog.
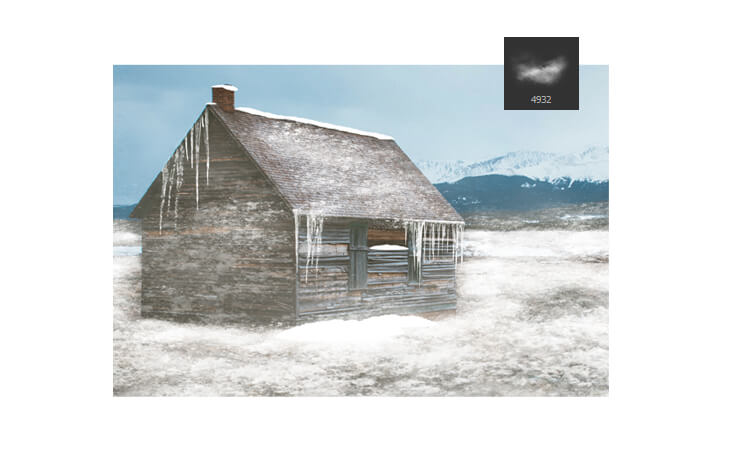
Another way to enhance your snow scene is to paint some fog in the background. Fog is a thin layer of mist that reduces the visibility and creates a soft and mysterious atmosphere. To paint fog, you need to use the fog brush from my snow brush set. This brush will create a smooth and cloudy effect that fades the colors and details of the background. You can also adjust the brush size and opacity depending on how much fog you want to create.
Be careful not to cover the foreground or the main focus of your image, as this can make your image look too blurry.
Step 6: Paint the falling snow.
The final touch you can add to your snow scene is to paint some falling snow in photoshop. Falling snow is a collection of snowflakes that drift down from the sky and create a sense of movement and depth. Select falling snow brush from my snow brush set. This brush will create a random pattern of small dots that resemble snowflakes.

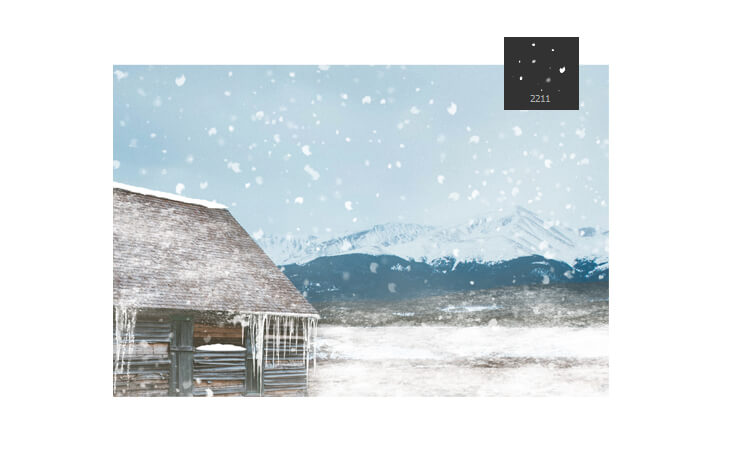
Finished!