How to paint tree trunk in photoshop

Introduction In this tutorial, we will guide you through the process of painting a realistic tree trunk using our specialized foliage brush pack. These brushes are designed to create authentic textures, helping you achieve stunning results with ease. Whether you’re enhancing a digital forest or adding a single tree to your artwork, this guide will ensure your tree trunk looks lifelike and detailed.

Tutorial Assets

Step 1: Painting the Tree Trunk

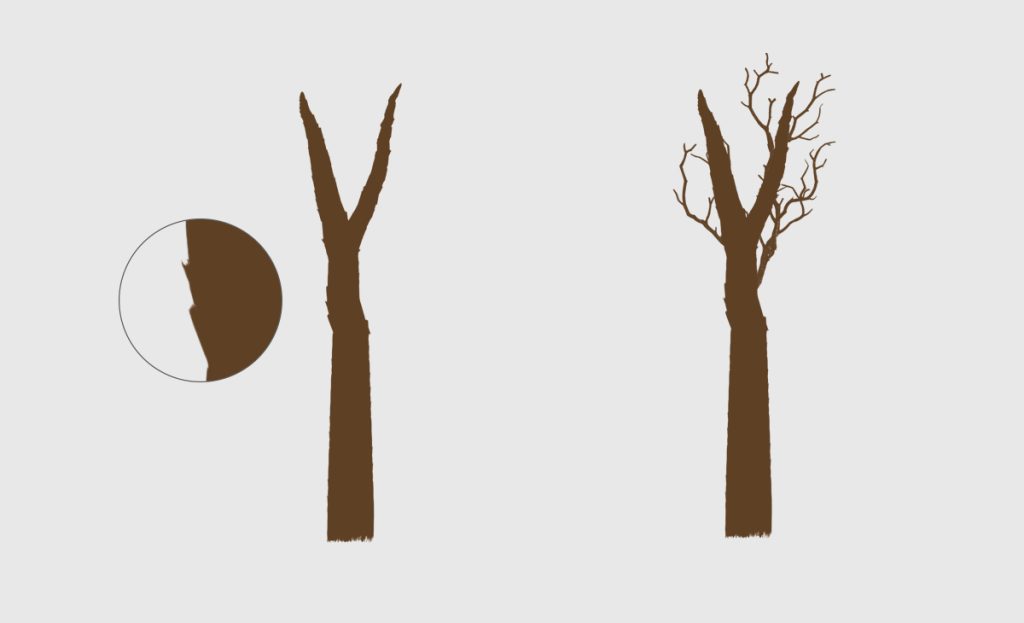
start by selecting the tree trunk brush from the foliage brush pack

To use the brushes, you need to load them into Photoshop first.

The difference between the two brushes lies in the edges of the resulting tree trunk: one brush produces softer edges, while the other creates more defined edges.


This brush is designed to create a faded effect, mimicking the natural texture of a real tree trunk. As you start painting, you will notice the brush blends seamlessly, providing a realistic base layer for your tree.


Step 2: Drawing Sub-Trunks

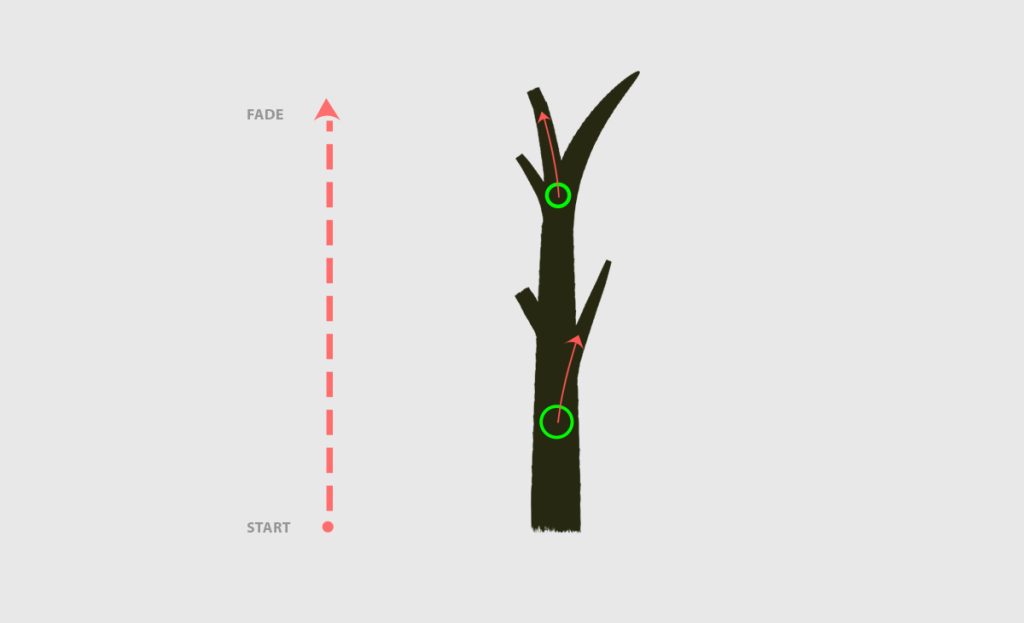
  • Keep the same brush to draw the sub-trunks of the tree.
  • When you want to create a smaller trunk, start at the bottom of the tree, as shown in the green circle. This technique works realistically since trees grow from the bottom up.
Step 3: Drawing Tree Branches

At this point, we’re going to draw the branches. Use any of the brushes from the foliage brush pack to create them.

Just practice with these brushes; they are designed to be easy to use.

Keep the same color as the tree trunk to ensure consistency.

Notice that the dark color should be under the texture layer to add depth and realism to your branches.


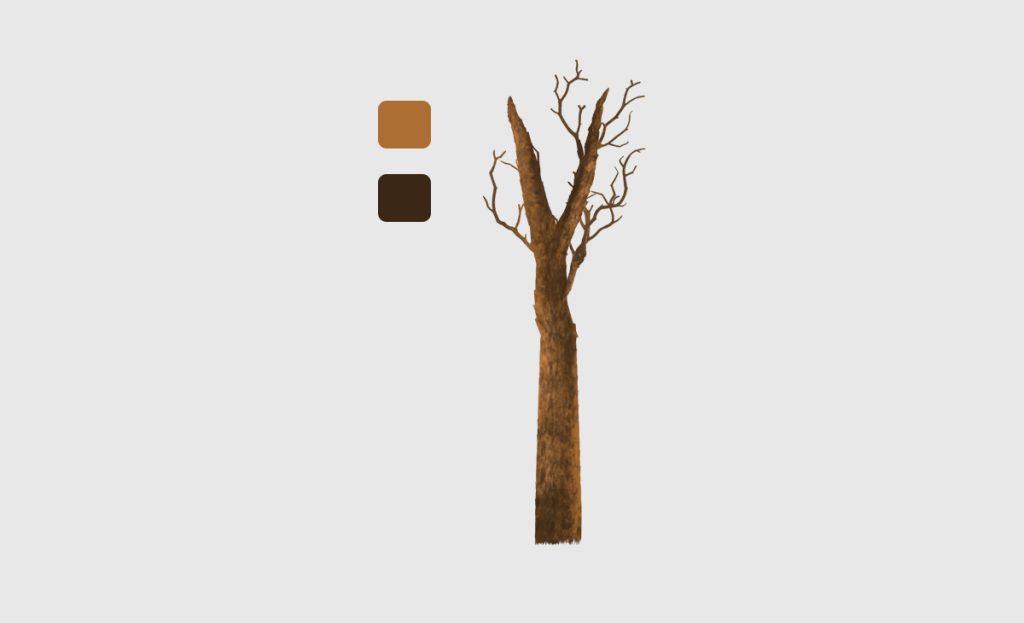
write step 4 : paint tree trunk texture use tree trunk texture brushes and 3a2715 for dark colors and ac6e33 for light color a

Here’s the next step for painting tree trunk texture:

Step 4: Painting Tree Trunk Texture

  • Use the tree trunk texture brushes from your foliage brush pack to add detailed textures to the trunk.
  • For the dark areas, select the color #3a2715. This will add depth and shadow to the trunk.
  • For the lighter areas, use the color #ac6e33. This will highlight the raised parts of the texture, adding a realistic effect.
  • Carefully apply the texture, blending the dark and light colors to mimic the natural variations found in real tree bark.
Step 5: Adding Foliage

How to paint foliage in photoshop

How to paint foliage in photoshop

Creating realistic foliage in Photoshop can significantly enhance the depth and vibrancy of your digital artwork. This tutorial will guide you through the process, step by step, using custom brushes designed specifically for painting foliage. Whether you’re just starting out or looking to refine your skills, this guide will help you achieve stunning results.

Before you begin, ensure you have the following:

Selecting the Right Brushes

Using the right brushes is crucial for creating realistic foliage:

Choosing Colors

Choosing the right colors is essential for a natural look. Here’s a suggested palette:

  • Leaf Base Color: #2E8B57
  • Leaf Highlight Color: #76C84E
  • Leaf Shadow Color: #154734

To use the brushes, you need to load them into Photoshop.

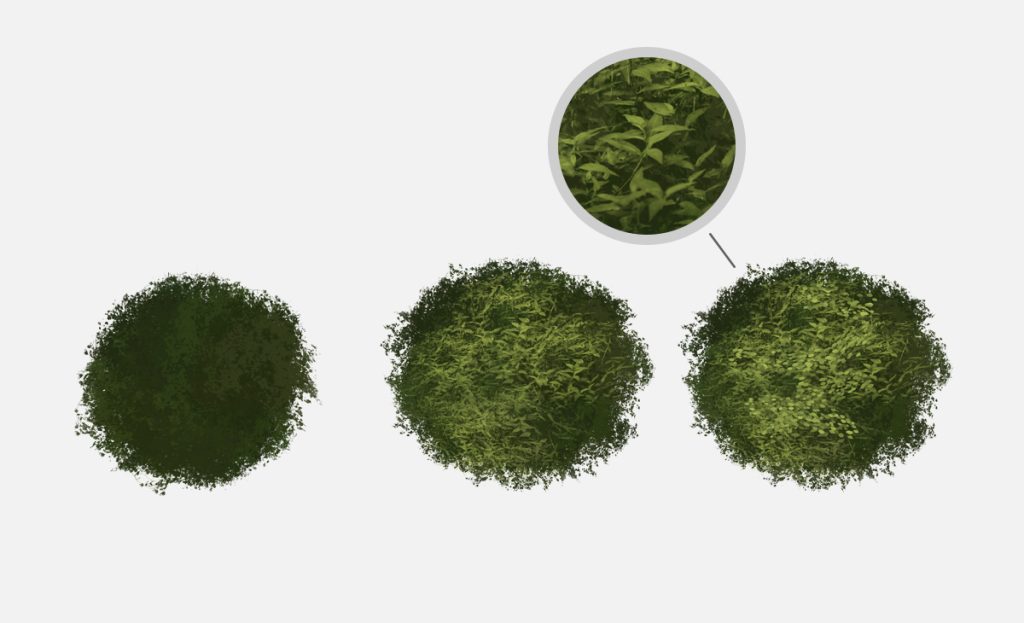
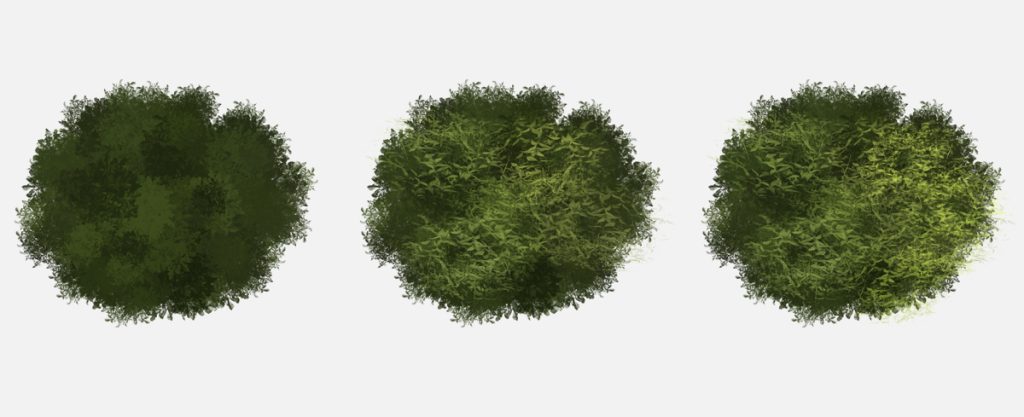
In this package, you will find a set of tree brushes designed to help you paint foliage just the way you envision it

Using these brushes, you can paint with two colors: a foreground color and a background color.
Start by setting the darker color as the foreground color for your initial painting.
Then, switch to the lighter color as the foreground color by pressing ‘X’ in Photoshop and painting Leaves for added depth and realism.

How to paint foliage in photoshop

How to Paint Realistic Grass in Photoshop

Introduction Grass tutorial Photoshop can add depth and realism to your digital artwork. In this tutorial, we’ll guide you through the steps to paint grass using custom brushes

Tutorial Assets

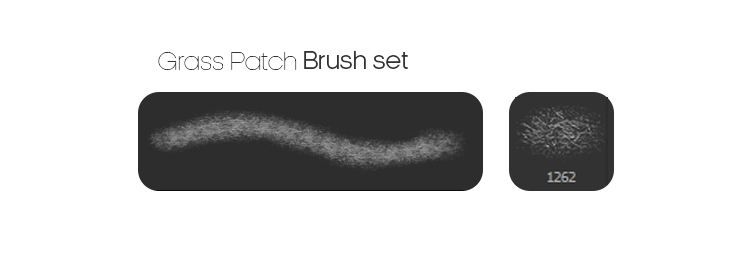
  • Grass Brushes: Download our specialized brush set here for the perfect tools to create lifelike grass textures.


Step 1: Selecting the Color of Grass

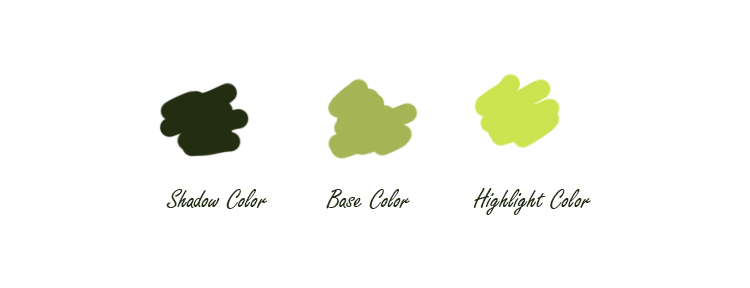
Begin by choosing the appropriate colors for your grass. Here’s the palette used in this tutorial:

  • Shadow Color: #232d11
  • Base Color: #a5b555
  • Highlight Color: #cbe450

Selecting the right colors is essential to achieving a realistic look. Start with a base color that represents the overall tone of your grass. Use lighter shades for highlights and darker shades for shadows to add depth and dimension.

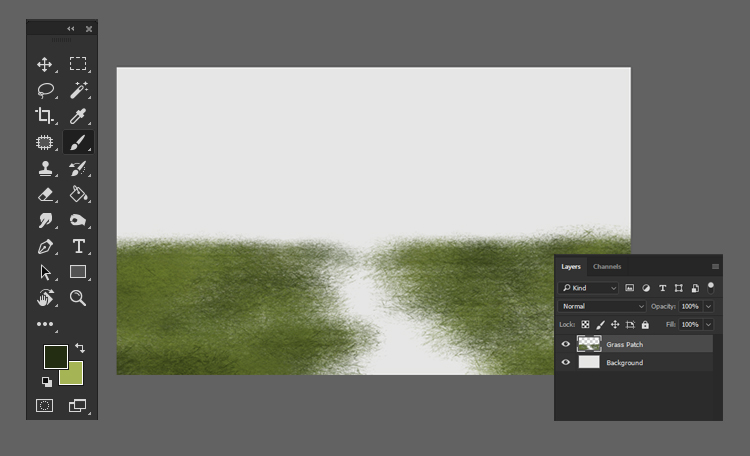
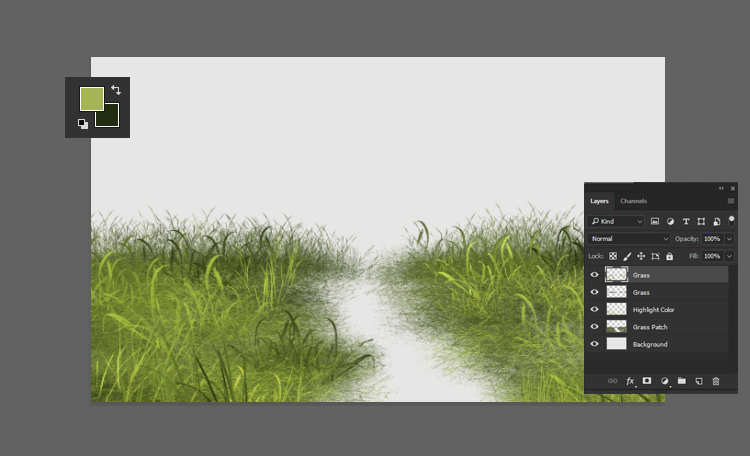
To use the brushes, you need to load them into Photoshop first, you need to create a new layer above the background layer.

Step 2: Selecting the Color of Grass

First, create a new document in Photoshop by pressing Ctrl + N or navigating to File > New. Set the dimensions to 5000 x 3000 pixels at 300 dpi to ensure high-quality output.

Next, choose the appropriate colors for your grass. Here’s the palette used in this tutorial:

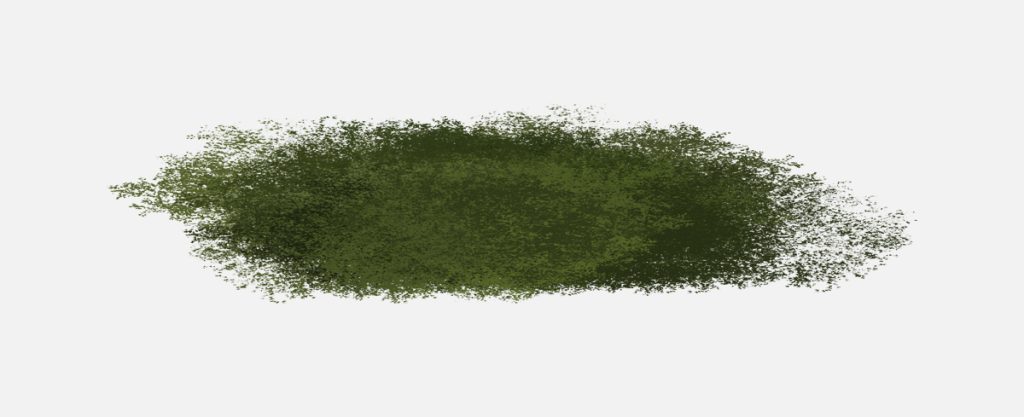
Set the base color as your background color and the Shadow color as your foreground color.

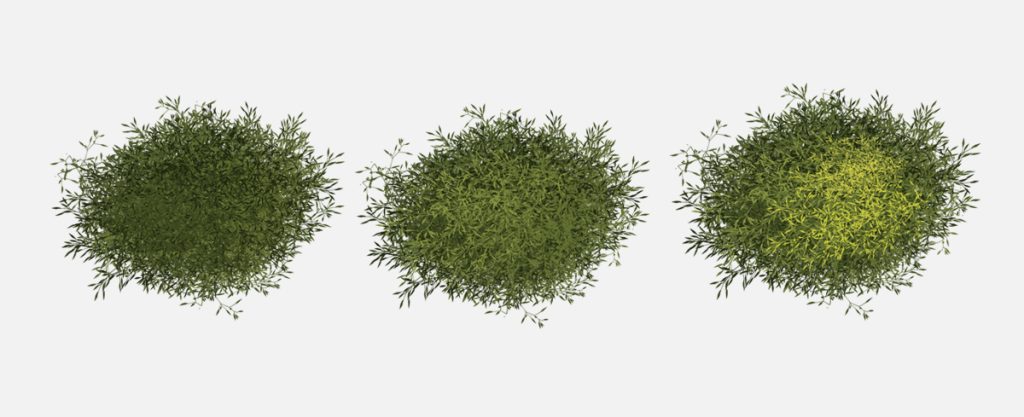
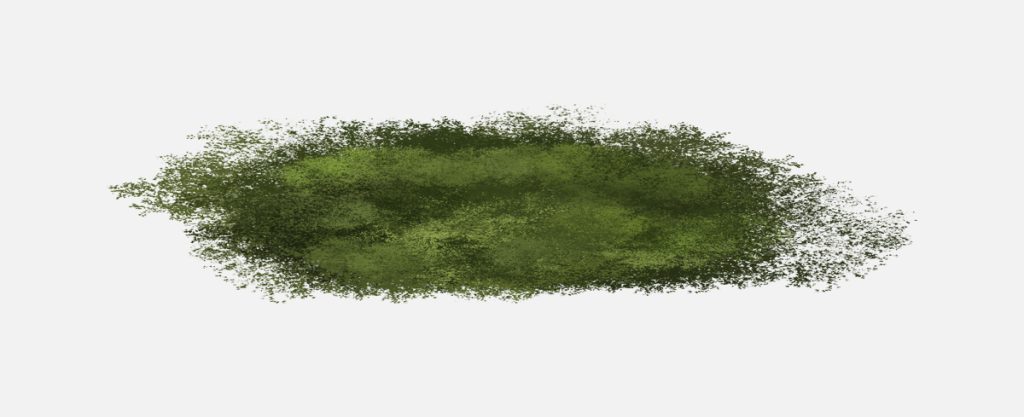
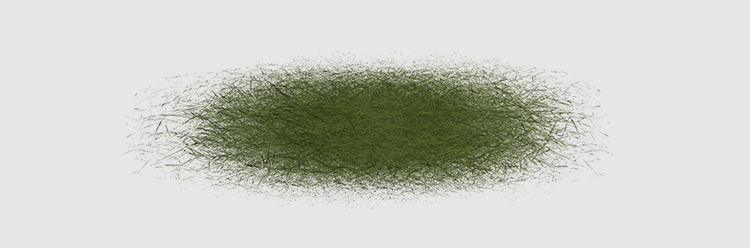
Using the custom grass brushes, paint a patch of grass. Start with the Shadow color, then add the highlight color to create variations.

Grass tutorial Photoshop

Step 3: Paint Long Grass

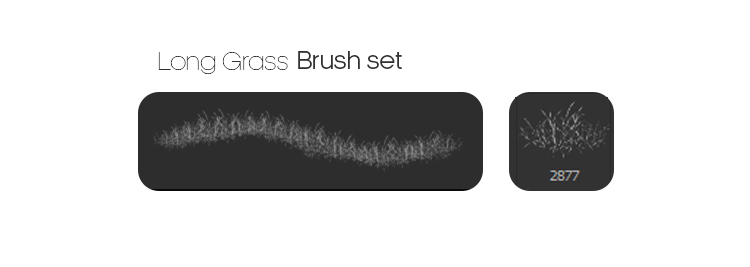
Select a variety of grass brushes from your custom set.

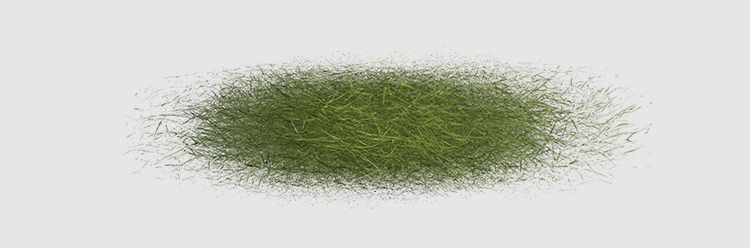
Paint long grass by layering different brush strokes. This will add texture and natural variations to your grass.

Grass tutorial Photoshop

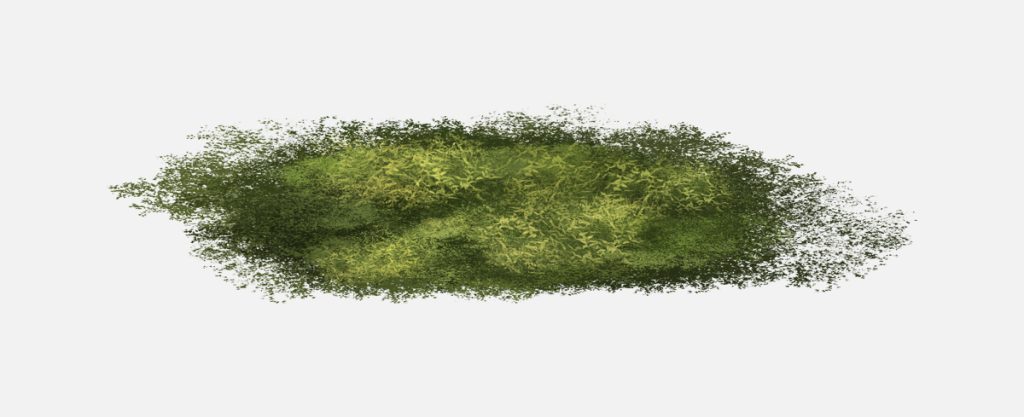
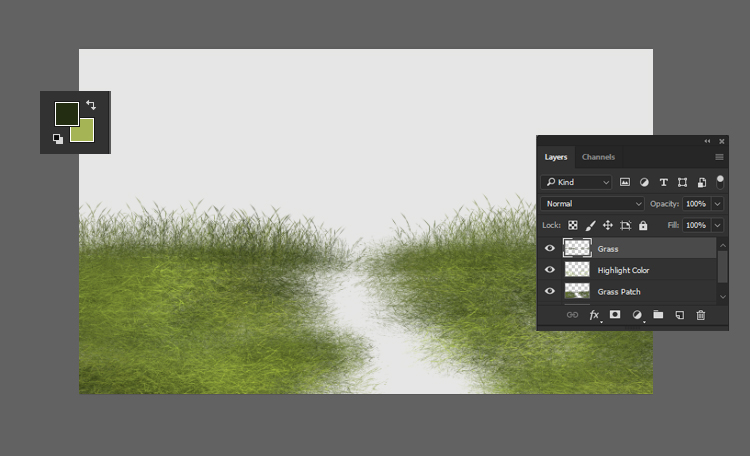
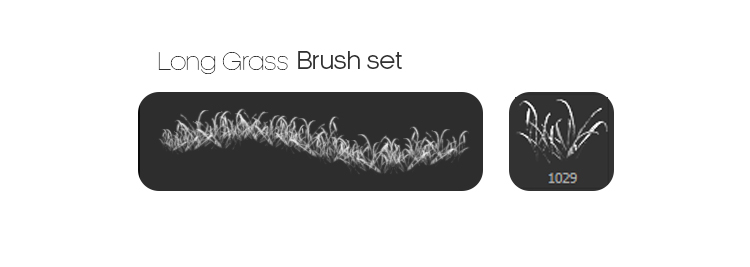
Step 4: Paint Long Grass Highlights

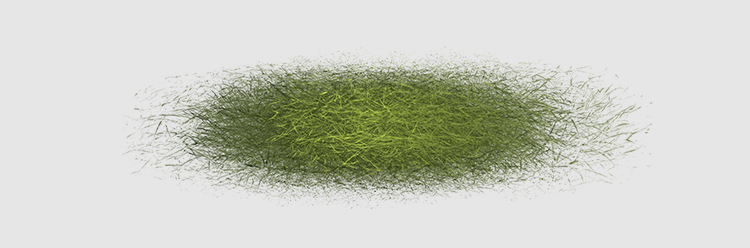
Continue painting the long grass with the highlight color. This will create a more dynamic and realistic look.

Grass tutorial Photoshop

Step 5: Paint Mud

Before starting, you can refer to our detailed article on how to paint mud or download our custom mud brushes here.

Use the following colors to paint mud in the background or foreground:

  • Mud Base Color: #b79764
  • Mud Highlight Color: #cdb89d
Grass tutorial Photoshop

Finishing Touches
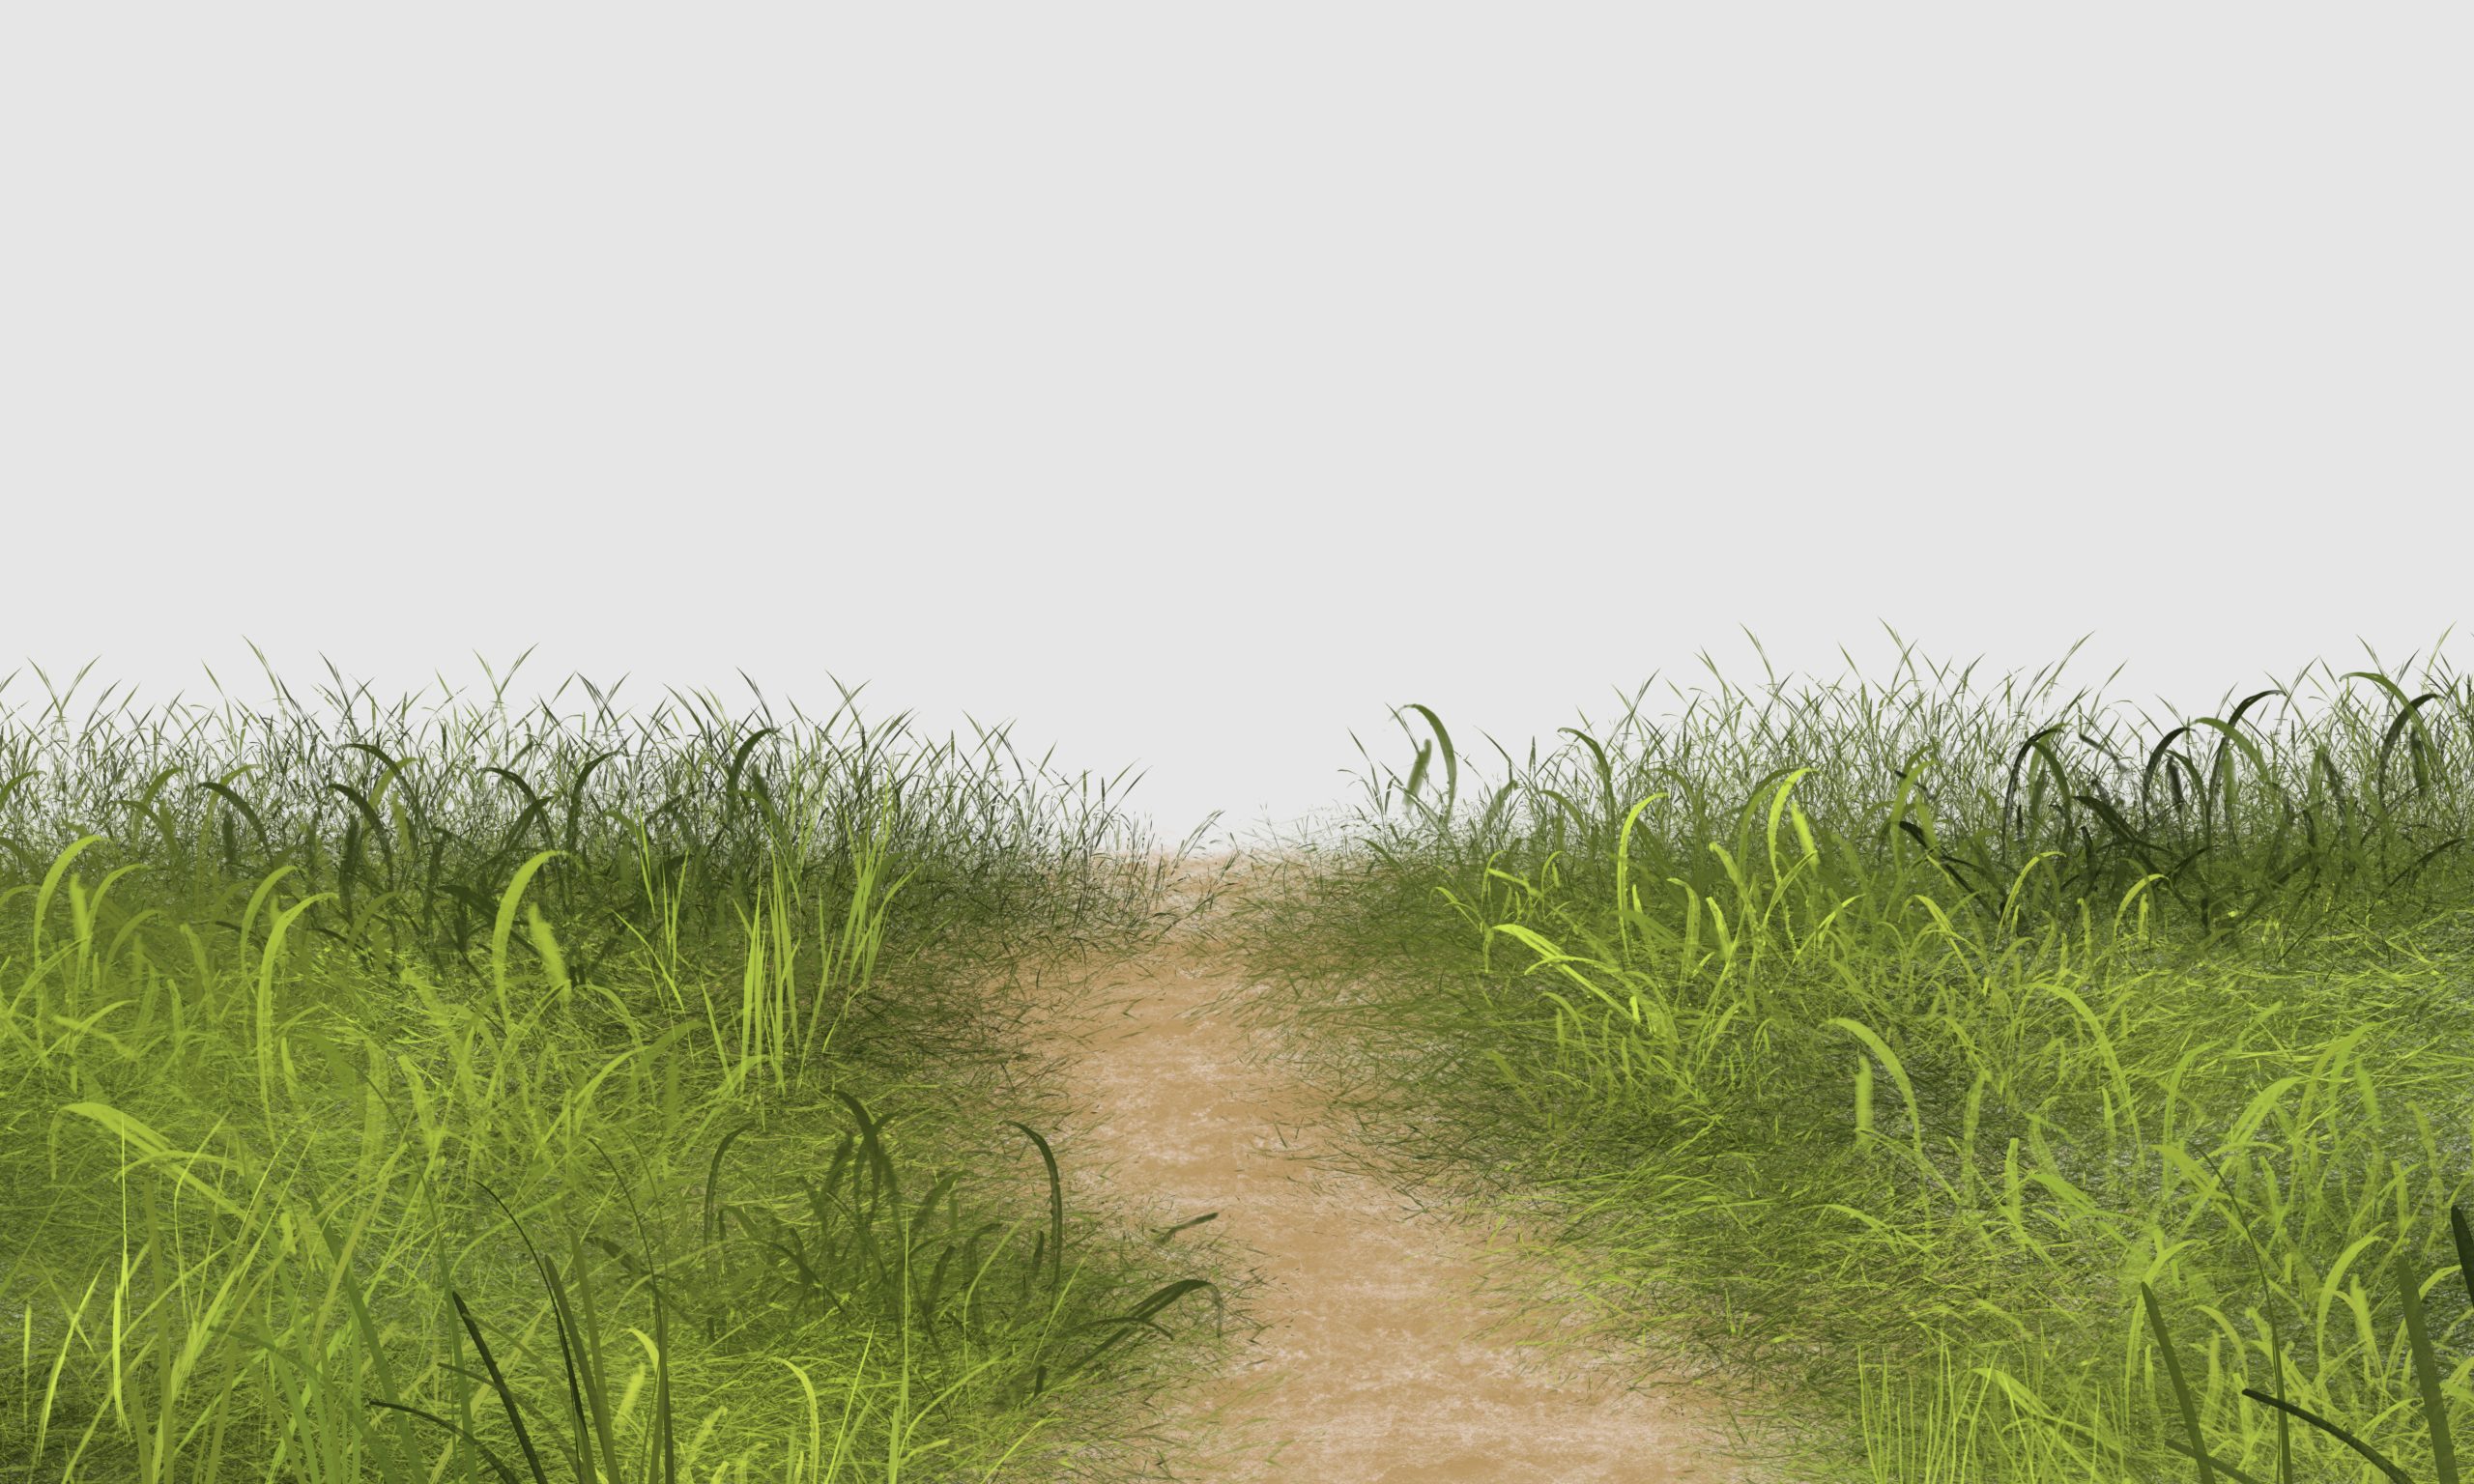
Once you have completed painting the grass and mud, take a step back and review your work. Make any necessary adjustments to ensure that the colors blend well and the textures look natural. Experiment with additional brush strokes or layers to enhance the realism of your grass.